EasyManuals Logo

Dynojet 200iX User Manual

Dynojet 200iX
199 pages
To Next Page IconTo Next Page
To Previous Page IconTo Previous Page
Page #47 background imageLoading...
Page #47 background image
2-21
INSTALLATION
Eddy Current Brake
Version 2 Above Ground Model 200iX/250iX Motorcycle Dynamometer Installation Guide
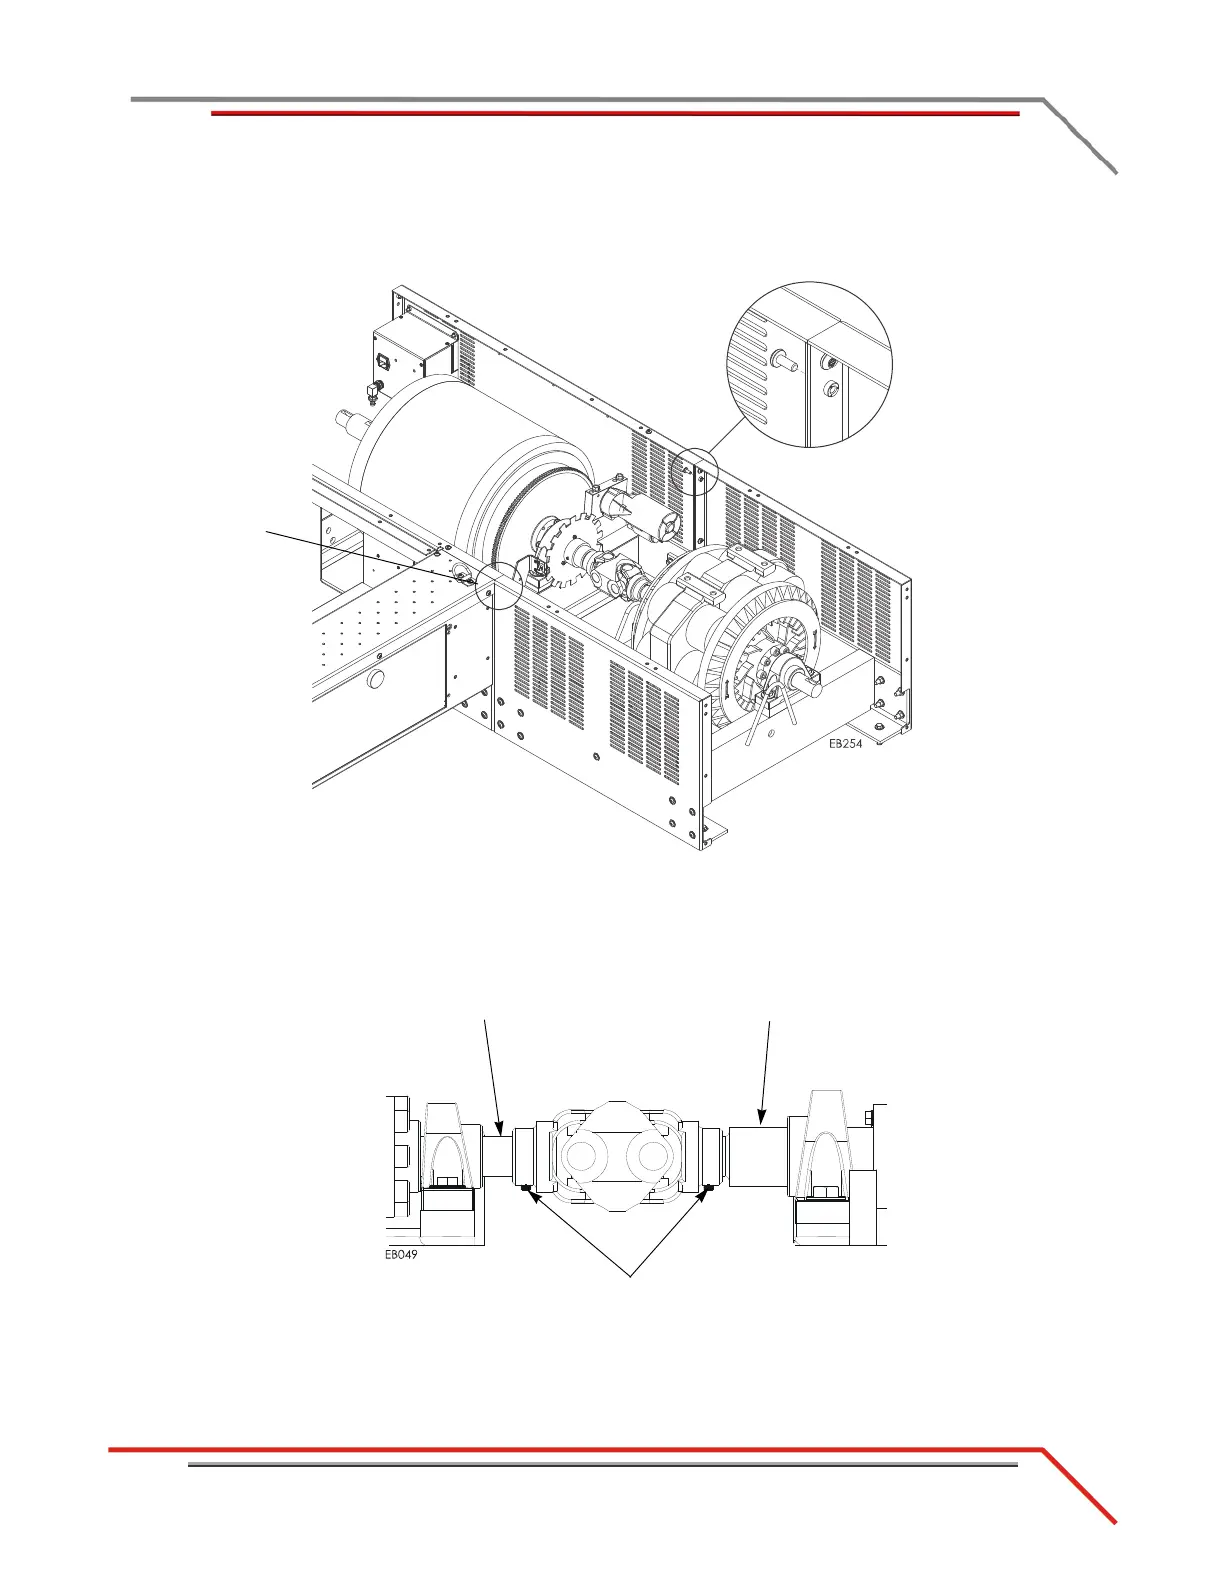
8 Secure the side panels on the eddy current brake to the panels on the dyno using a
1/4-20 bolt. Do this on each side.
Figure 2-16: Secure the Side Panels to the Dyno
9 Replace the existing set screws on the driveline with the thread-lock set screws
provided.
10 Tighten the driveline set screws.
Figure 2-17: Tighten the Set Screws
not visible from
this view
brake shaft
dyno shaft
set screw

Table of Contents

Questions and Answers:

Question and Answer IconNeed help?

Do you have a question about the Dynojet 200iX and is the answer not in the manual?

Dynojet 200iX Specifications

General IconGeneral
BrandDynojet
Model200iX
CategoryDiagnostic Equipment
LanguageEnglish