Overture Software Manual
Page 2-28
Revision 1.5 USING OVERTURE
2.4.2.1.1. Selecting a Solid Colour Fill
Once the Choose fill editor appears, the user can select the desired fill colour. The Name tab lists four
default colours to choose from, which include red, green, blue and black. To select one of the fill
default colours, highlight the colour name by selecting the colour in the Name tab. Once the desired
colour is selected, click the OK button.
To create a new customized fill colour, the user can select the New button and click on the Solid
Colour option in the pop up menu of the Choose fill editor. The new solid colour name will appear
under the Name tab. Highlight the Solid colour[x] name in the Name tab, then select the Edit button
located under the preview screen. Once the Edit button is selected, a colour settings window will
appear as shown in Figure 2-44.
Figure 2-44: Colour Settings Window
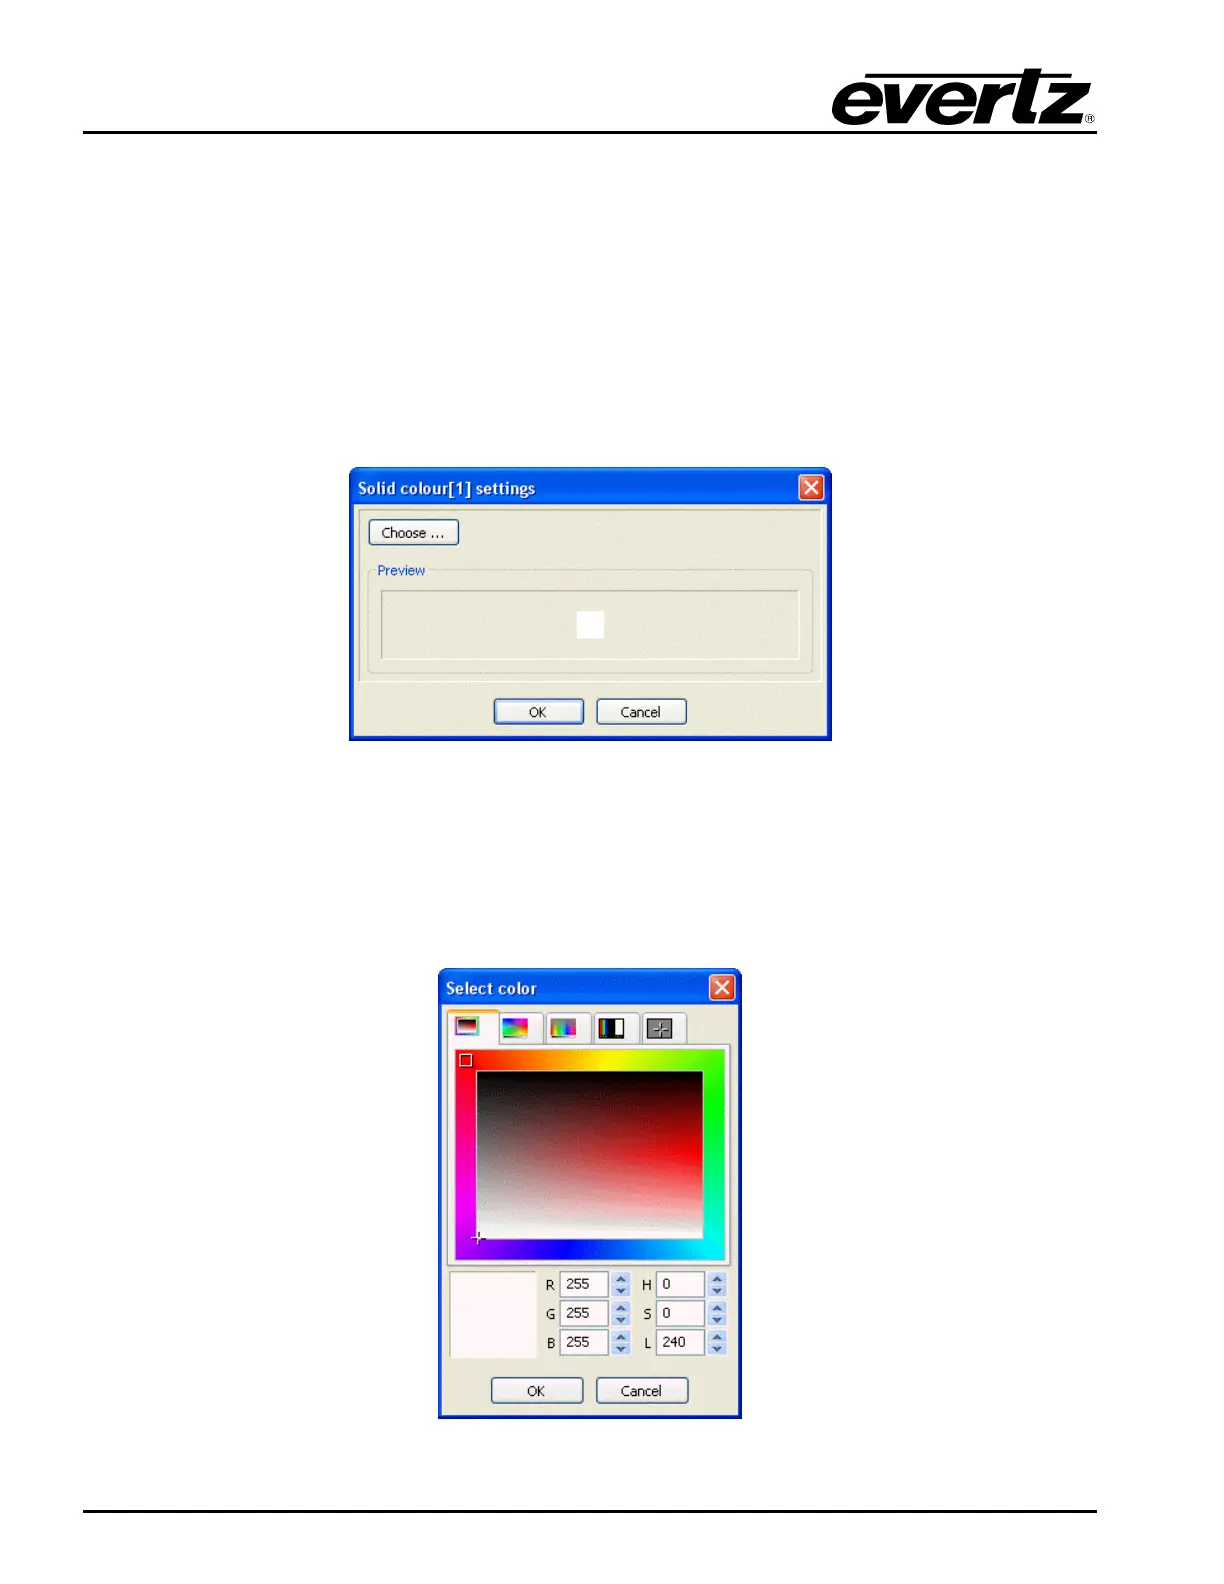
The user can select a new fill colour by clicking on the Choose… button in the top left hand corner of
the colour settings window. As shown in Figure 2-45, a Select Color window appears, which will
enable the user to create the desired fill colour. Use the mouse to point to a colour on the colour pallet
or use the R:G:B and H:S:L fields to enter a specific colour. There are five tabs in the Select Color
editor that allows the user to identify a specific colour.
Figure 2-45: Select Colour Window