HDP8500 Service Manual, PLT-01583, 1.1
© 2013 HID Global Corporation/ASSA ABLOY AB. All rights reserved.
41
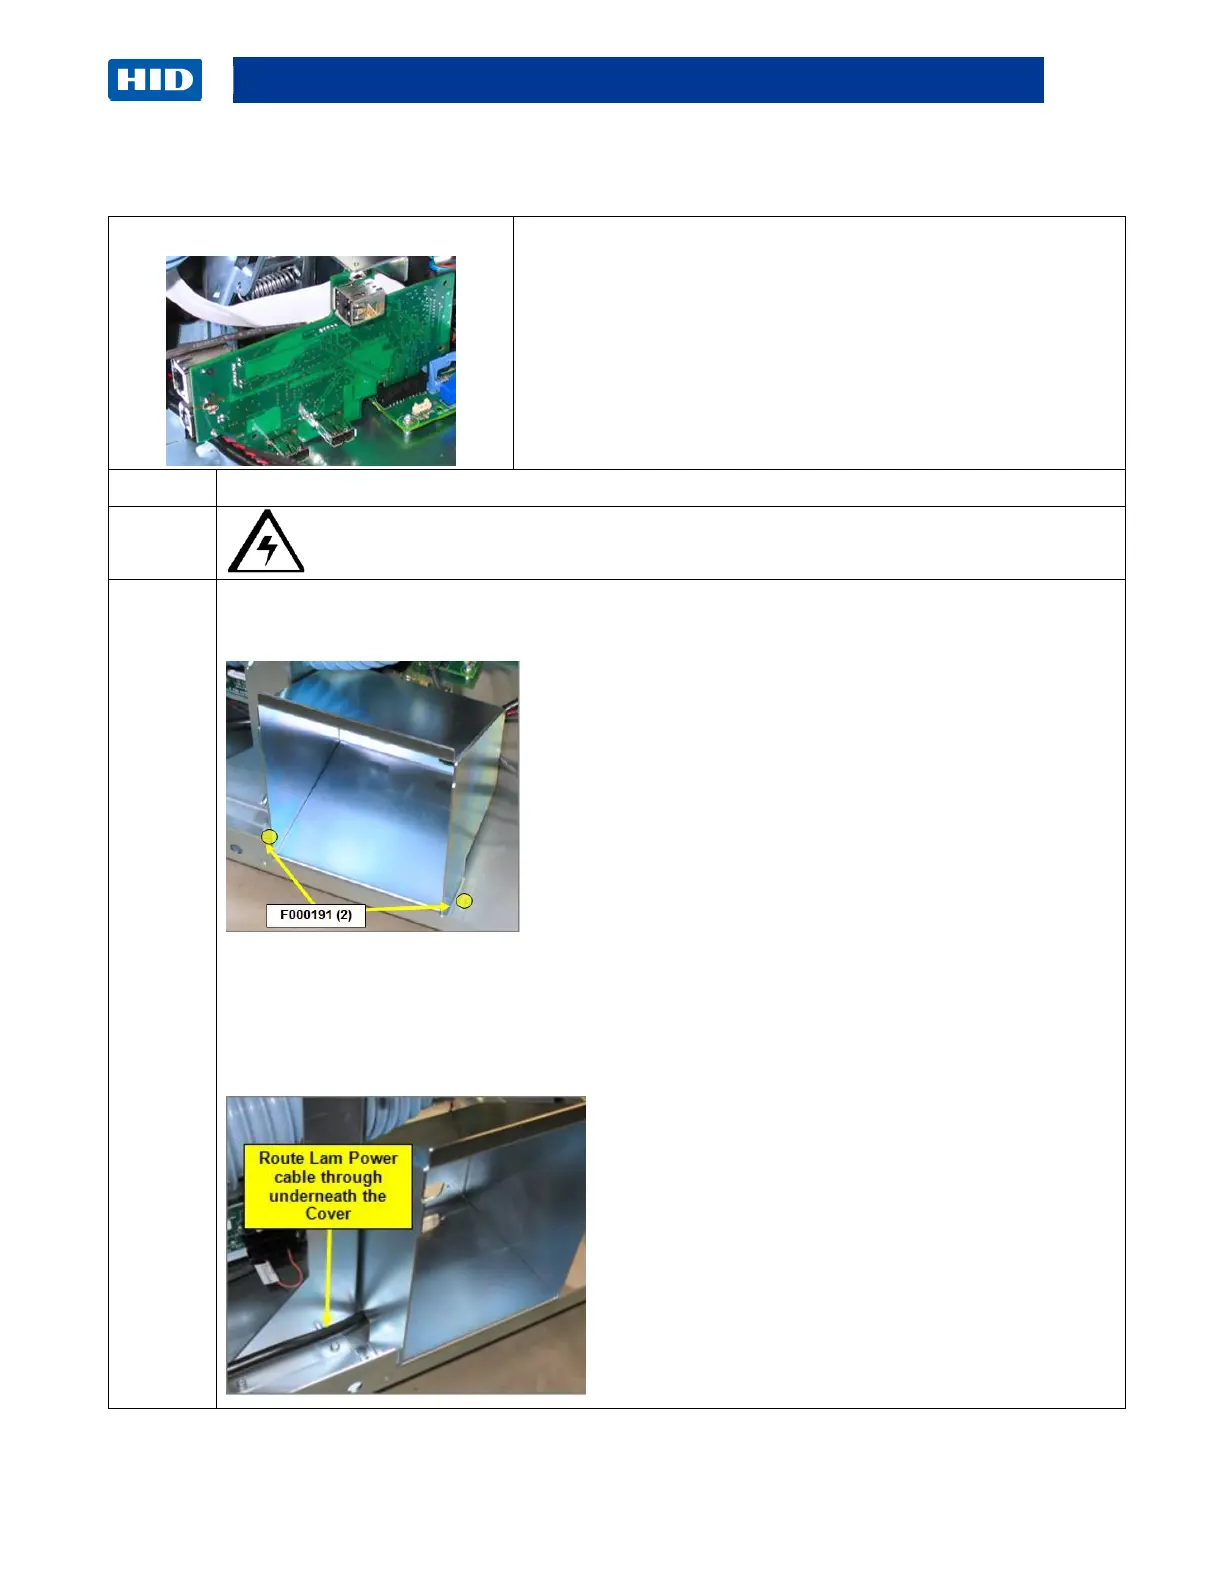
Remove/Replace the USB Ethernet PCB (A910551)
Tools needed: T10 Torx Driver
Estimated Time: 30 minutes
Preparation: Remove Top/Rear Covers.
Important: This procedure can only be performed by
authorized service personnel.
Caution: Power off the Printer by unplugging the power cord from the Printer.
Remove the Ethernet/USB box to access the USB/Ethernet PCB.
Remove two screws from the BOX base.
Pull the box forward and slide to the RIGHT then OUT.
Doing this will release the box from the PCB board (Ethernet/ USB Connection ) directly
behind the box.
Note: The Lam Power Cable routing.