FARO
®
Laser Scanner Manual
43
Chapter 6: Getting Started
displayed. If there is no preview picture available, a grid is displayed, where
the space between the horizontal and vertical lines is equivalent to 30°. The
highlighted rectangle illustrates the selected scan area.
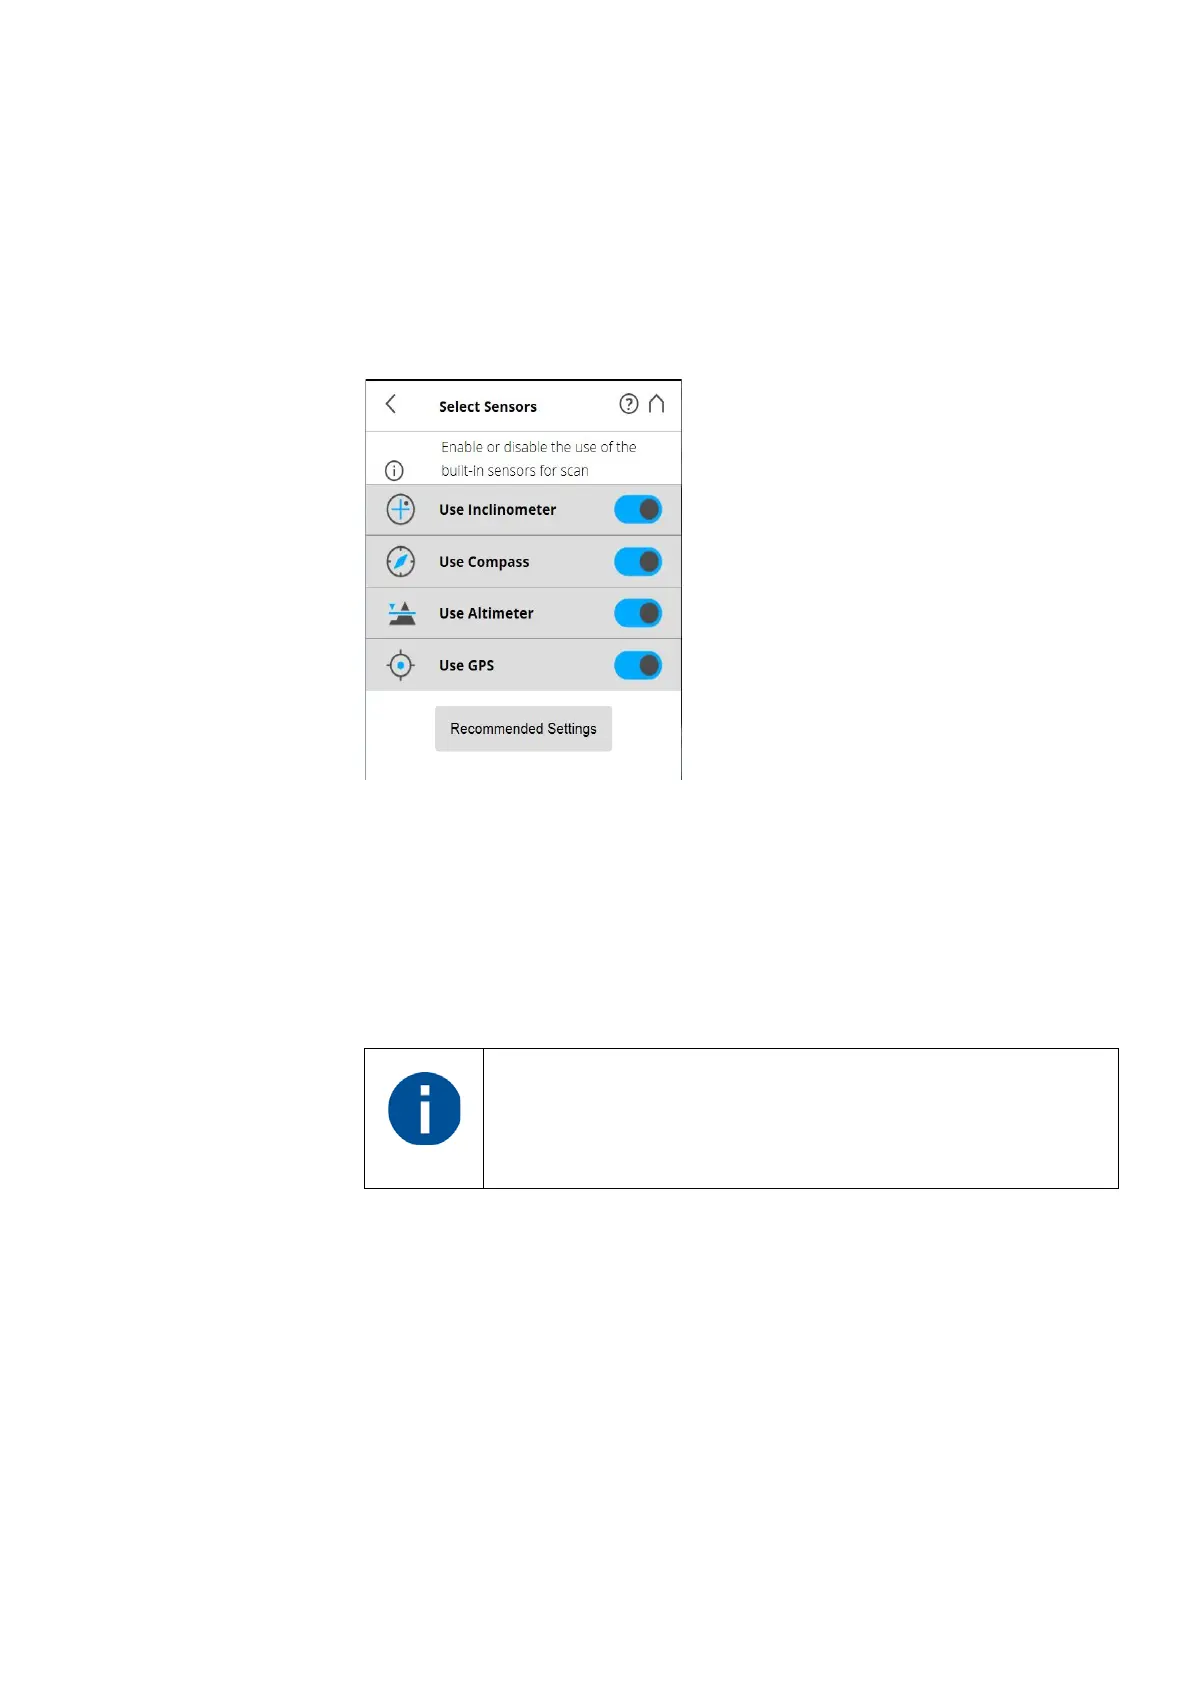
Selecting the Sensors
(Home > Parameters > Select Sensors)
Figure 6-26: Selecting the Sensors
Use Inclinometer
- Enable or disable the automatic use of the inclination
measurement of the built-in dual axis compensator (inclinometer) for the scan
registration in SCENE. However, regardless of your setting, the data of this
sensor is always measured and attached to each scan. If the use of the
inclinometer data is switched ON, it will automatically be used to register the
scans in SCENE; if it is switched off, the data will be ignored. You can still
change this behavior later in SCENE. See the SCENE user manual for more
information.
Use Compass
- Enable or disable the automatic use of the data of the built-in
compass for the scan registration in SCENE. The data of the compass is
always measured and attached to each scan during scanning and will
automatically be used for the scan registration, if this button is switched to ON.
For more information, see
Compass on page 84.
Use Altimeter
- Enable or disable the automatic use of the altimeter data for
the scan registration in SCENE. Just like with the inclinometer, the data of the
altimeter is always measured and attached to each scan during scanning and
will automatically be used for the scan registration, if this button is switched to
ON. You may want to enter a reference height before starting your scan
project. This reference height will then act as basis for all the measurements
To get the most reliable data from the dual axis compensator,
make sure that the scanner‘s inclination is less than 2°. For
more information, see
Inclinometer (Dual Axis Compensator)
on page 82.