Operations during Copying
55
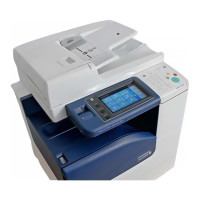
Copy
3
5 After you have finished making the interrupt copy, press the <Interrupt> button.
Note • The interrupt indicator goes out to indicate that the interrupt is cancelled.
• Remove the interrupt document from the document glass when using the document glass.
6 Press the <Start> button. The suspended copy job is resumed.
 Loading...