2.4 Using Scan to E-mail 47
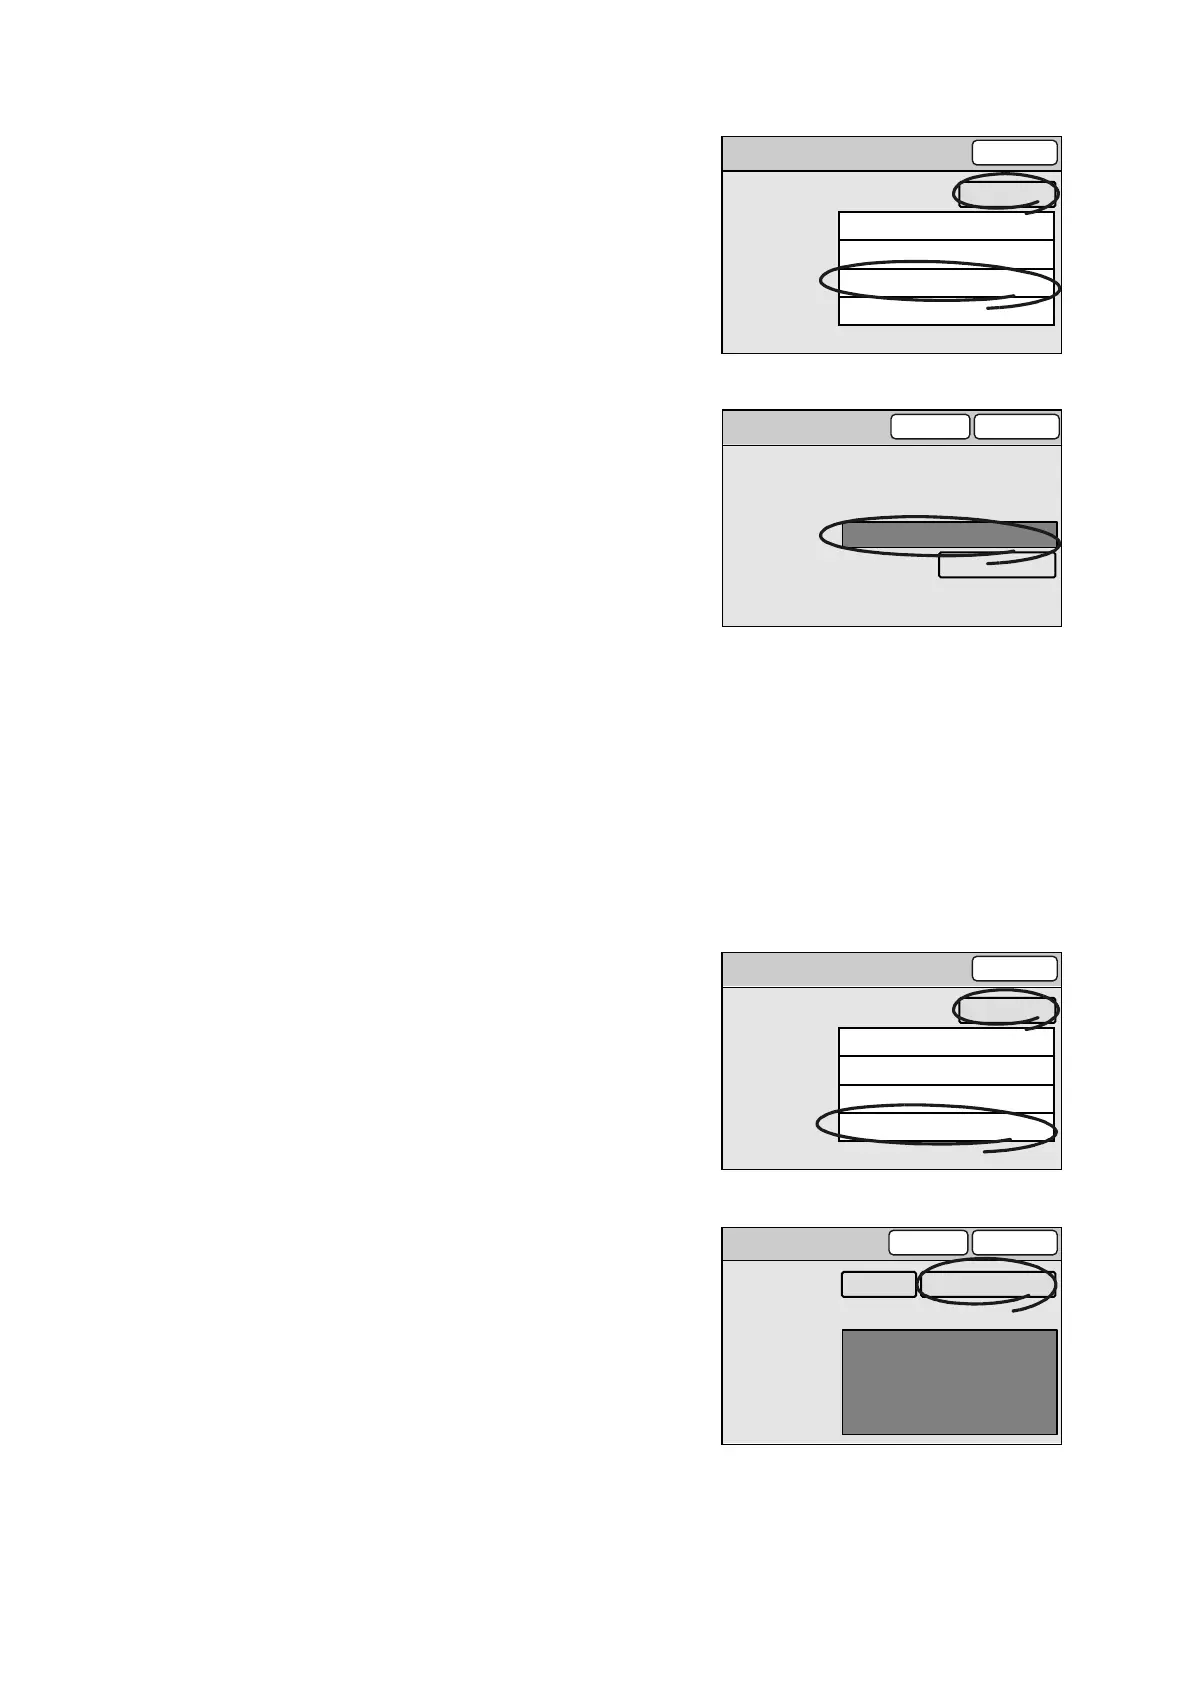
1. On the [Details] screen, select [File Name],
and select [Change].
2. On the [Enter/Change File Name] screen,
select the [File Name] entry box.
3. Enter the file name using the numeric
keypad on the control panel.
Note
• The [Restore Auto] button resets the file name to the
default.
4. Select [Save].
Comment
Set the comment (message) of the e-mail you are attaching the scanned data to. The
comment can be selected from Subject/Comment List or entered using the numeric keypad.
This setting is optional.
When entering the comment, follow the guidelines below:
• Enter it within 192 characters or symbols.
• Control characters other than linefeeds (such as tabs) cannot be used.
1. On the [Details] screen, select [Comment],
and select [Change].
2. On the [Enter/Change Comment] screen,
select [Select from List].
If entering the comment directly, enter it in
the [Comment] entry box.
Note
• The [Clear Field] button deletes all characters entered.
Details
Close
Subject
Reply to
File Name
Comment
Scan Data from [Host Name]
(Not Set)
(Auto Set)
(Auto Set)
Change
Enter/Change File Name
Cancel Save
File Name (Max. 20 chars.)
Restore Auto
(Auto Set)
Example: img-102030400
(Jan.2 03:04:00)
Details
Close
Subject
Reply to
File Name
Comment
Scan Data from [Host Name]
(Not Set)
(Auto Set)
(Auto Set)
Change
Enter/Change Comment
Select from ListClear Field
Cancel Save
Comment
 Loading...