Revision 14
51 August 02, 2019
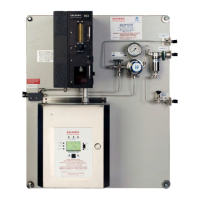
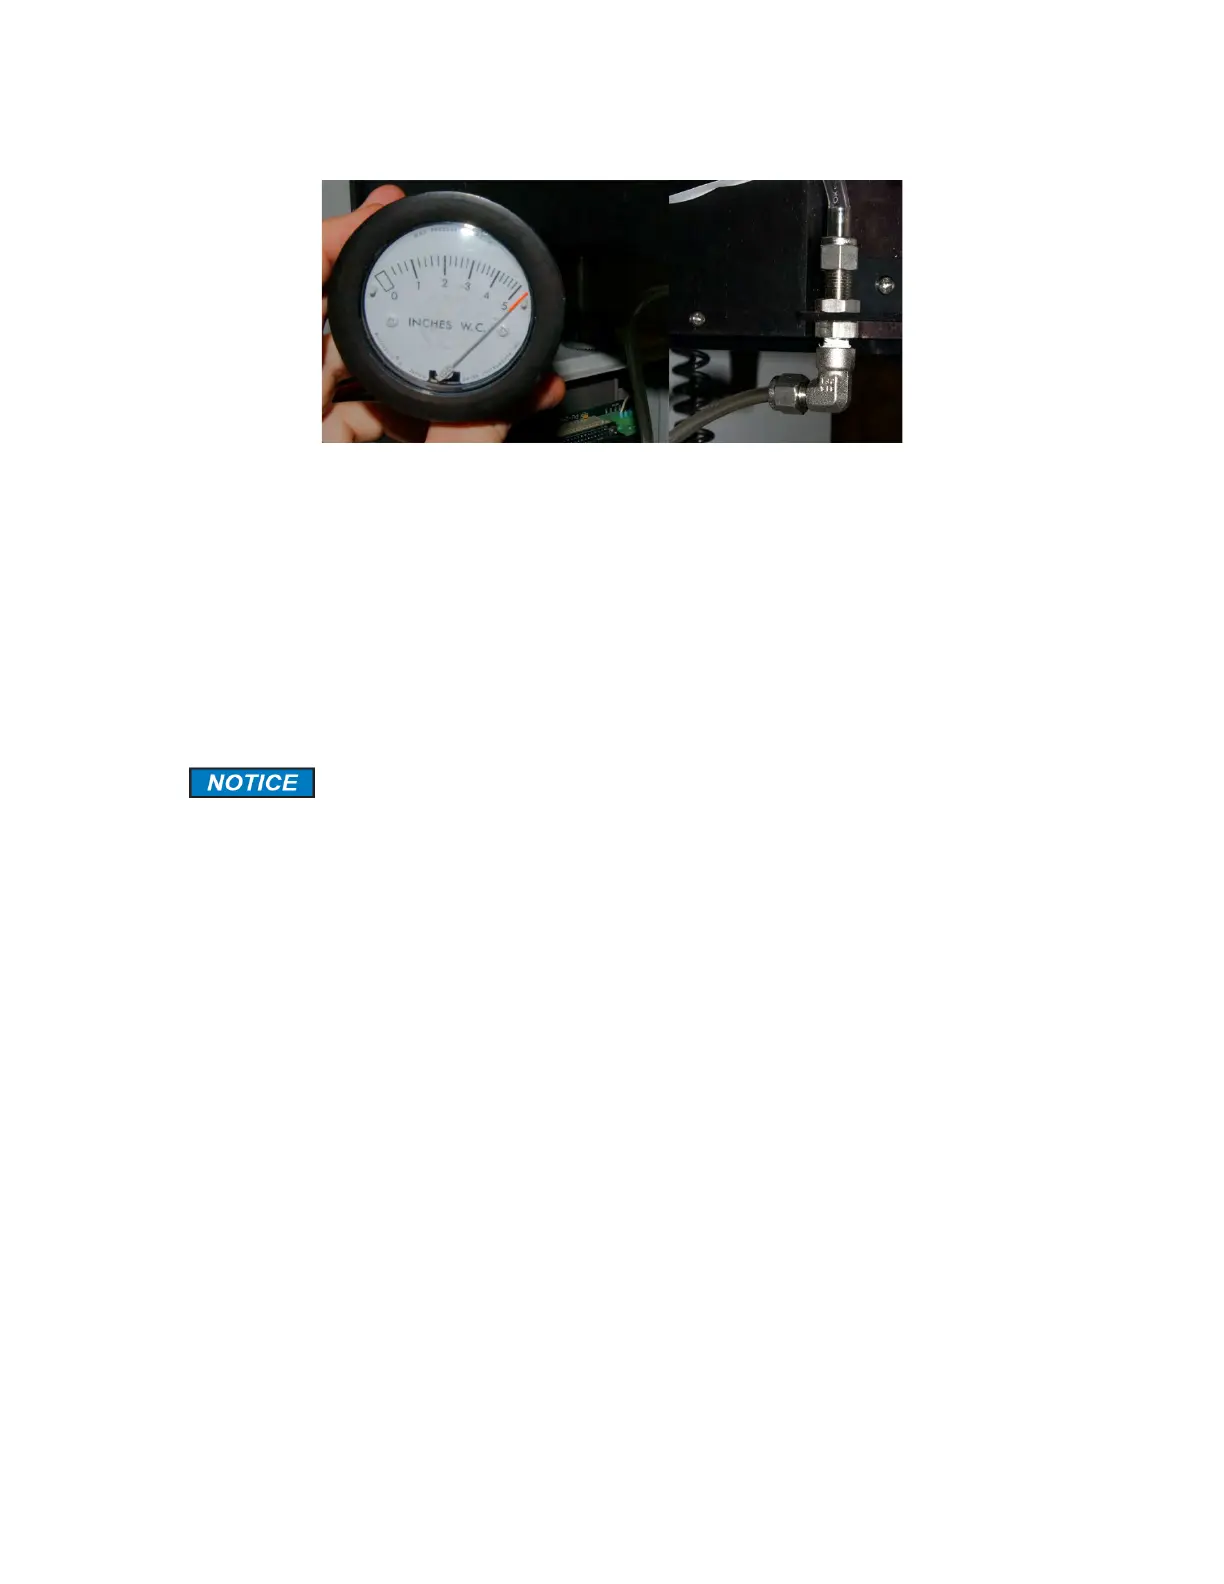
Figure 3-22: Minihelic Indicating a Good Seal (L); Connected to Vent Elbow (R)
d) Check the pressure indicated on the gauge. If the pressure reads 4 or above, as shown
in Figure 3-22, the tape is well sealed against the sample chamber by the compression
head. Press Tape Advance on the keypad and ensure that the pressure does not drop
below 3 even when the tape is moving. It should return to 4 by the time the tape stops
moving.
If the pressure is NOT 4 or greater, there is a problem with the seal somewhere in the
chassis.
3.7.3 Leak Testing the Total Sulfur Accessory
Connect the USB to USB cable from the laptop to the analyzer and log onto the
analyzer using the Galvanic GUI software. Go to the Global tab and turn off the power
to the furnace by setting the Furnace Pulse Width to 0 %. Perform a temporary write to
the analyzer and wait until the furnace housing is cool to the touch.
test the furnace for leaks as described below:
a) Turn the hydrogen flow on. Ensure hydrogen is flowing at 2.0 and sample is flowing at 1.0
on the rotameters.
b) Place a ¼ inch cap on the top of the furnace output flame arrestor as shown in Figure 3-
24. This will block flow through the total sulfur furnace.