Concord 4
Installation Manual
12
Installation overview
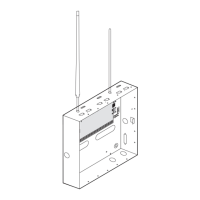
This section describes how to install the system control panel. Before starting the installation, plan your system
layout and programming using the worksheets provided in Appendix A, System planning sheets.
Installing the system consists of the following:
• Determine the panel location on page 13
• Total system power and wire length guidelines on page 13
• Mounting the panel on page 16
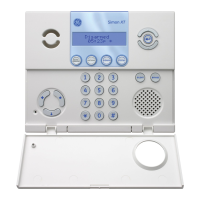
• Identify panel components on page 17
• Grounding the panel on page 17
• Antenna shrouds on page 18
• Installing optional SnapCards on page 18
• Zone inputs on page 19
• Connecting speakers on page 22
• Connecting exterior/interior piezo sirens on page 24
• Connecting an Interrogator 200 audio verification module on page 25
• Connecting SuperBus 2000 touchpads on page 26
• SuperBus 2000 modules on page 26
• RJ 31X phone jack on page 34
• Connecting the phone line to the panel with a DB-8 cord on page 35
• Connecting the AC power transformer on page 36
• Power on page 37
Note: Class 2, Class 3, and power-limited fire alarm circuits must be installed using FPL, FPLR, FPLP, or substitute cable
permitted by the National Electrical Code ANSI/NFPA 70 or Class 2, Class 3, and power-limited fire alarm circuit
c o n d u c t o r s m u s t b e i n s t a l l e d a s C l a s s 1 o r h i g h e r c i r c u i t s .
Note: Class 2, Class 3, and power-limited burglar alarm circuits must be installed using CL2, CL2R, CL2P, or substituting cable
permitted by ANSI/NFPA 70. Wire that extends beyond the cable jacket must be separated from all other conductors by
a minimum of 0.25 in. or by a nonconductive barrier.
 Loading...