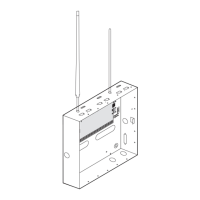
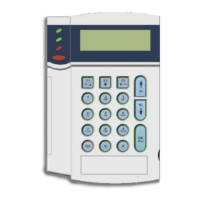
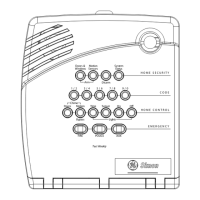
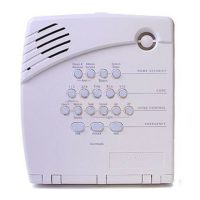
Concord 4
Installation Manual
110
Note: If you are programming schedules for your customer, be sure to record the settings in the Concord 4 User Manual.
To set up a time schedule, do the following:
1. Press A or B until the display shows SET UP SCHEDULES.
2. Press # and the display shows SCHEDULE 00. If you want a different schedule number, press A or B
until the schedule number appears.
3. Press # and the display shows START TIME hh:mm (current setting).
4. Enter the starting time (00:00 to 23:59). The display flashes the entered time. Press # and the display
shows START TIME hh:mm (new setting).
5. Press B and the display shows STOP TIME hh:mm (current setting).
6. Enter the desired stop time (00:00 to 23:59). The display flashes the entered time. Press # and the
display shows STOP TIME hh:mm (new setting).
7. Press B and the display shows MONDAY OFF/ON (current setting). To select a different day, continue
pressing B until the desired day appears.
8. Press 1 (off) or 2 (on). The display flashes the entered selection. Press # and the display shows the new
setting for the selected day.
9. Repeat the process until all desired settings for each day are set.
Attached schedules to events menu
The Attach schedules to events menu lets you link the following system events to time schedules:
Latchkey opening. Sends a report if system is disarmed within the attached time schedule.
Latchkey closing. Sends a report if system is armed within the attached time schedule.
Exception opening. Sends a report if system is not disarmed within the attached time schedule.
Exception closing. Sends a report if system is not armed within the attached time schedule.
Lights (1 to 9). Activate X10 controlled lights by the attached time schedule.
Outputs (1 to 6). Allow users to attach onboard (1–2) and SnapCard outputs to a schedule.
Arming. Allows the user to arm the panel at the schedule start time.
Latchkey reports (opening: 060nn, closing: 061nn, where nn is schedule number)
Default setting is Off.
This setting lets you attach the latchkey opening report feature and the latchkey closing report feature to time
schedules. To attach a schedule to latchkey opening or latchkey closing, do the following:
1. Press A or B until the display shows ATTACH SCHEDULES TO EVENTS.
2. Press # then A or B until the display shows LATCHKEY OPENING or LATCHKEY CLOSING.
3. Press # and the display shows SCHEDULE 00 OFF/ON (current setting). If you want a different
schedule, press A or B until the desired schedule appears.
 Loading...