Disassembly
Disassembly Procedure
Complete procedures are included for disassembly and component removal.
Component replacement can be accomplished by reversing the procedures for
removal.
CAUTION
Be careful to place any removed hardware, such as screws and washers,
in a secure location for reassembly later.
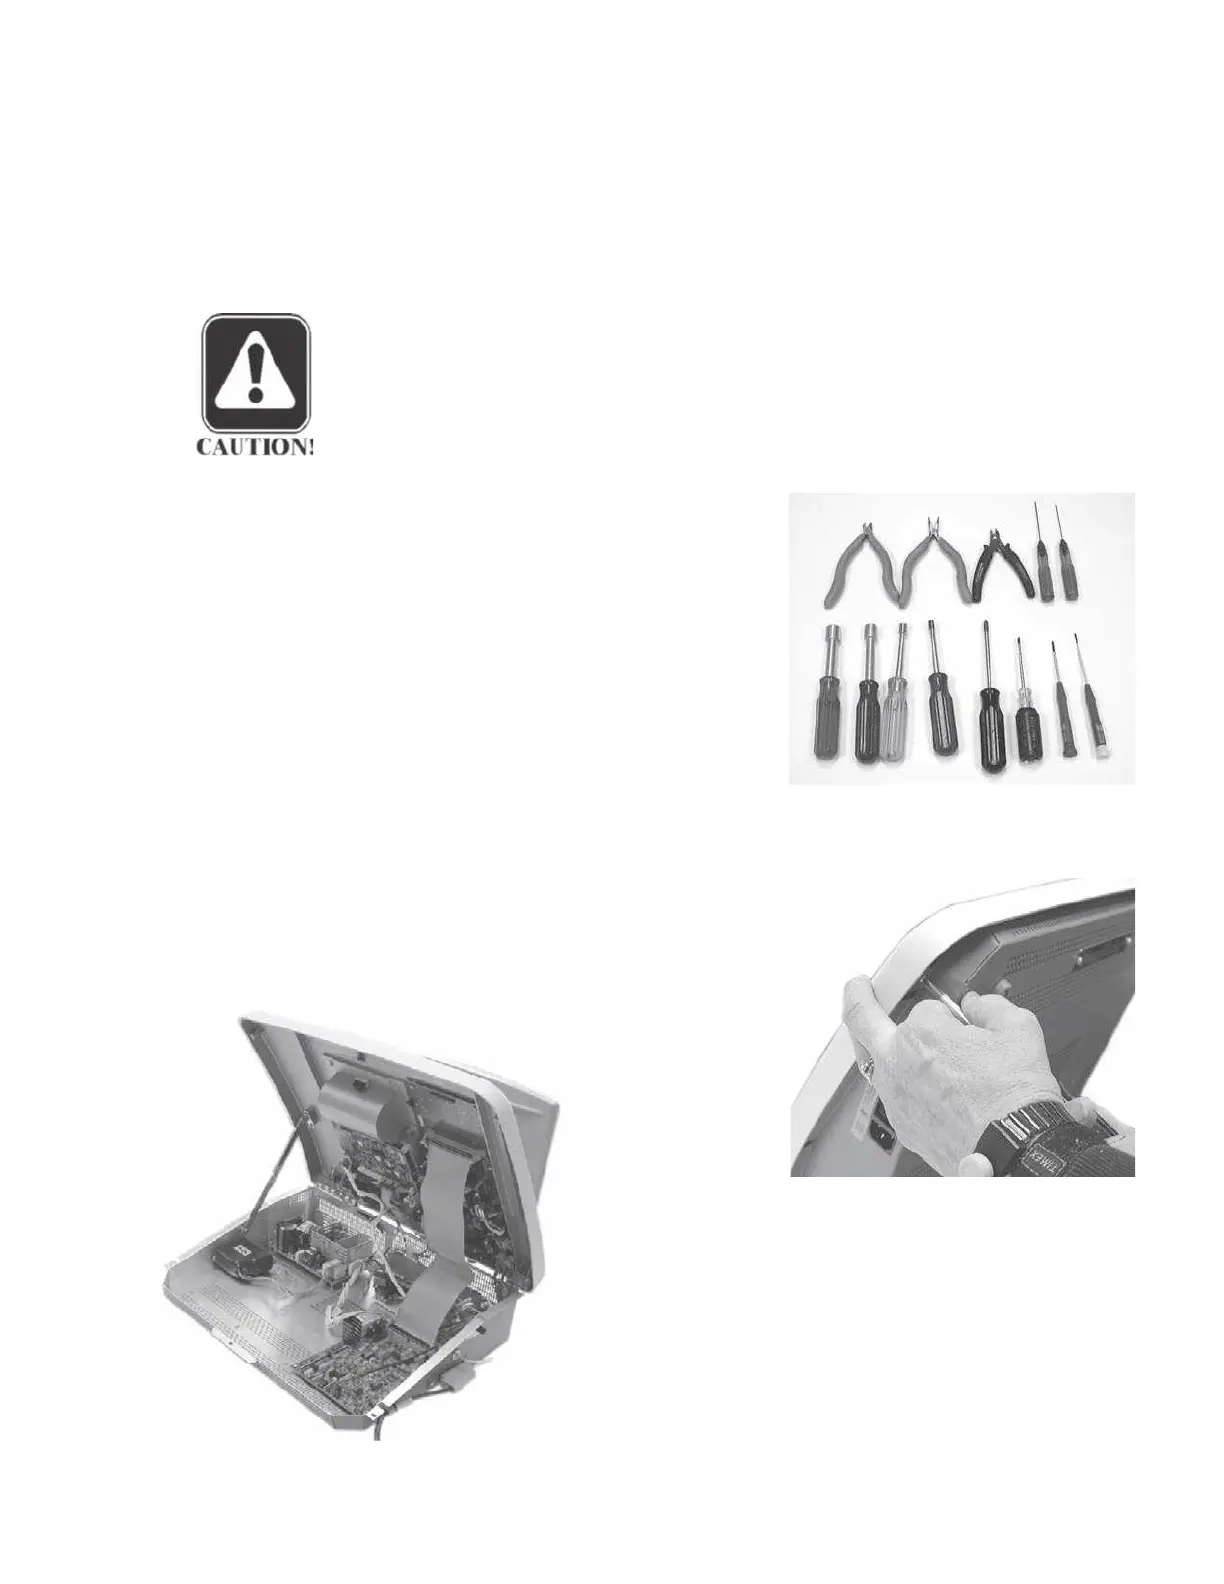
Tools Required A minimum of standard electronic pro-
duction tools are required for disassem-
bly and component replacement activi-
ties.
• Nut driver set
• Small and medium Philips
screwdrivers
• Small and medium straight-edge
screwdrivers
• Small and medium wire-cutters
• Small needle-nosed pliers
• Wire ties (4 to 5" in length)
Opening the cover
Step 1
Remove the three retaining screws that secure the
cover to the bottom chassis.
Step 2
Lift the cover and lock the cover sup-
port stay in place.
GSI TympStar Version 1 and Version 2 Service Manual 5 - 3

 Loading...
