Operation Summary
license key and probe, follow the instructions below to change the TympStar to
V2functionality.
NOTE
Press the CONTINUE softkey from this screen to keep the TympStar in V1
mode.
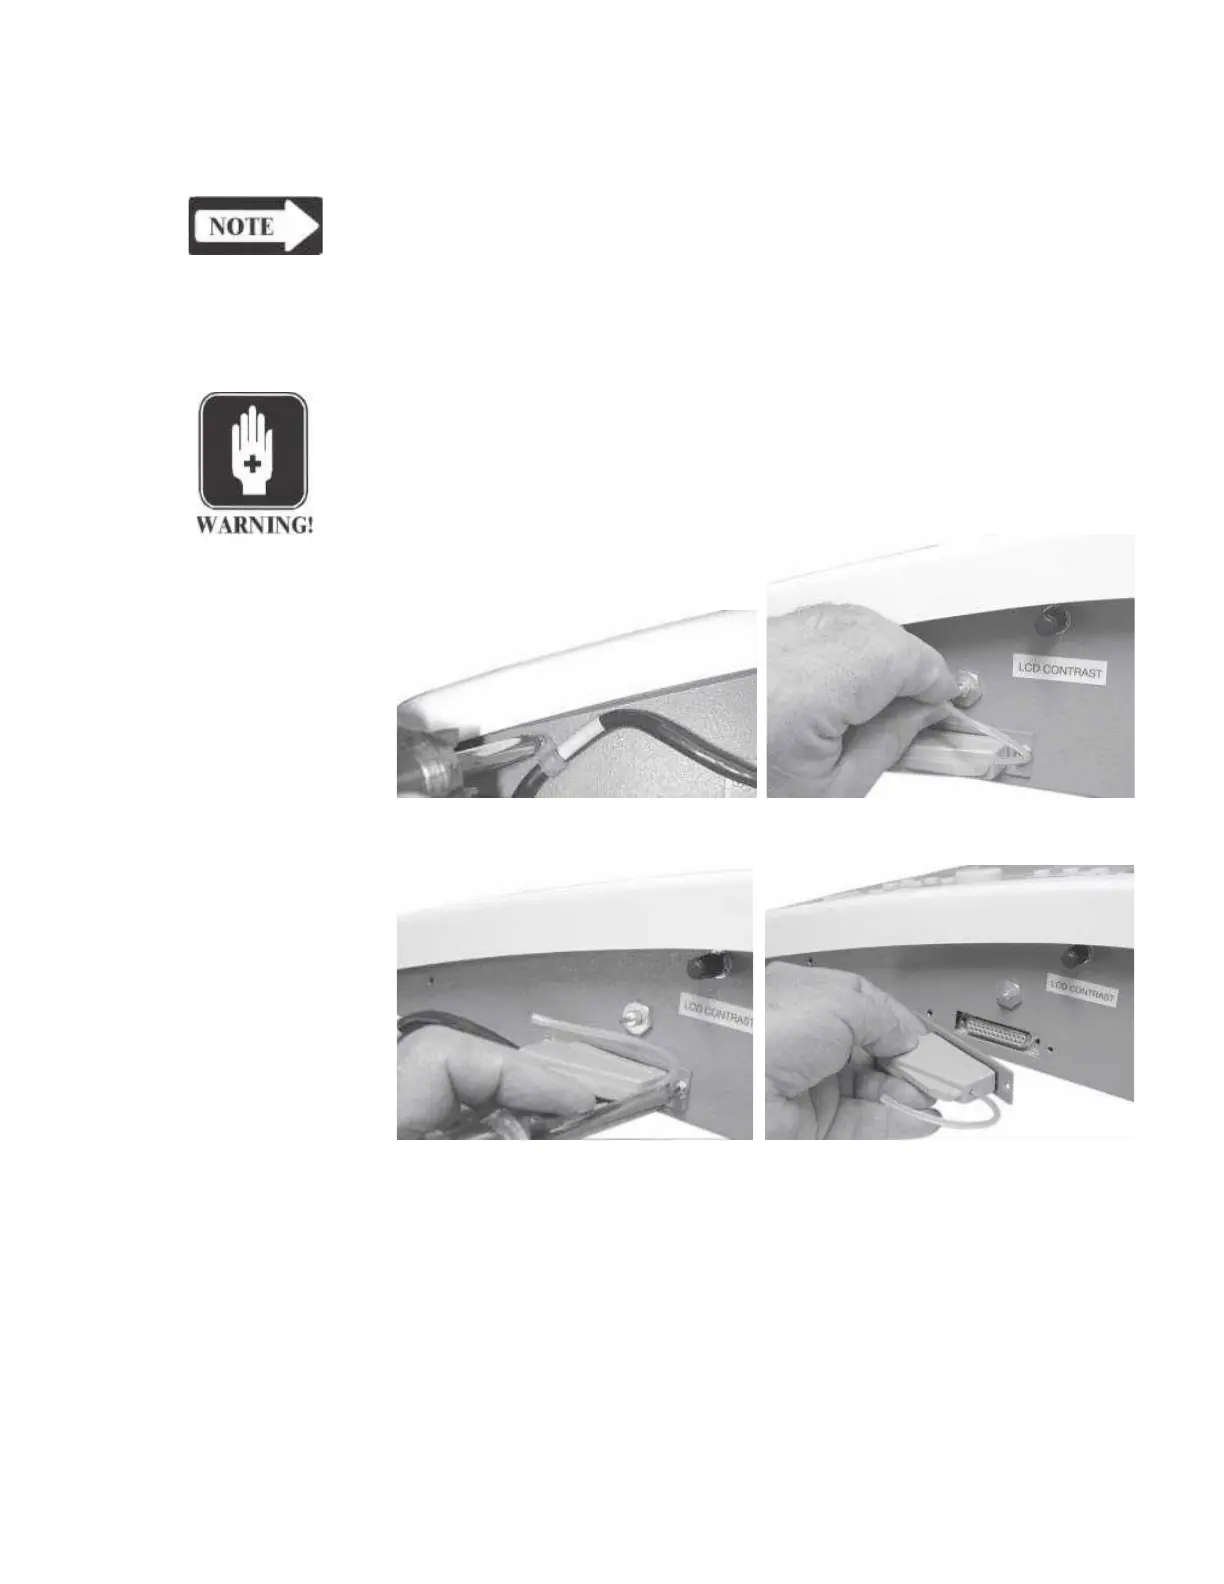
Replacing the V1 To replace the TympStar probe:
Probe with a V2
Probe
WARNING
Turn off power to the TympStar.
1) Disconnect the air tubing to the brass fitting on the side of the TympStar.
2) Remove the cable clamp on the side of
the TympStar
3) Remove the two retaining screws that secure the probe connector to the
TympStar.
4) Pull the connector straight out and away from the side of the TympStar chassis.
Reverse this sequence to connect the new Version 2 probe to the TympStar. Con-
tact your GSI representative to have the removed probe returned to GSI.
5) Connect an external keyboard, power the instrument and return to the
VERSION sceen.
GSI TympStar Version 1 and Version 2 Service Manual
3 - 15

 Loading...
