Disassembly
Removing the in-
Step 1
strument front panel
Carefully insert the tip of a pointed
label
blade under a corner of the label and
lift the corner away from the front
panel.
Step 2
Gently peel the label off the front
panel.
CAUTION
Do not fold or bend the label.
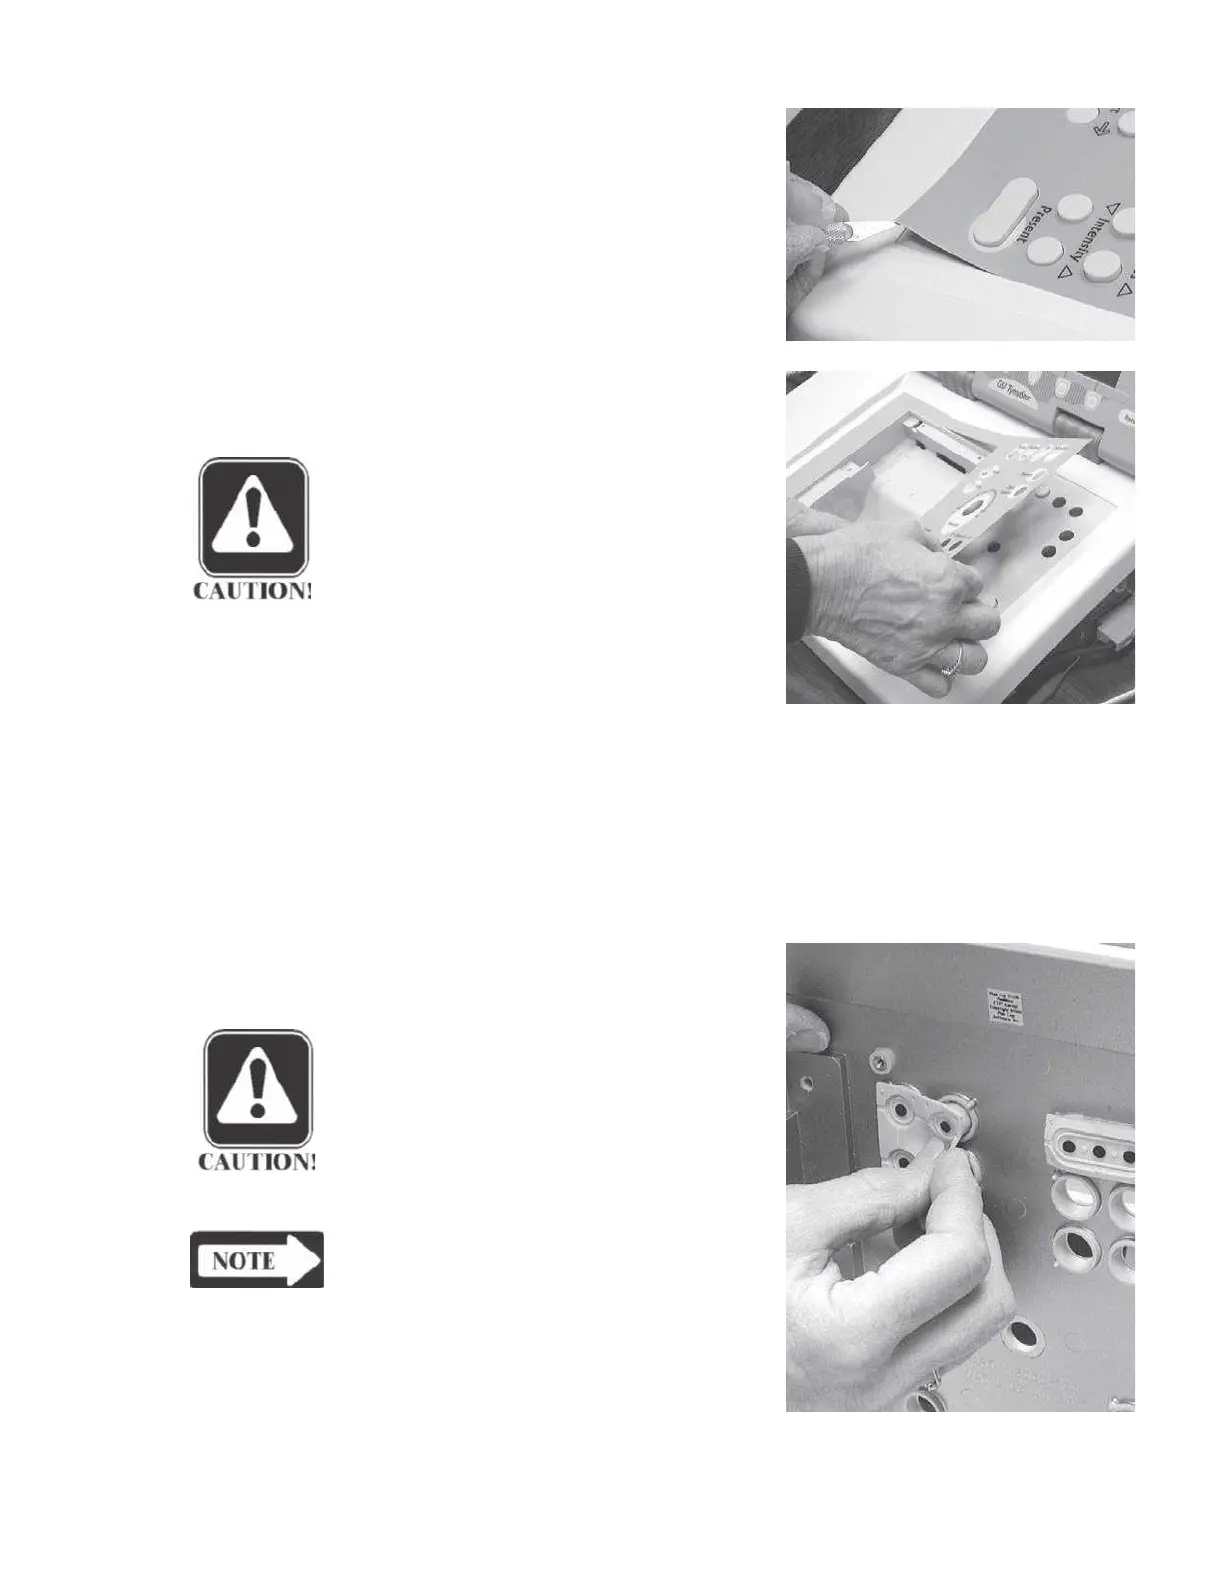
Removing panel
Step 1
keypads Remove the PC104 and digital boards as described earlier in this chapter.
Step 2
Gently pull the rubber keypad contacts
out of the holes in the front panel.
CAUTION
During reassembly, be careful to se-
cure the corner of each keypad
module by pushing the panel loca-
tor pin fully through the hole in the
corner of the module.
NOTE
One-key and two-key modules are
cut from four-key modules.
GSI TympStar Version 1 and Version 2 Service Manual
5 - 29

 Loading...
