Sub-menu of
START daPa
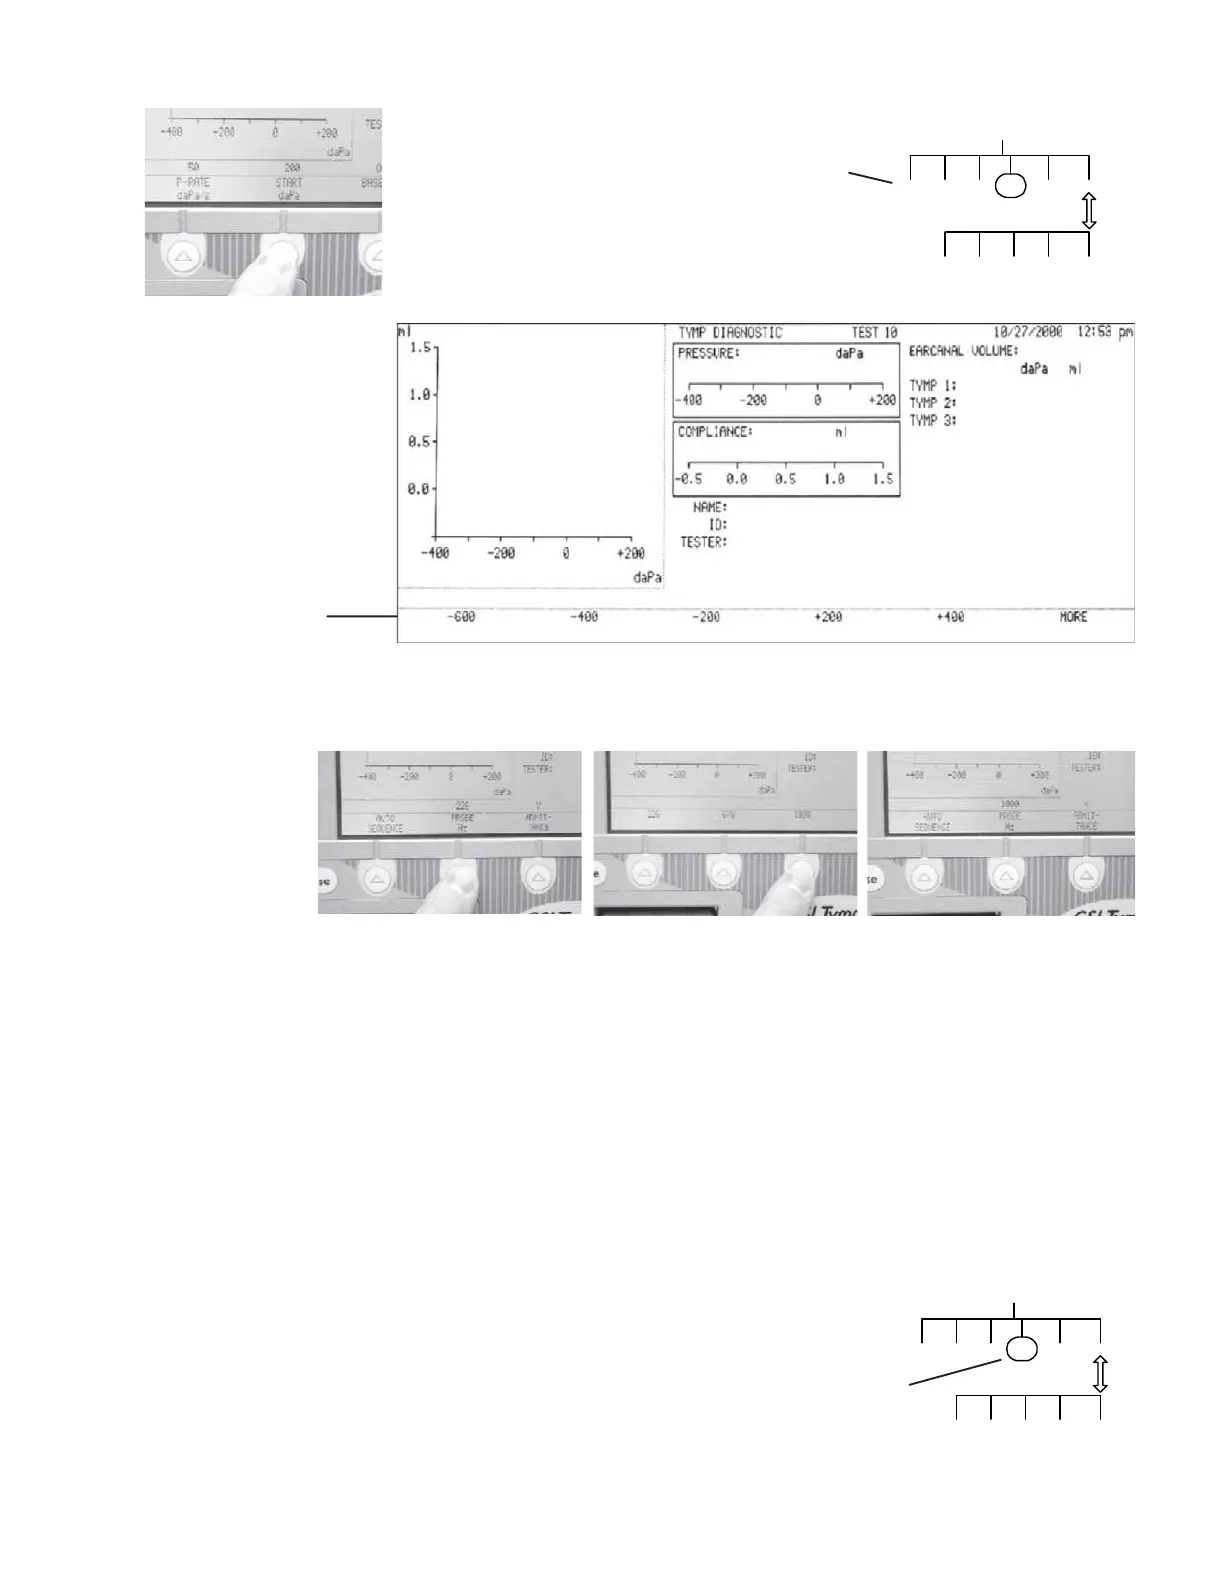
Changing parameter Settings can be changed for a selected parameter by pressing the desired softkey as
settings shown in this example of changing the Probe Hz from 226 to 1000.
Making the new selection returns the display to the previous menu level with the new
setting shown above the selected parameter.
If no change is desired, the display can be returned to the previous level by
pressing the RETURN hardkey.
In the manner described above, menus can be navigated and settings can be
changed for any of the test modes.
Menu diagrams Menu structure diagrams, like the diagrams shown on these pages, will be used
throughout the remainder of this manual as a convenience to the user.
Introduction
Pressing a parameter menu softkey
causes a sub-menu of parameter
settings to be displayed. Often sub-
menus will also contain MORE
softkey selections that provide ac-
cess to additional setting alterna-
tives.
GSI default param- GSI default parameters are circled on
eter settings menu structure diagrams shown
throughout the remainder of this
manual.

 Loading...
