Preventive Maintenance
Chapter 6: General Procedures
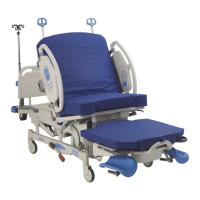
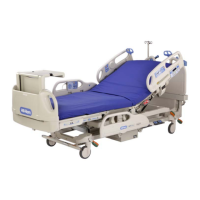
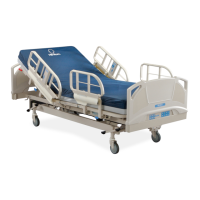
Page 6 - 10 Affinity® Three Birthing Bed and Affinity® Four Birthing Bed
Service Manual (MAN272 REV 4)
Preventive Maintenance Schedule
Table 6-2. Preventive Maintenance Schedule
Function Procedure
Siderail controls Check the switches in the siderails to ensure they are functioning
correctly. Also check for intermittent operation. For replacement
instructions, see “Patient Siderail (Inboard) P.C. Switch Board” on
page 4-69.
Siderail frame Check the siderail frame to ensure proper latching and down storage.
Repair as necessary (see “Logic Control P.C. Board Assembly” on
page 4-57).
Caster tires and
central brake and
steer
Check the tires for cuts, wear, tread life, etc.
Apply the brake, and check to ensure that the bed will not move. If the
bed moves, inspect it for wear, and adjust if required. See “Caster
Assembly” on page 4-80.
Apply the steering pedal and check the steering to ensure proper
locking action when activated. See “Caster Assembly” on page 4-80.
Communications Test all SideCom® Communication System features (radio, TV, light,
entertainment, and nurse call functions) for proper operation.
Inspect the communication cable for cuts, nicks, or breaks.
Inspect the male pins and female receptacle in the connecting plug.
CPR release Test the CPR release for proper operation and reset of the head drive
system. When the CPR release is pulled, the bed should lower from
any position into a flat position within 7 seconds with at least 50 lb
(23 kg) of weight on the head section.
Electrical test Test the bed for electrical leakage. Ground resistance must be less
than 0.20. Leakage current must be less than 100A for 120V
models, and less than 150 for 230V models.
Battery test Test the battery voltage at connector P5 at the control P.C. board.
Voltage should be 25V DC to 30V DC.