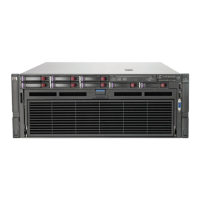
10. Slide the server into the rack until the chassis ears are flushed against the rack posts.
11. (Optional) Open the chassis ear latches (callout 1), and then tighten the shipping screws (callout 2).
ResultsResults
The installation is complete.
Power supply optionsPower supply options
Depending on the installed options and the regional location where the server was purchased, the server can be configured with one of the
supported Power supply specifications .
SubtopicsSubtopics
Hot-plug power supply calculationsHot-plug power supply calculations
Power supply warnings and cautionsPower supply warnings and cautions
DC power supply warnings and cautionsDC power supply warnings and cautions
Power supply redundancyPower supply redundancy
Installing an AC power supplyInstalling an AC power supply
Installing a DC power supplyInstalling a DC power supply
Connecting a DC power cable to a DC power sourceConnecting a DC power cable to a DC power source
Hot-plug power supply calculationsHot-plug power supply calculations
For hot-plug power supply specifications and calculators to determine electrical and heat loading for the server, see the Hewlett Packard
Enterprise Power Advisor website (https://www.hpe.com/info/poweradvisor/onlinehttps://www.hpe.com/info/poweradvisor/online).
 Loading...