USER MANUAL
INTEL® FALCON™ 8+ UAS
© 2018 Intel Corporation. All rights reserved 63
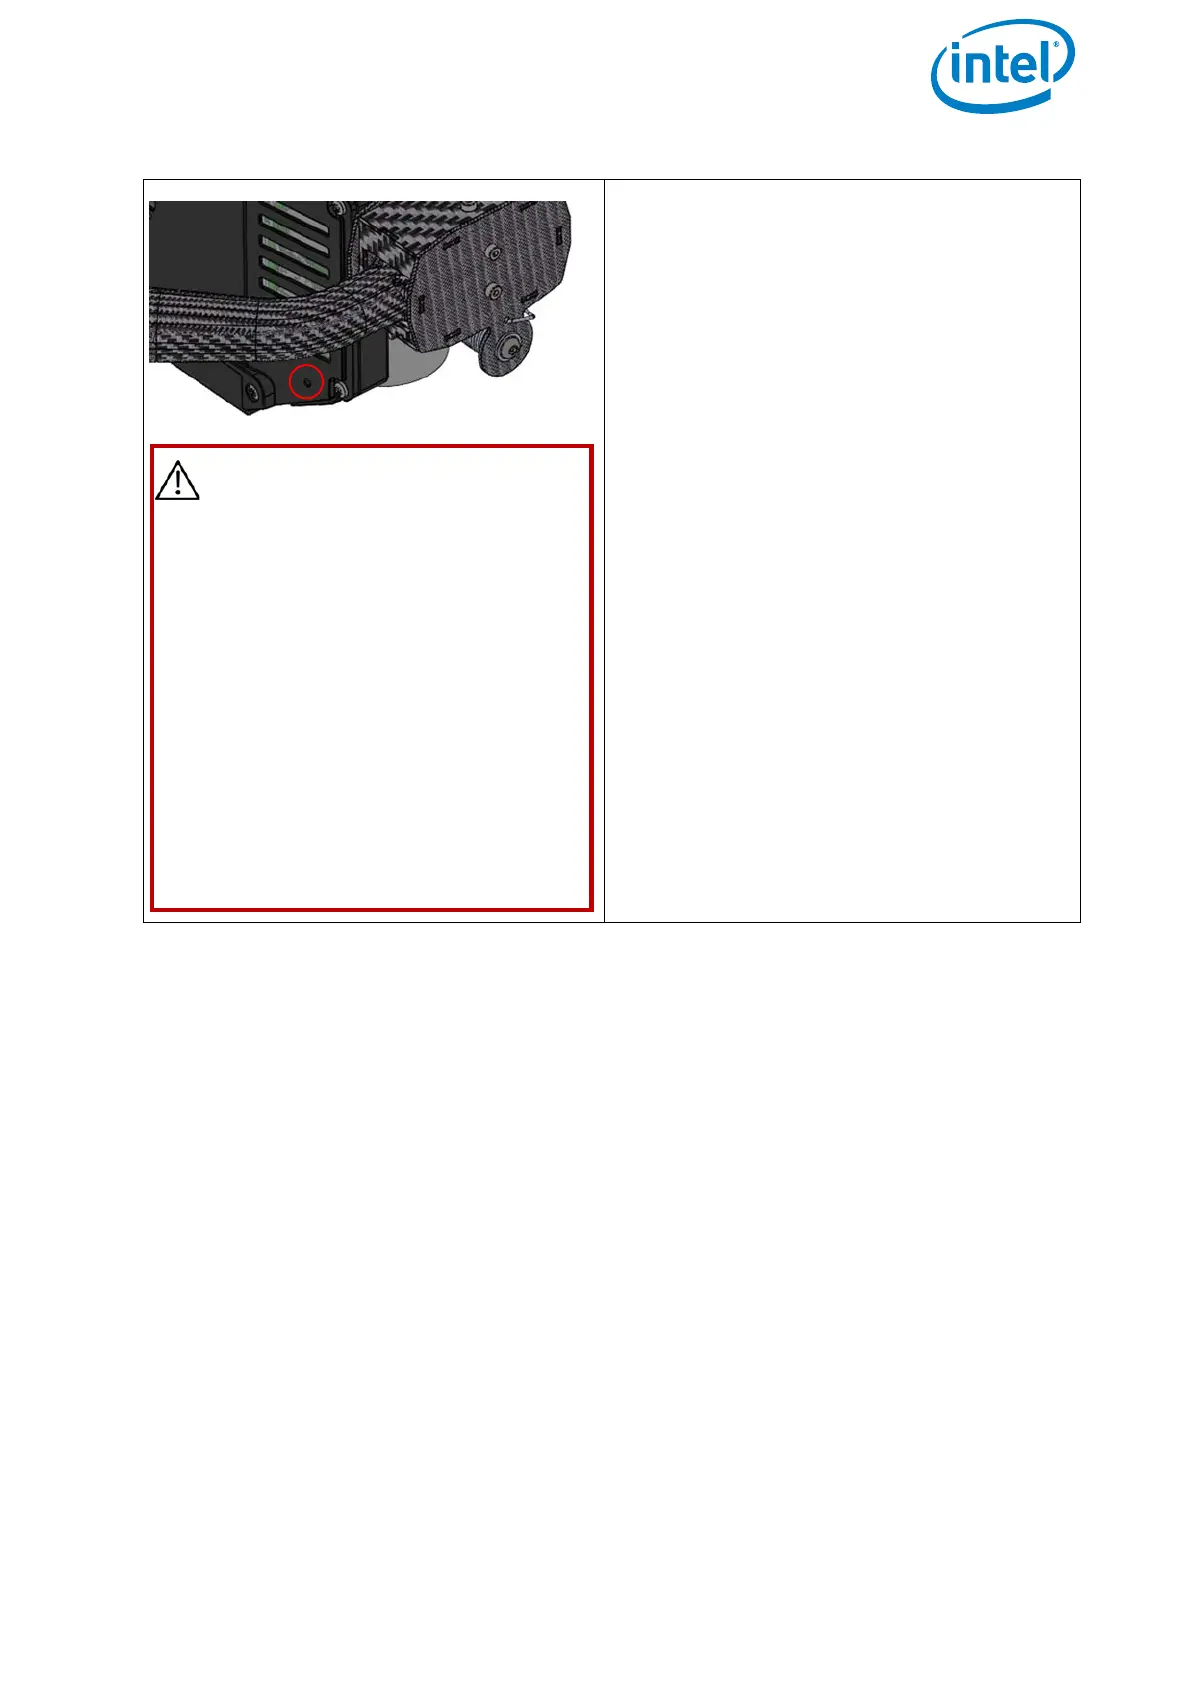
6. Locate the DNX button on the bottom
of the payload (next to the USB
connector; see picture to the left).
The button is accessible through a
small hole on the bottom of the
payload. The button can be pressed
by using a straightened paper clip or
similar object.
7. Insert the paper clip into the hole and
press the button.
When doing this a click can be heard.
8. While keeping this button pressed
down, power ON the Intel Falcon 8+
UAV.
This will put the payload into the
firmware update mode.
9. The DNX button can be released
approximately 5 seconds after
switching ON the Intel Falcon 8+ UAV.
Figure 2.28: Firmware update process (continued)
CAUTION: DO NOT TURN
EITHER THE PAYLOAD OR THE
UAV UPSIDE DOWN TO PRESS
AND HOLD THE DNX BUTTON.
LEAVE THE PAYLOAD IN
HORIZONTAL 0° PITCH ANGLE
POSITION BECAUSE THE
GIMBAL SERVOS OF THE
PAYLOAD WILL START
WORKING WHEN YOU SWITCH
ON THE UAV. THE ACTIVE
MOTIONS OF THE SERVOS
WOULD WORK AGAINST ANY
EXTERNAL FORCE, RESULTING
IN POSSIBLE DAMAGE TO THE
SERVO MOTORS.