Section 4 Route Planning 4-16
4.7 Creating a Temporal Route
A temporal route is not saved as a file but can be used for route monitoring.
Route monitoring starts automatically when a temporal route is created.
While destination routes are created on the [Route/Destination] dialogue, temporal routes are created
via key operations on the operating unit without opening the [Route/Destination] dialogue.
Memo
Use the [Settings] menu if you want to save a temporal route even after the power supply is turned
off. For details, see 5.2.2 Configuring [Settings] - [Route] from the menu.
Use the procedure to create a temporal route.
1 Display the first WPT point in the chart.
2 Press the start point key.
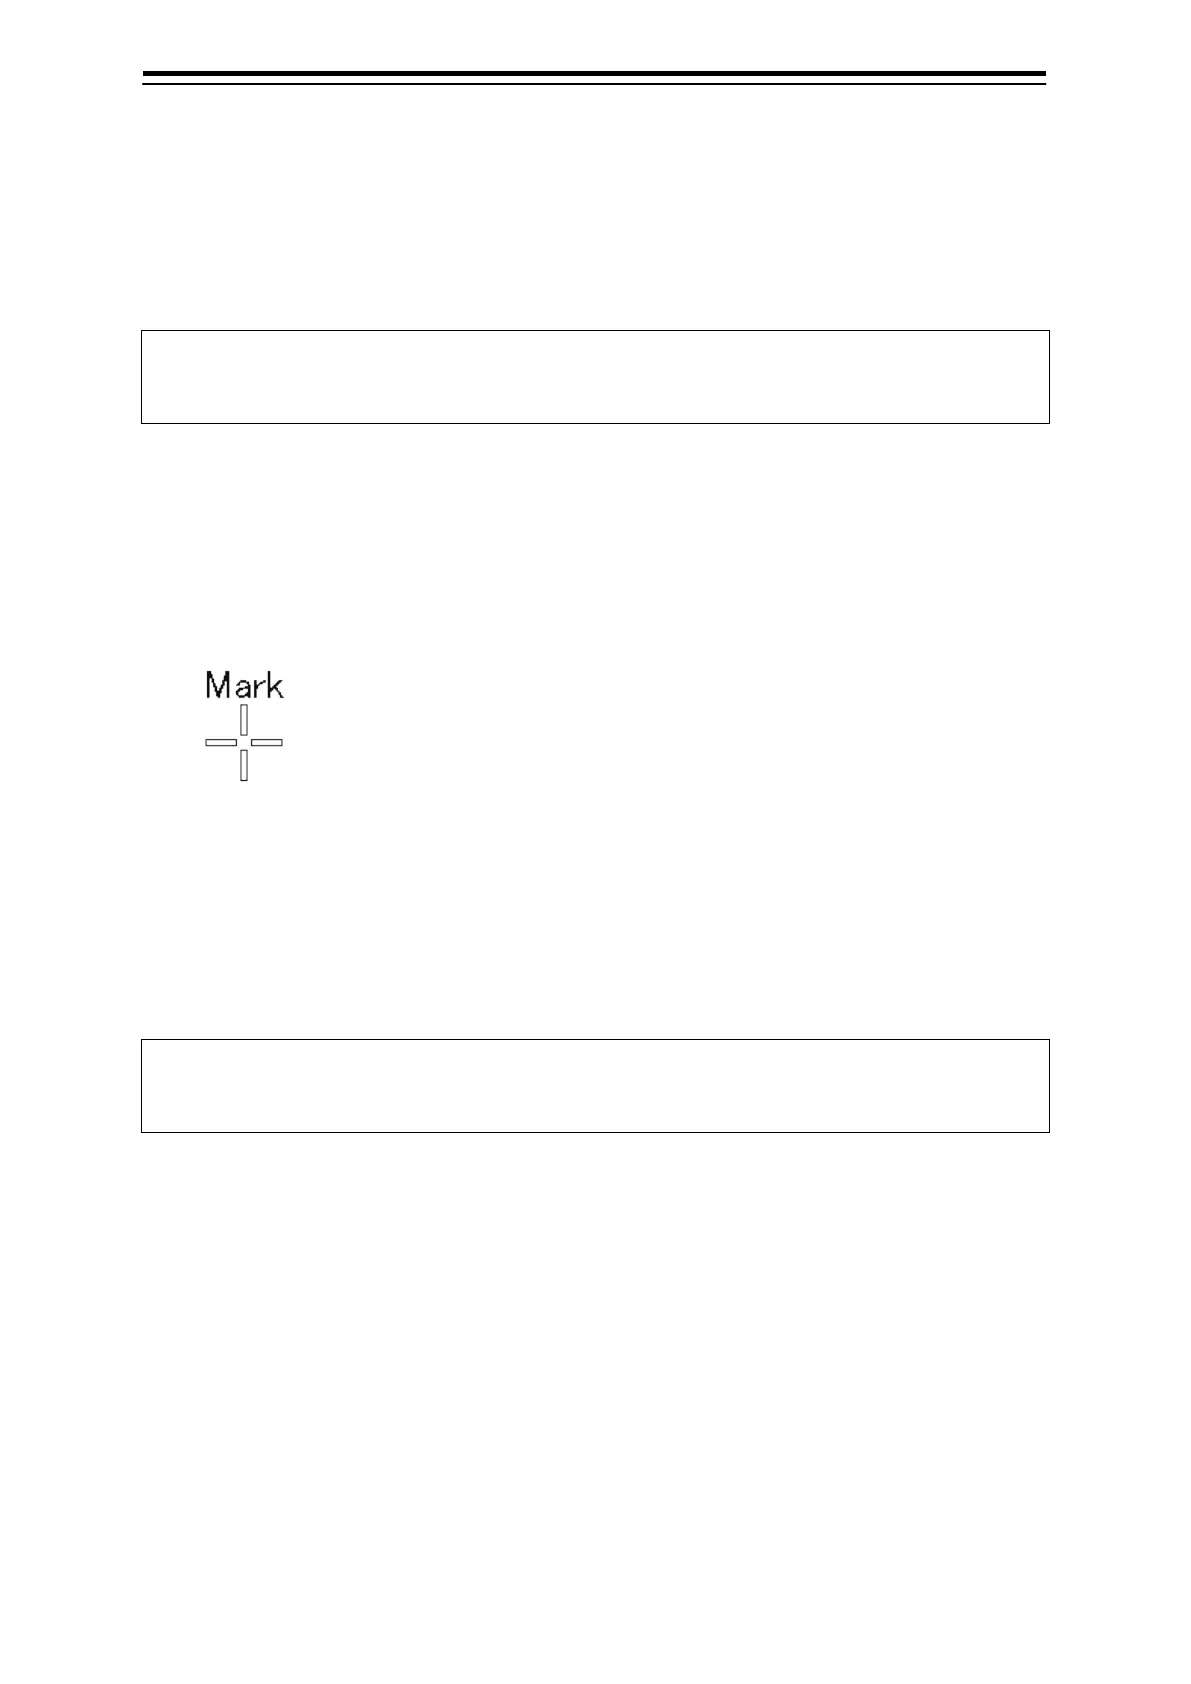
WPT is created on the point where the key is pressed, and the cursor changes to the Mark
cursor.
3 Hover the Mark cursor on the next WPT position and press the start point key.
These two WPT are connected by legs.
4 Repeat step 3 to add another WPT.
5 When the last WPT is specified, press the end point key.
The temporal route is determined and route monitoring starts automatically.
Memo
For details of route monitoring using a temporal route, see 5.1.1.3 Route monitoring using a
temporal route/GoTo route.

 Loading...