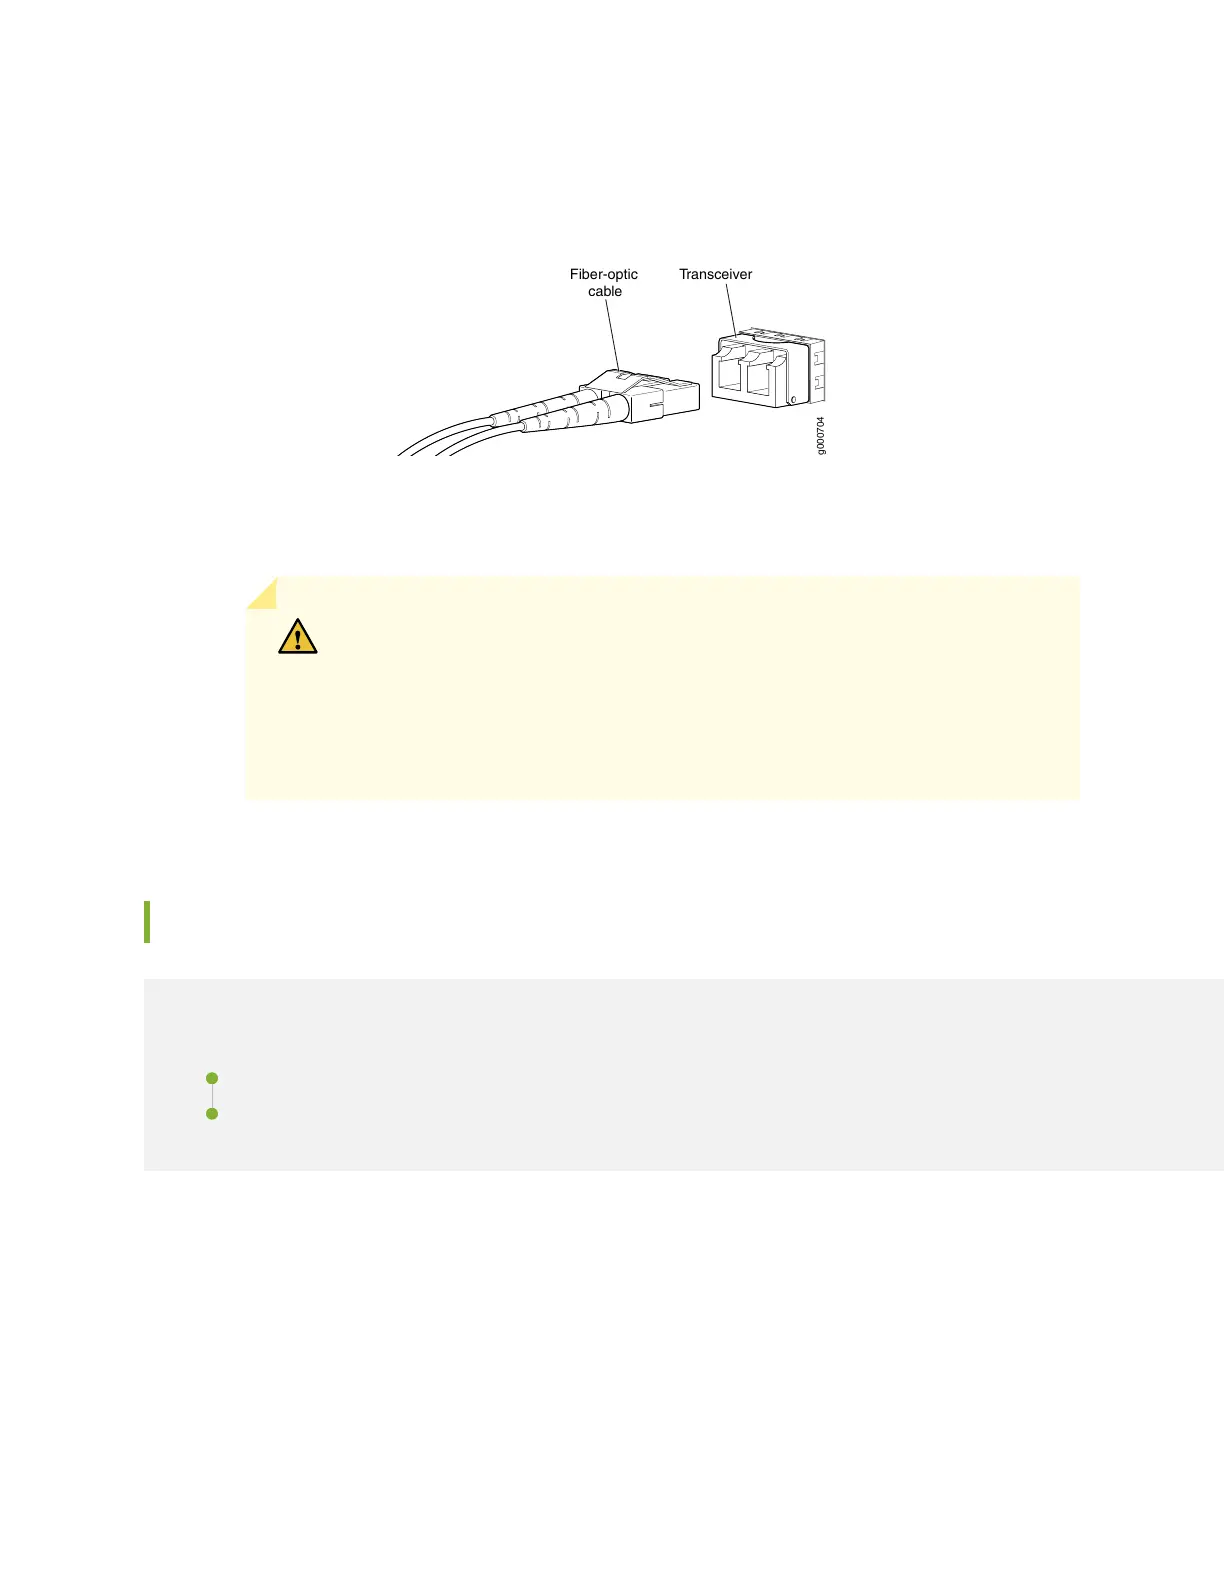
3. Insert the cable connector into the optical transceiver (see Figure 42 on page 116).
Figure 42: Connecting a Fiber-Optic Cable to an Optical Transceiver Installed in a Device
g000704
TransceiverFiber-optic
cable
4. Secure the cables so that they do not support their own weight. Place excess cable out of the way in
a neatly coiled loop. Placing fasteners on a loop helps cables maintain their shape.
CAUTION: Do not bend fiber-optic cables beyond their minimum bend radius.
An arc smaller than a few inches in diameter can damage the cables and cause
problems that are difficult to diagnose.
Do not let fiber-optic cables hang free from the connector. Do not allow fastened
loops of cables to dangle, which stresses the cables at the fastening point.
Replacing an SFP+ Transceiver on an SRX4600 Services Gateway
IN THIS SECTION
Removing an SFP+ Transceiver | 117
Installing an SFP+ Transceiver | 118
Small form-factor pluggable plus transceivers (SFP+) are enhanced SFP transceivers that provides support
for data rates of up to 10 Gbps for fiber-optic or copper interfaces. SFP+ transceivers are hot-removable
and hot-insertable field-replaceable units (FRUs): You can remove and replace them without powering off
the device or disrupting device functions.
116

 Loading...


