4. Run the diskutil list command again to determine the device node assigned to USB flash-drive (e.g.
/dev/disk2).
5. Run the diskutil unmountDisk /dev/diskN command (replace N with the disk number from the last
command - in the previous example, N would be 2)
6. Execute sudo dd if=/var/tmp/junos-install-media-usb-srxhe-x86-64-17.4R1-S1.9.img of=/dev/rdiskN
bs=1m
NOTE: Using /dev/rdisk instead of /dev/disk may be faster.
NOTE: If you see the error dd: Invalid number '1m', you are using GNU dd. Use the same
command but replace bs=1m with bs=1M.
NOTE: If you see the error dd: /dev/diskN: Resource busy, make sure the disk is not in
use. Start the 'Disk Utility.app' and unmount (don't eject) the USB flash-drive.
7. Run the command diskutil eject /dev/diskN.
Installing Junos OS on SRX4600 Services Gateway Using the Bootable USB Flash-Drive
Before installing Junos OS using a bootable USB flash-drive, you must first complete the steps in “Creating
a Bootable USB Flash-Drive” on page 103 .
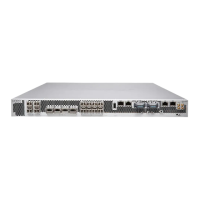
1. Insert the USB flash drive into the USB port of the SRX4600 services gateway.
2. Connect to the SRX4600 services gateway through a console.
3. Power cycle (off/on) the SRX4600 services gateway and Press Esc for boot options.
4. Select Boot Manager and press Enter key.
5. From the Boot Option Menu, select USB flash drive and press Enter key.
108

 Loading...