CAUTION: Do not bend the fiber-optic cable beyond its minimum bend radius.
An arc smaller than a few inches in diameter can damage the cable and cause
problems that are difficult to diagnose.
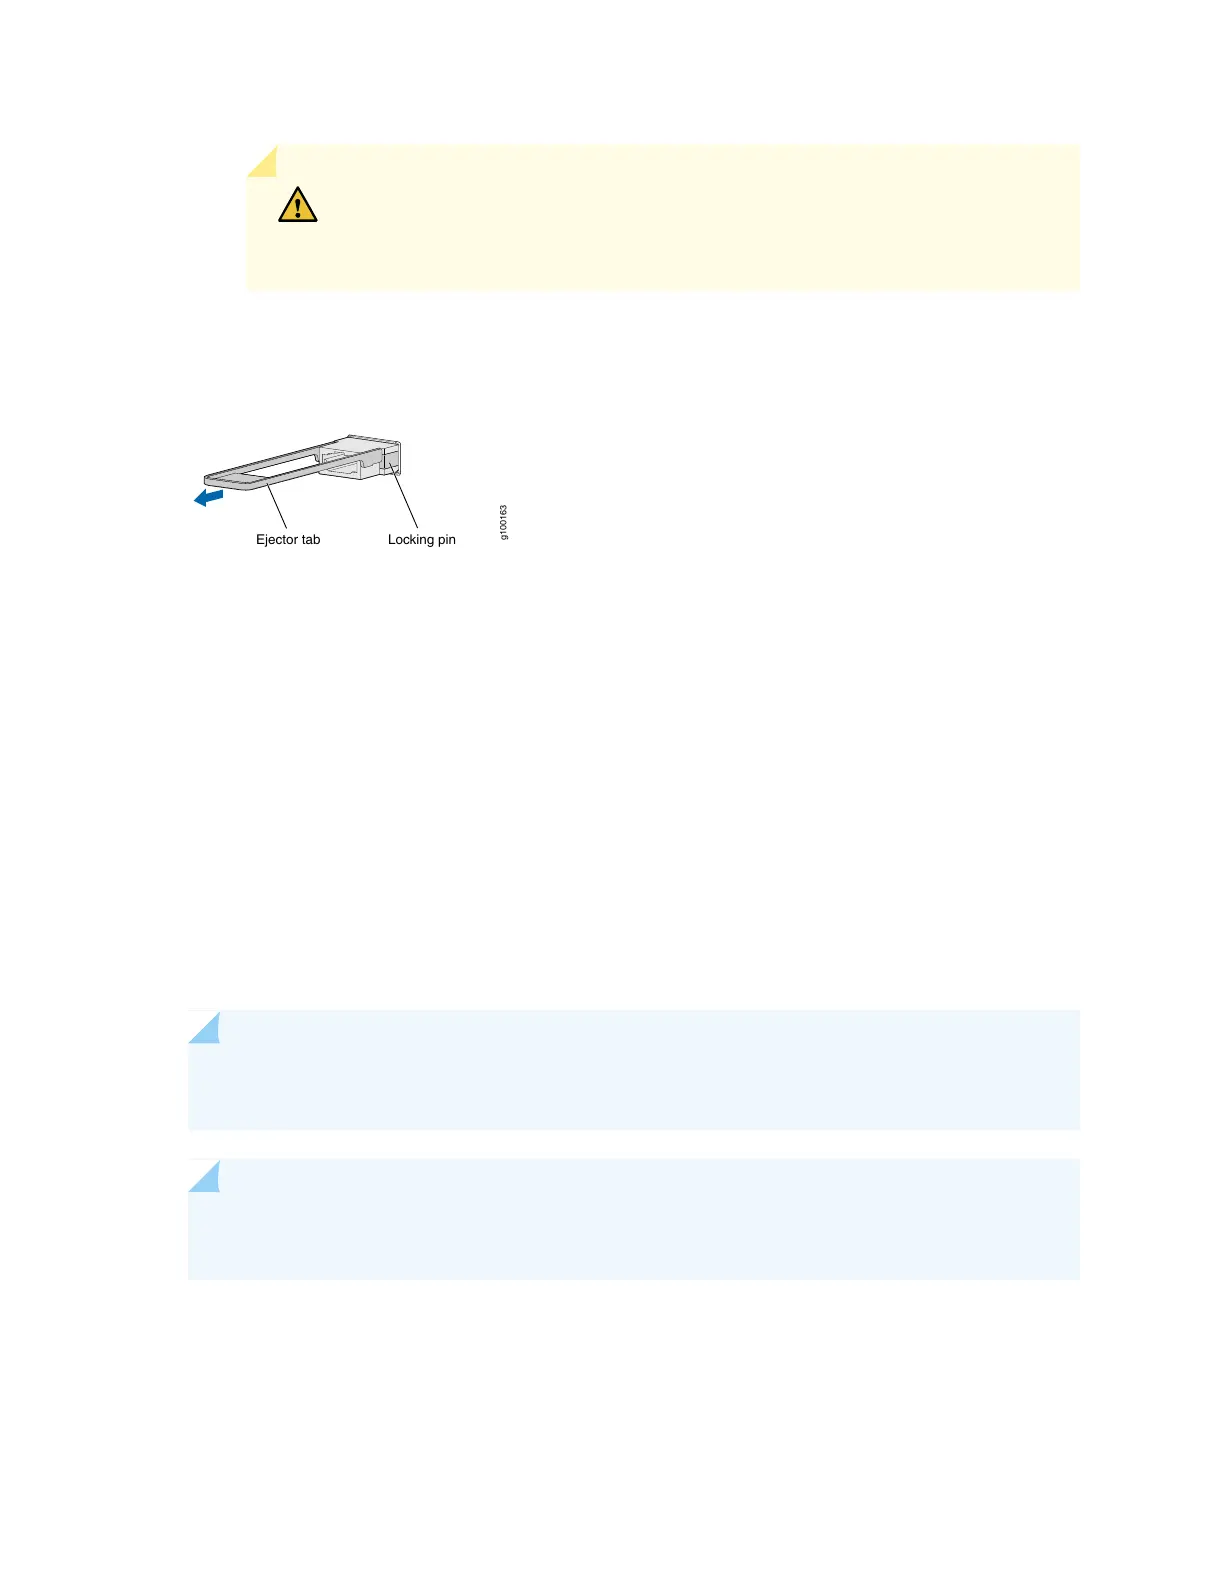
Figure 44: Removing a QSFP28 Transceiver
g100163
Locking pin
Ejector tab
6. Pull the ejector tab straight back. The locking pins on the transceiver automatically release the
transceiver.
7. Place the transceiver on the antistatic mat or in the antistatic bag.
8. Place the dust cover over the empty port or install the replacement transceiver.
Installing a QSFP28 Transceiver
The transceivers for Juniper Networks devices are hot-removable and hot-insertable field-replaceable
units (FRUs). You can remove and replace them without powering off the device or disrupting the device
functions.
NOTE: After you insert a transceiver or after you change the media-type configuration, wait for
6 seconds for the interface to display operational commands.
NOTE: We recommend that you use only optical transceivers and optical connectors purchased
from Juniper Networks with your Juniper Networks device.
121

 Loading...


