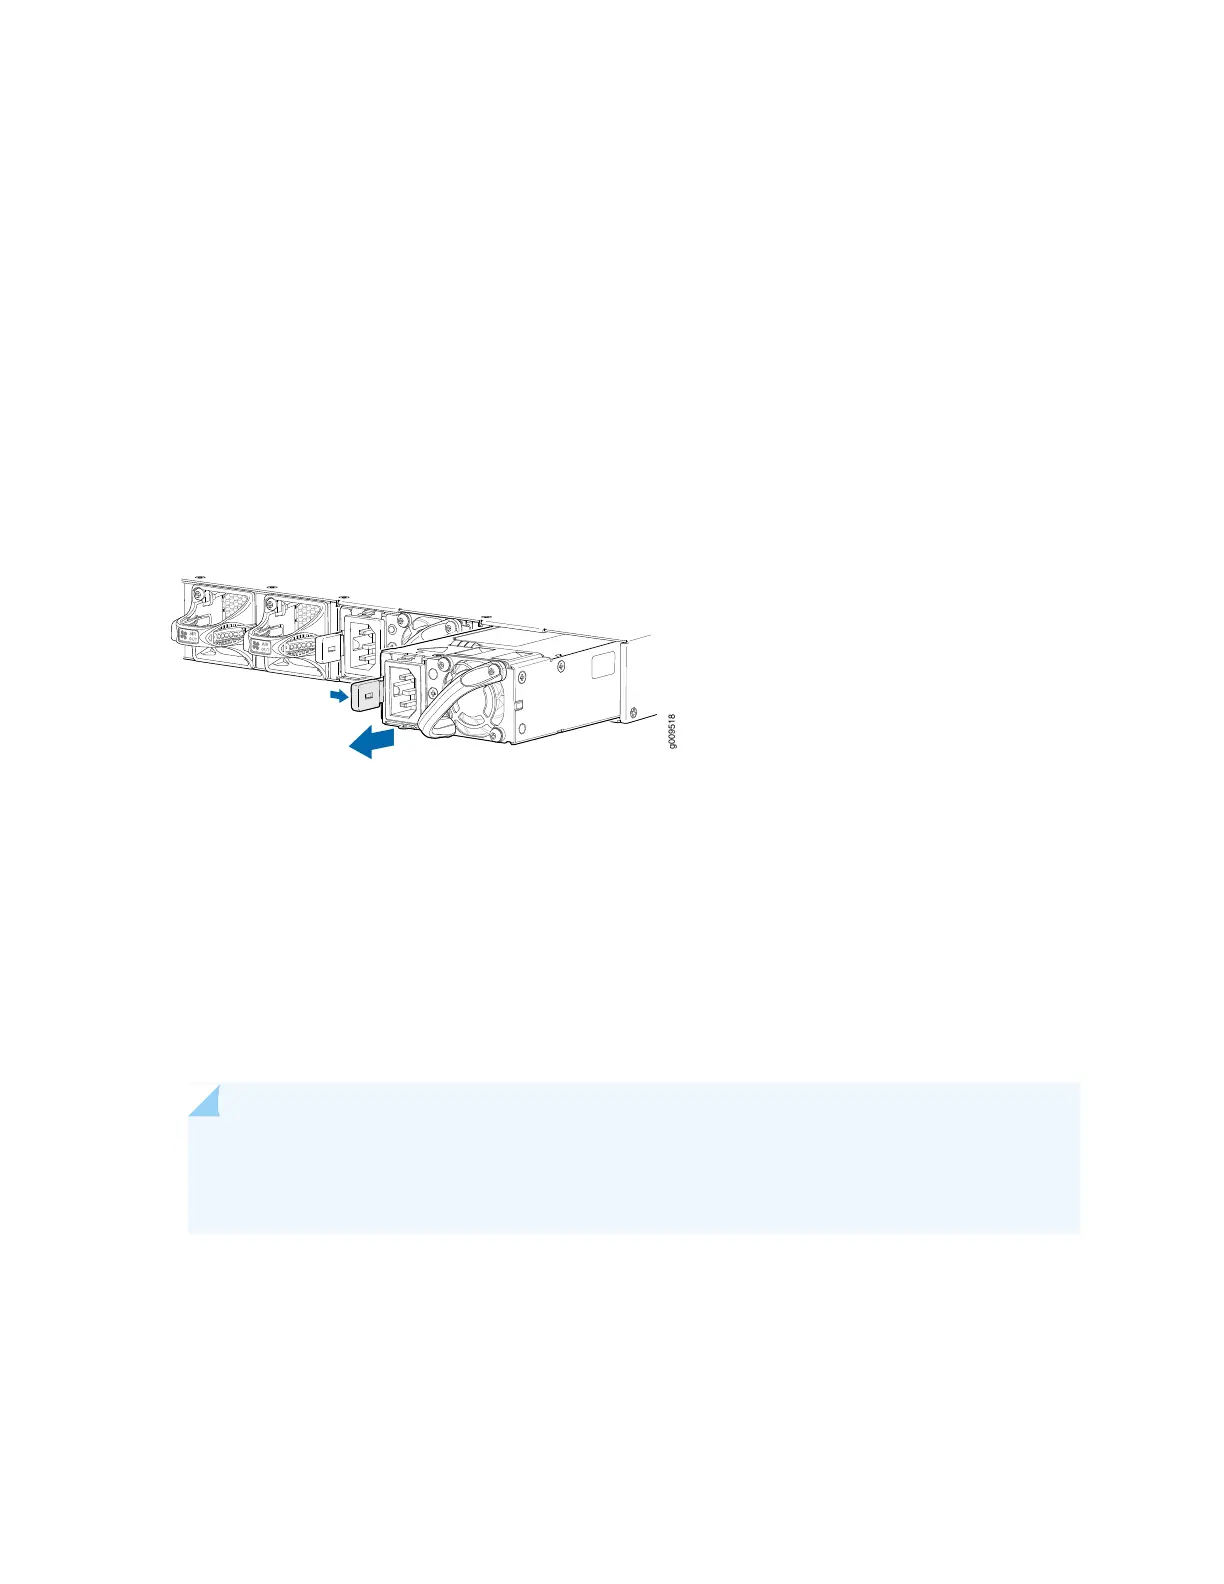
6. Slide the release latch to the left to unseat the power supply from the chassis. See Figure 34 on page 93.
7. Grasp the power supply handle and pull firmly to slide the power supply halfway out of the chassis.
8. Place one hand under the power supply to support it and slide it completely out of the chassis. Take
care not to touch power supply components, pins, leads, or solder connections.
9. Place the power supply in the antistatic bag or on the antistatic mat placed on a flat, stable surface.
10. If you are not replacing the power supply, install the cover panel over the slot.
Figure 34: Removing an AC Power Supply
Installing the SRX4600 Services Gateway AC Power Supply
You can install an AC Power Supply without powering off the services gateway or disrupting services
gateway functions.
Ensure that you have the following tools and parts available:
•
ESD grounding strap
•
Phillips (+) screwdriver, number 1
NOTE: Before you install a power supply from the services gateway, ensure that you have taken
the necessary precautions to prevent ESD damage (see Prevention of Electrostatic Discharge
Damage).
93