To install the AC power supply, see (Figure 35 on page 94):
1. Attach the ESD grounding strap to your bare wrist, and connect the strap to the ESD point on the
chassis.
2. Taking care not to touch power supply pins, leads, or solder connections, remove the power supply
from the bag.
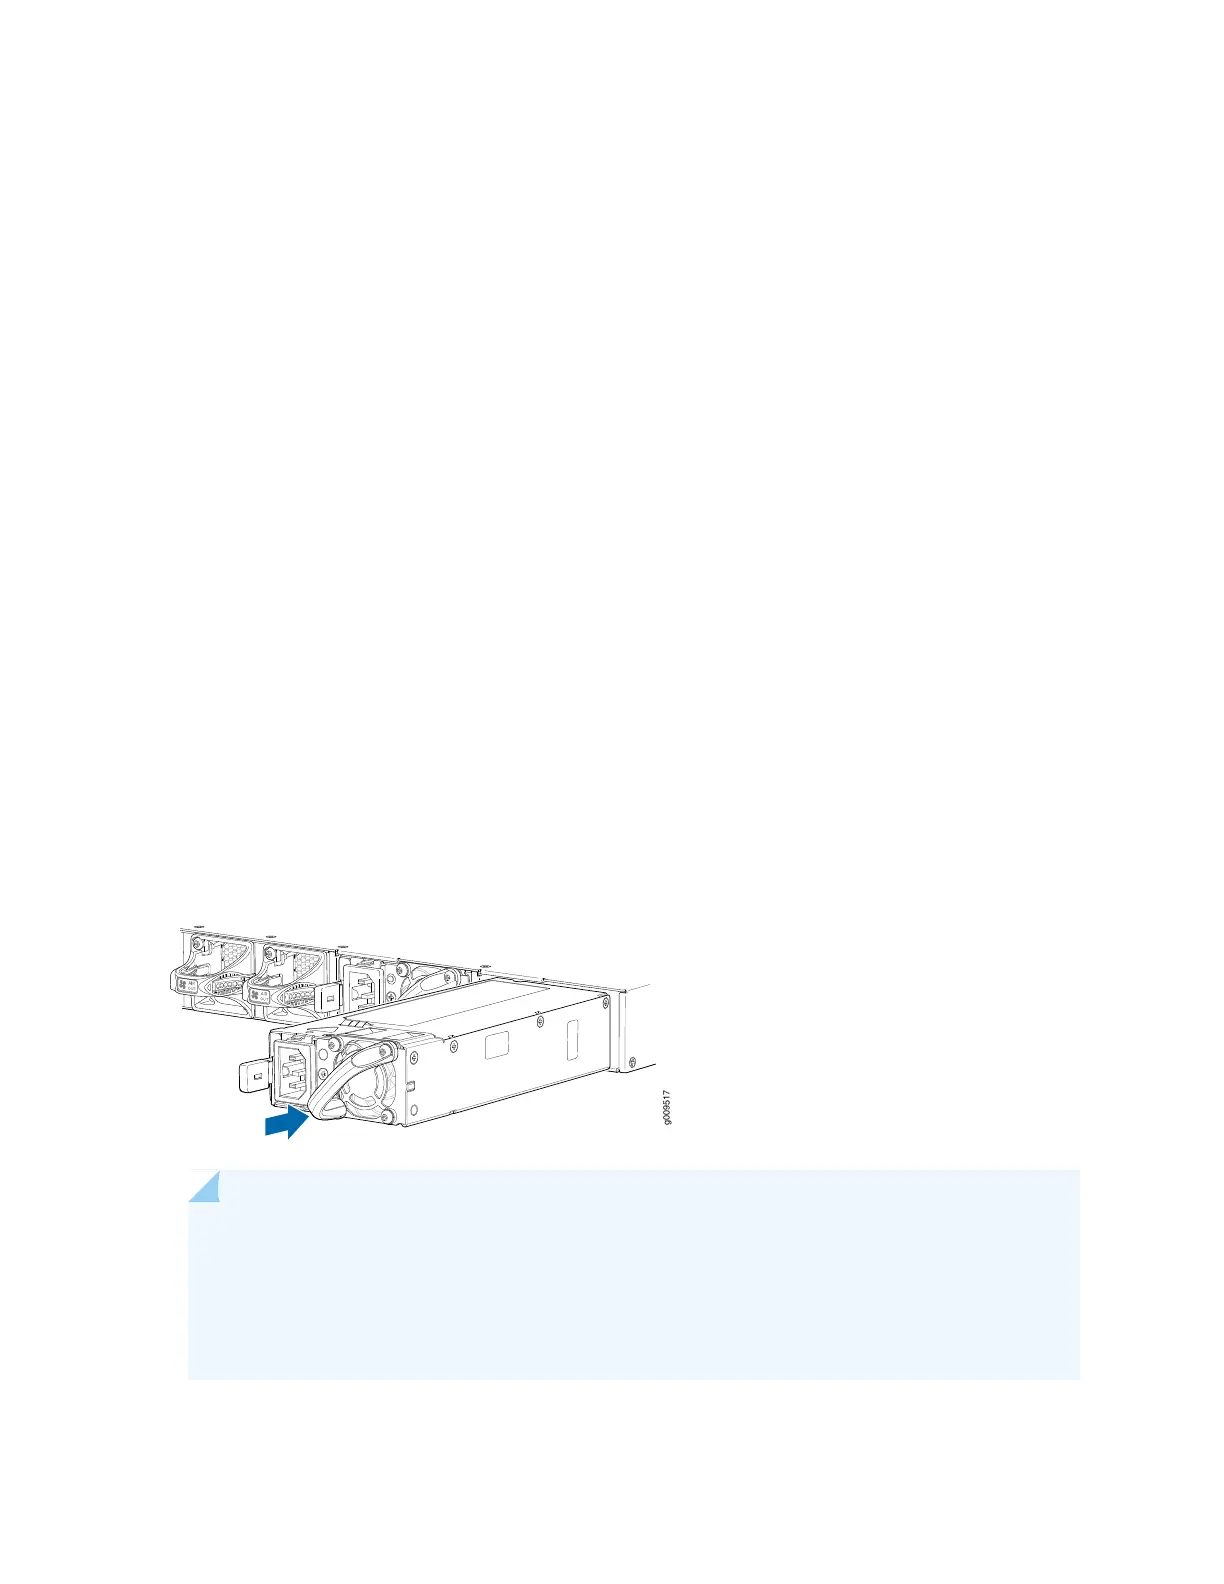
3. Using both hands, place the power supply in the power supply slot on the rear panel of the services
gateway and slide it in until it is fully seated and slide the release latch to the right.
4. Insert the female end of the power cord into the faceplate of the power supply and attach the power
cord retainer.
5. Insert the male end of the power cord to the power source outlet.
6. On the AC power source outlet, set the power switch to on (I) position. Follow the instructions for your
site.
7. Observe the status LED on the power supply faceplate. If the power supply is correctly installed and
functioning normally, the status LED glows green steadily.
Figure 35: Installing an AC Power Supply
NOTE: If you have a Juniper J-Care service contract, register any addition, change, or upgrade
of hardware components at
https://www.juniper.net/customers/support/tools/updateinstallbase/ . Failure to do so can
result in significant delays if you need replacement parts. This note does not apply if you replace
existing components with the same type of component.
94
 Loading...


