26 Keysight InfiniiVision 1200 X-Series and EDUX1052A/G Oscilloscopes User's Guide
1 Getting Started
1 Input the Probe Comp signal (see "Input a Waveform" on page 23).
2 Press [Default Setup] to recall the default oscilloscope setup (see "Recall the
Default Oscilloscope Setup" on page 24).
3 Press [Auto Scale] to automatically configure the oscilloscope for the Probe
Comp signal (see "Use Autoscale" on page 24).
4 Press the channel key to which the probe is connected ([1], [2], etc.).
5 In the Channel menu, press Probe.
6 In the Channel Probe menu, press Probe Check; then, follow the instructions
on-screen.
If necessary, use a nonmetallic tool (supplied with the probe) to adjust the
trimmer capacitor on the probe for the flattest pulse possible.
On some probes (like the N2140/42A probes), the trimmer capacitor is located
on the probe BNC connector. On other probes (like the N2862/63/90 probes),
the trimmer capacitor is a yellow adjustment on the probe tip.
7 Connect probes to all other oscilloscope channels.
8 Repeat the procedure for each channel.
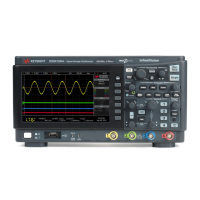
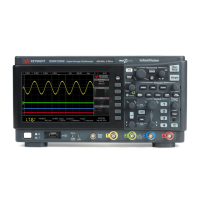
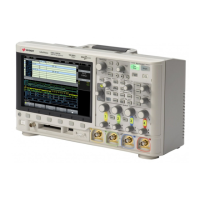
Learn the Front Panel Controls and Connectors
On the front panel, key refers to any key (button) you can press.
If your probe has a configurable attenuation setting (like the N2140/42A probes do), the 10:1
setting must be used for probe compensation.
Perfectly compensated
Over compensated
Under compensated
 Loading...


