34 Keysight InfiniiVision 1200 X-Series and EDUX1052A/G Oscilloscopes User's Guide
1 Getting Started
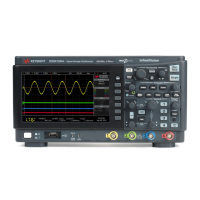
Learn the Oscilloscope Display
The oscilloscope display contains acquired waveforms, setup information,
measurement results, and the softkey definitions.
5. EXT TRIG input (on
4-channel oscilloscopes)
3. USB Device port
1. Power cord connector
2. Kensington lock hole
4. LAN port
1. Power cord
connector
Attach the power cord here.
2. Kensington lock
hole
This is where you can attach a Kensington lock for securing the instrument.
3. USB Device
port
This port is for connecting the oscilloscope to a host PC. You can issue remote commands from a
host PC to the oscilloscope via the USB device port (see the Programmer's Guide).
4. LAN port When the oscilloscope is connected to a network (see "Setting up the Oscilloscope's LAN
Connection" on page 232), the LAN port lets you print to network printers (see Chapter 21, “Print
(Screens),” starting on page 227), access the oscilloscope's built-in web server (see Chapter 23,
“Web Interface,” starting on page 249), and issue remote commands (see the Programmer's Guide).
15. EXT TRIG input On 4-channel models, the external trigger input BNC connector is on the rear panel.
On 2-channel models, the external trigger input BNC connector is on the front panel.
See "External Trigger Input" on page 127 for an explanation of this feature.