15
4
Quadrant
Energy Analyzer
4
Quadrant
Energy Analyzer
BÖLÜM 2 INSTALLATION
This section provides the information about installation, mounting, cable routing and
connections of Klea.
2.1 Preparing for Installation
The purchased KLEA may not include all hardware options referred in this document.
This situation does not constitute an impediment to the electrical installation.
Assembly and related connections of KLEA, must be implemented by
authorized persons in accordance with the instructions of user manual.
The device must not be put into service if the operator is not sure that
all connections are correctly accomplished.
2.2 Mounting
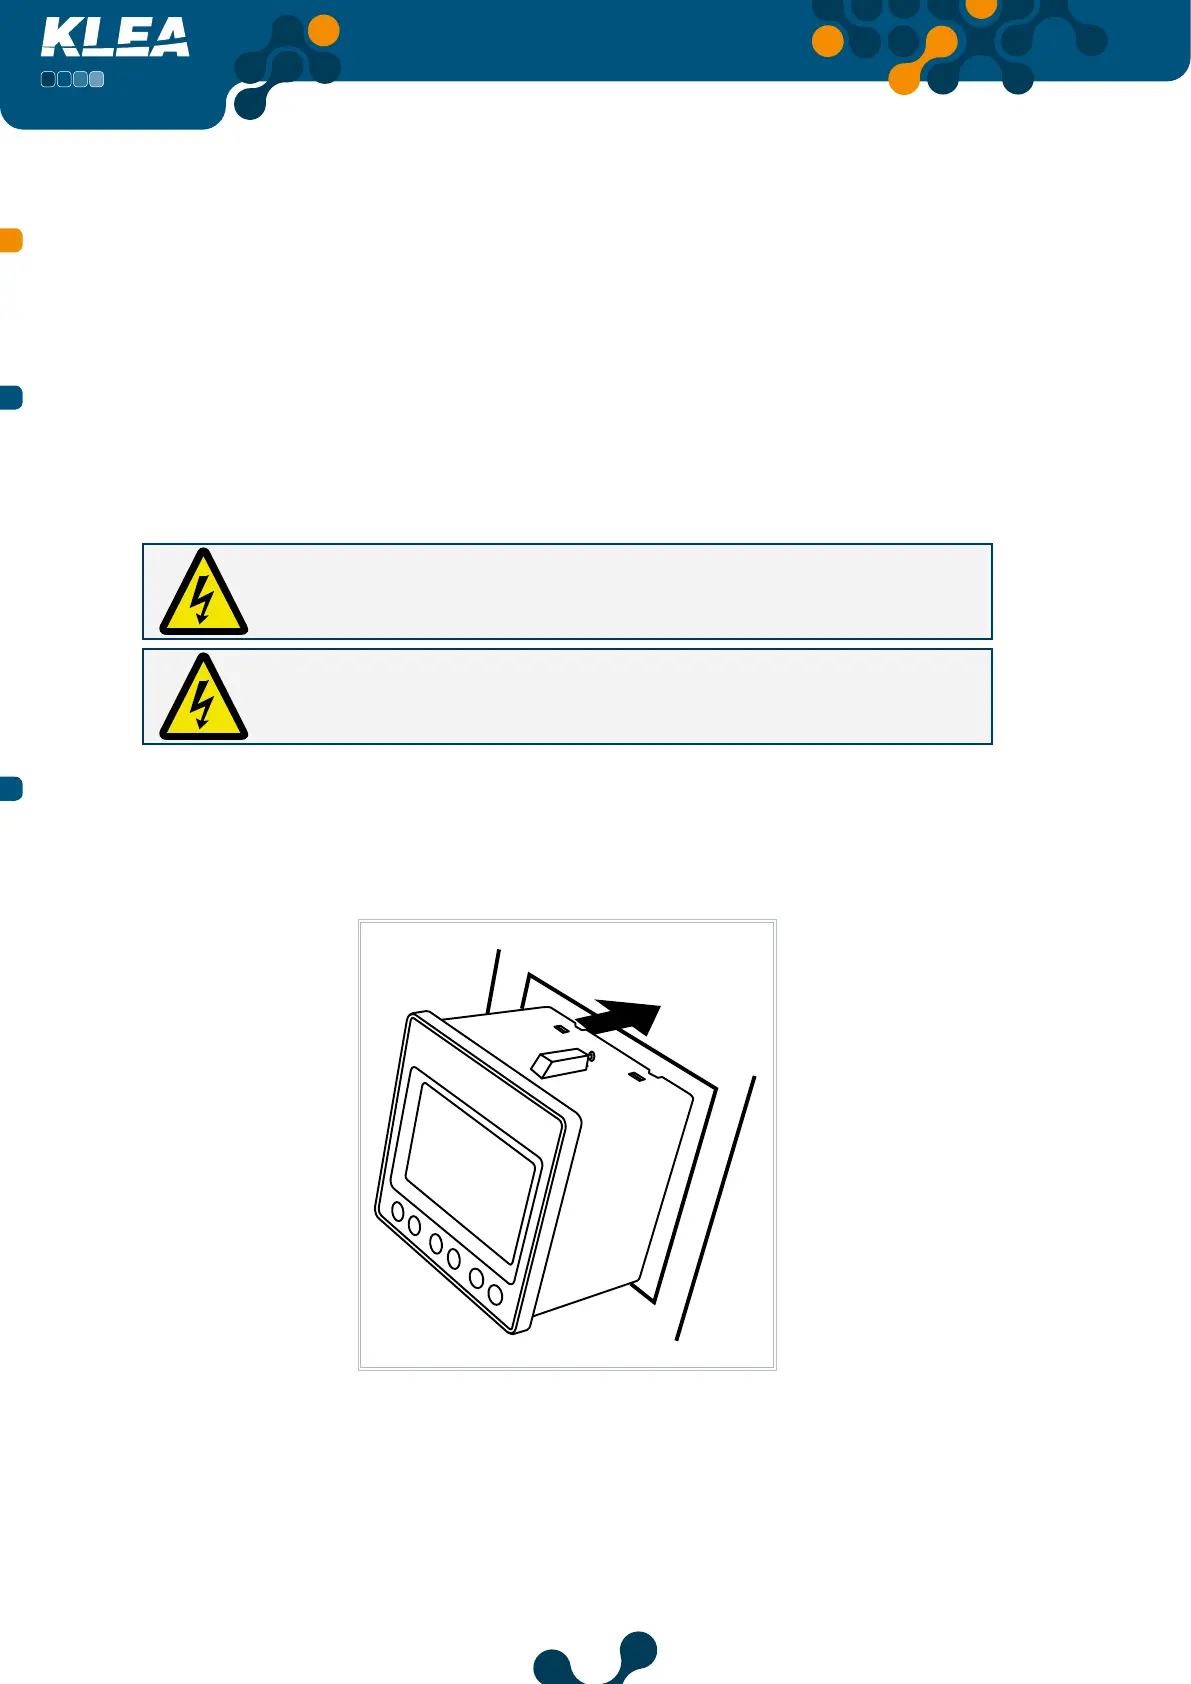
KLEA is placed vertically into the gap located in the panel.
Fig. 2-1 Mounting KLEA into the Panel
After the KLEA is placed into the panel, fixing brackets should be installed on Klea and
Klea should be fixed to the panel wall with the screws.
SECTION 2 INSTALLATION



 To Next Page