Repair GL16
7-22
7.6 Compression Roll
The compression roll improves flatwork finish
(Figure 7-21). Over time, the tension on the
compression roll may need to be adjusted, and
the padding may have to be replaced.
Compression Roll Pressure Check
When flatwork does not feed into the ironing
section smoothly, the pressure of the compression
roll may need to be adjusted.
WARNING
Specific procedures that
require the unit to be
running should be done with
extreme caution and
attention to detail.
1. Cut a piece of brown packing paper ap-
proximately 9" wide and 3' long (230 mm
x 915 mm).
2. The unit should be completely cooled
down. Make sure that the compression
roll is engaged, the spring-loaded handles
are in their bracket slots in each end frame
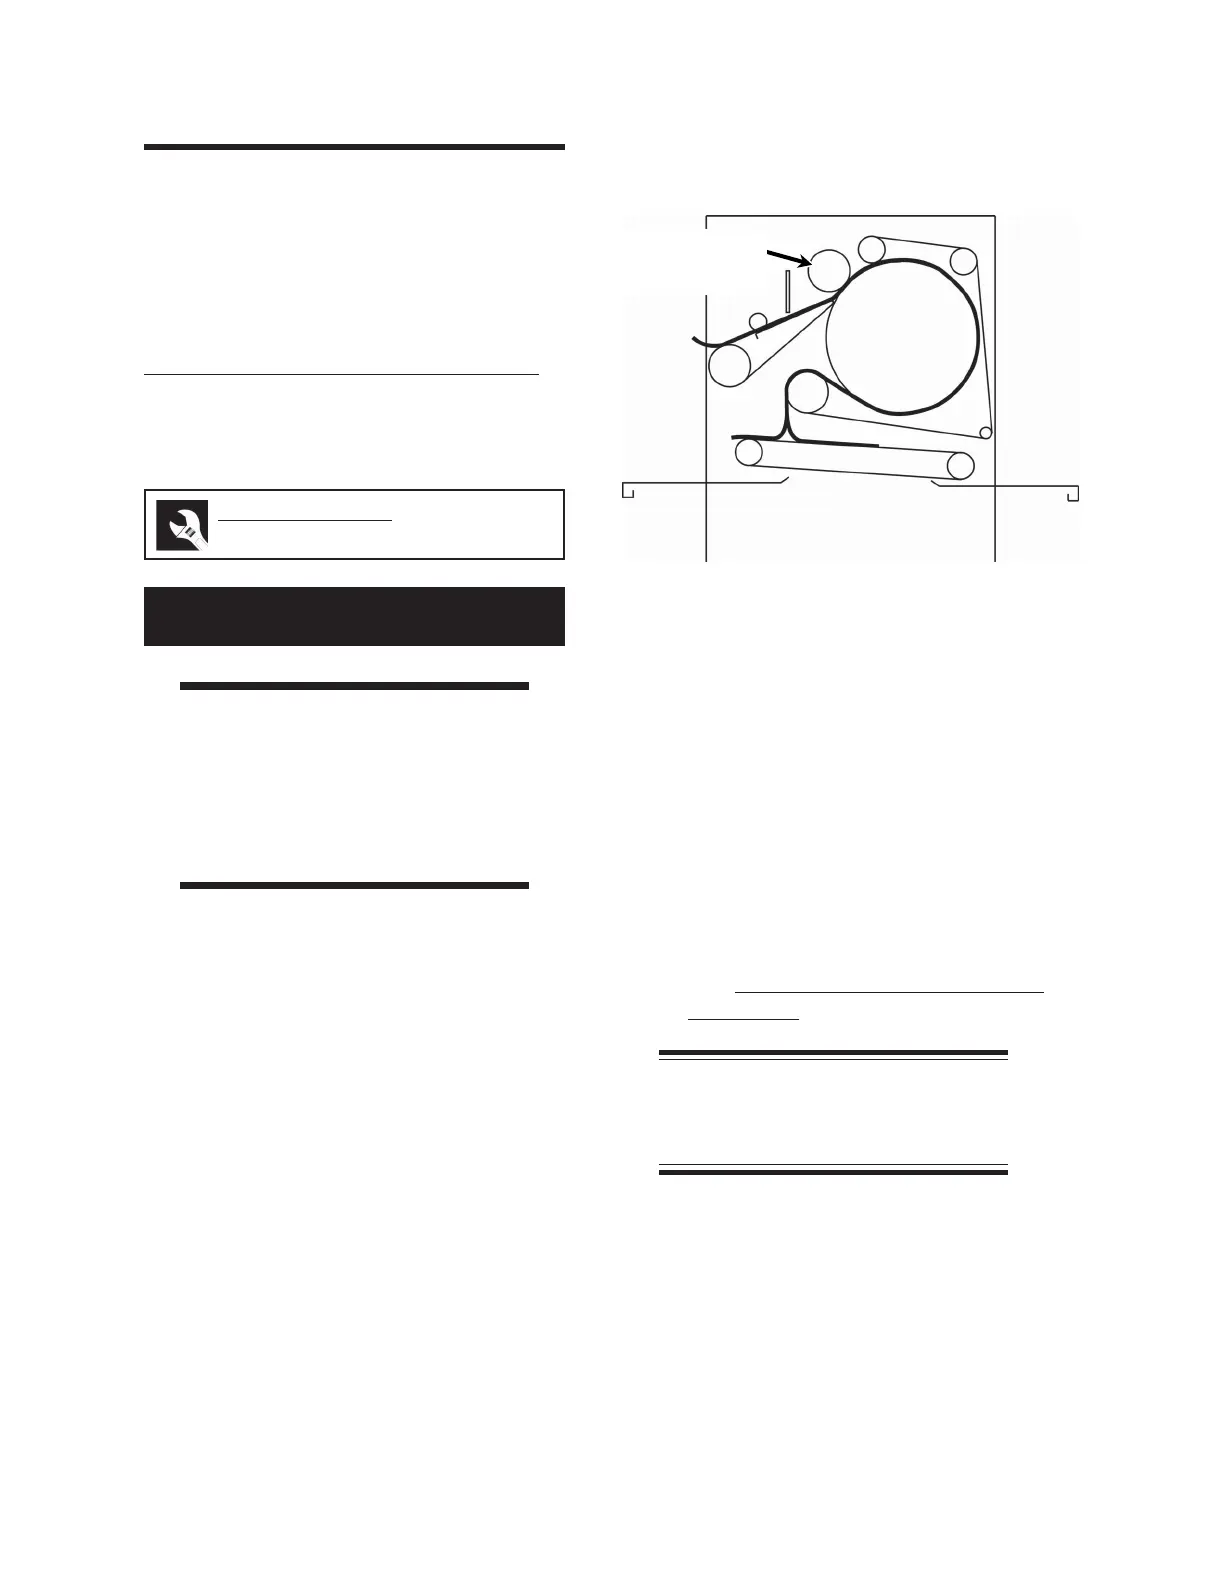
(Figure 7-22), and the end frame doors
are closed.
3. Turn the power ON at the main discon-
nect switch.
4. Press the green START button. Turn the
SPEED knob to the slowest speed.
5. Feed the piece of paper into the ironing
section at one side. Immediately pull back
gently on the paper. You should feel the
compression roll pulling the paper into the
ironing section, but be able to pull back
the paper without tearing it.
6. Repeat this procedure along the length of
the unit. If there is uneven or no pressure
placed on the paper, the compression roll
pressure must be adjusted. For more in-
formation within this section, proceed to
the
Compression Roll Pressure
Adjustment procedure.
NOTE: Too little pressure in the
middle may indicate too much
pressure at the ends.
Perform only when the unit is OFF
(with power disconnected) and COOL.
Required Tools
utility knife, brown packing paper
Figure 7-21: The compression roll helps to move
the flatwork into the ironing section.
Compression
Roll
 Loading...