GL16 Repair
7-23
Compression Roll Pressure
Adjustment
1. Turn the power OFF at the main discon-
nect switch.
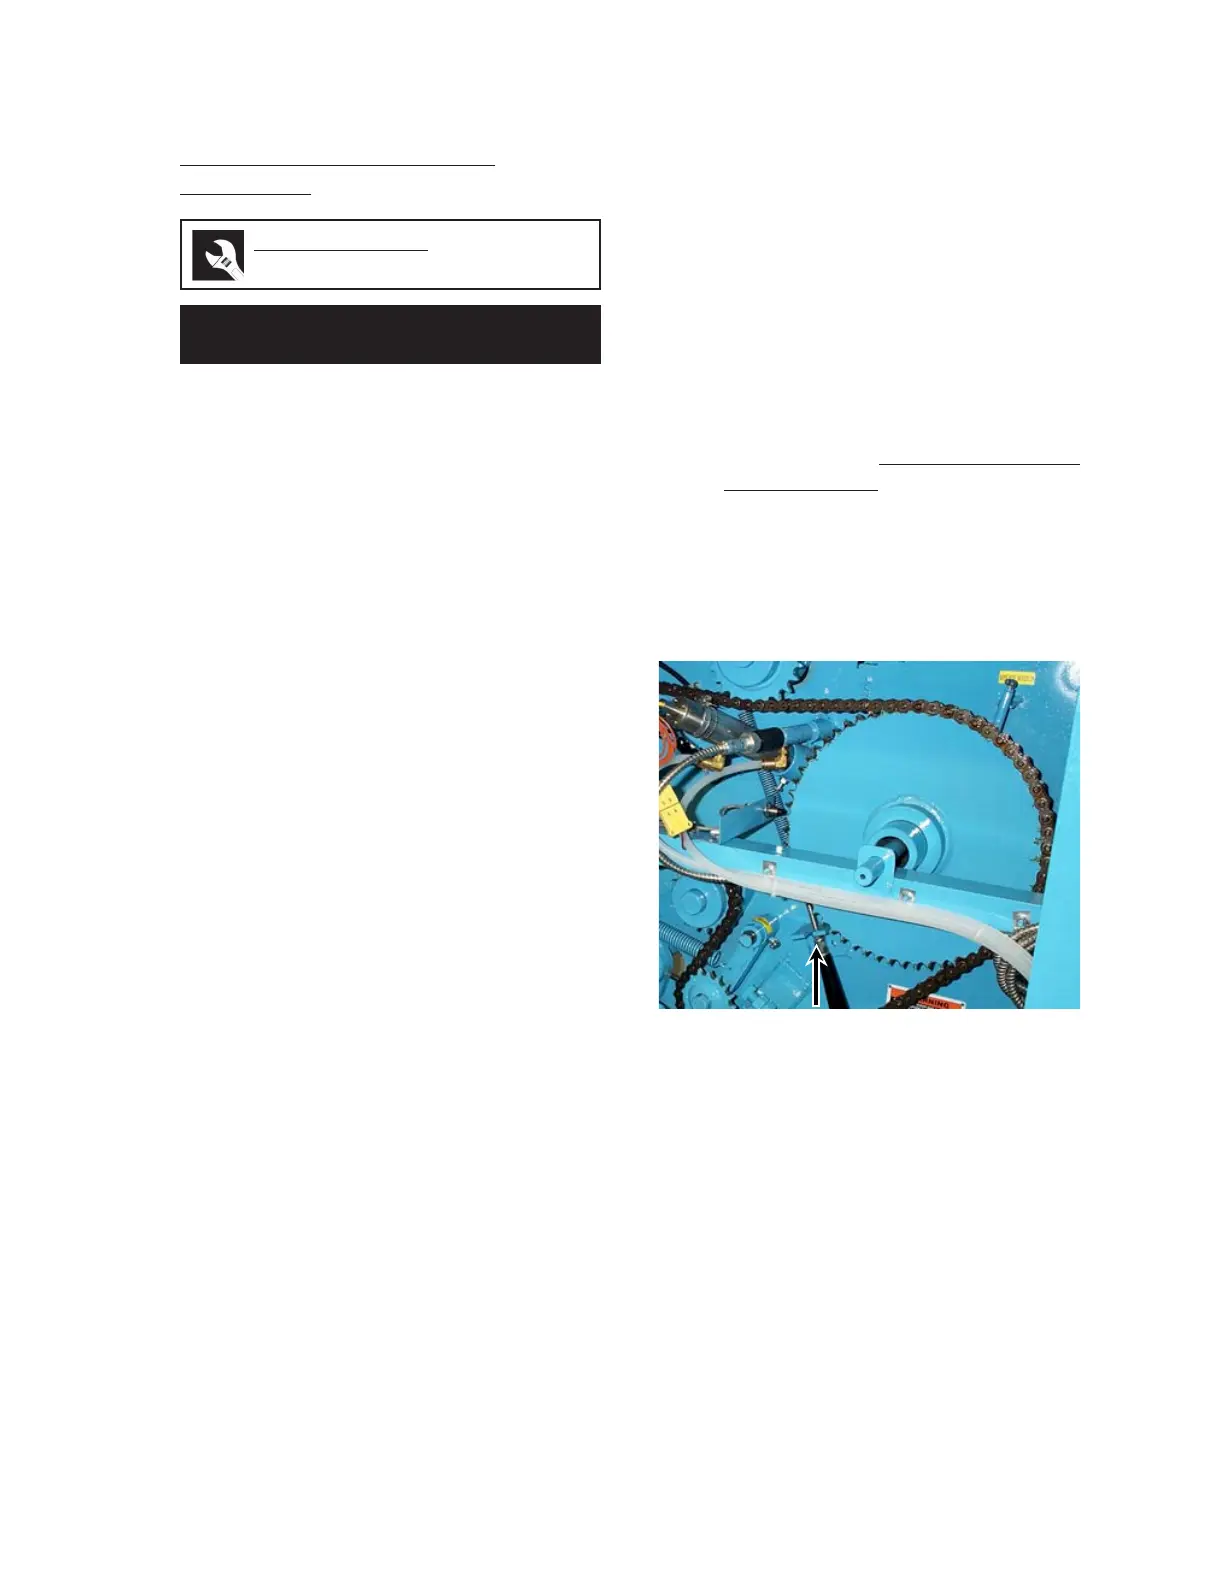
2. Open the end frame doors.
3. Make sure the compression roll spring-
loaded handles are disengaged from their
bracket slots in each end frame (Figure
7-22).
4. Locate the flat washer, adjusting nut, lock
washer, and locknut on the spring-loaded
handle in each end frame. These parts are
used to adjust the tension of the compres-
sion roll. When the handle is placed in the
bracket slot, it applies tension to the com-
pression roll springs.
5. Turn the adjustment nut toward the spring
to increase the tension and away to de-
crease. Tighten the locknut once the ad-
justment has been made.
6. Place the spring-loaded handles in their
bracket slots inside the end frame to add
tension to the compression roll.
7. Close and secure the end frame doors.
8. Turn the power ON at the main discon-
nect switch.
9. Press the green START button. Turn the
SPEED knob to the slowest speed.
10. Check for proper and even pressure along
the length of the compression roll. For
more information within this section, go
back to the
Compression Roll
Pressure Check procedure.
11. Repeat Steps 1-10 until the correct pres-
sure has been reached.
Perform only when the unit is OFF
(with power disconnected) and COOL.
Required Tools
wrench
Figure 7-22: The spring-loaded handles are
located in each end frame.
 Loading...