GL16 Installation
2-19
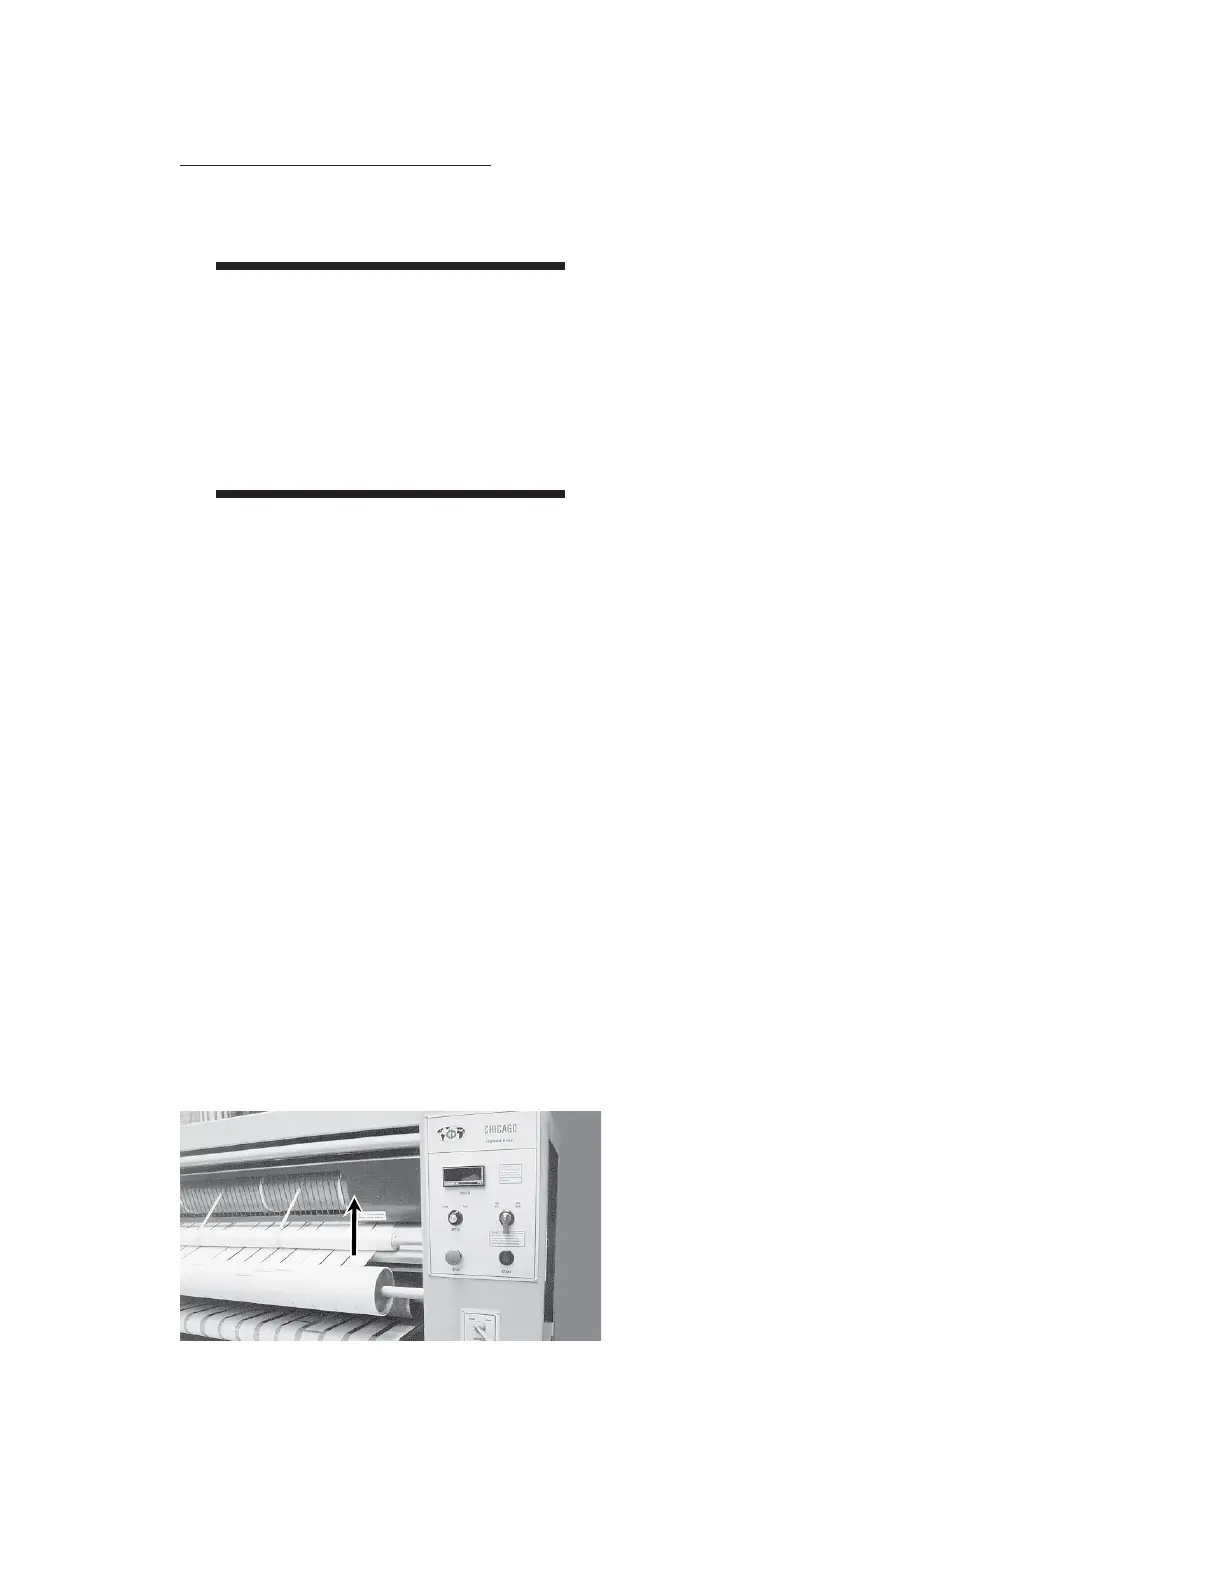
Figure 2-28: All rotating parts should stop when
you press the red safety finger guard.
Control Function Checkout
Perform the following procedures to verify all
controls function correctly.
WARNING
Do not place the unit into
service until all controls are
functioning properly. Failure
to follow this rule may cause
serious injury to operators or
maintenance personnel.
Start and Stop Check
1. Start the unit by pressing the green
START button. The green internal lamp
lights, and all rotating and conveying ele-
ments of the unit except the delivery rib-
bons operate.
2. Press one of the four red STOP buttons.
All elements of the unit stop rotating, and
the green START button lamp goes out.
3. Repeat Steps 1 and 2 to test remaining
three red STOP buttons.
4. Start the unit again.
5. Push the red safety finger guard (Figure
2-28). All moving parts of the unit stop,
and the green START button lamp goes
out.
Speed Control Check
The speed of the unit is controlled by the
SPEED knob located on the front of the right end
frame. This knob operates only while the unit is
running and the rolls are moving.
1. Make sure the DELIVERY lever is in the
center OFF position.
2. Start the unit by pressing the green
START button.
3. Turn the SPEED knob clockwise to in-
crease the speed.
4. Make sure the ironing cylinder, feed rib-
bons, and return ribbons change speed as
the knob is turned. The SPEED display
shows the increase in speed.
5. Turn the SPEED knob counterclockwise
to decrease the speed.
6. Make sure the ironing cylinders, feed rib-
bons, and return ribbons change speed as
the knob is turned. The SPEED display
shows the decrease in speed.
 Loading...