GL16 Operating Guidelines
3-7
3.3 Daily Operating
Procedures
In the daily operation of the unit, it is desirable
to follow consistent operational procedures. By
training operators to follow the same set of
guidelines for daily procedures, operator safety
and efficiency are maximized.
General daily routines include:
• Start-Up
• Waxing
• Flatwork Handling
• Clearing a Jam Safely
• Shut-Down
WARNING
Never run a unit when
ribbons are missing or
broken. Serious damage and
injury could result.
For more information on the methods of
processing specific flatwork within this chapter,
proceed to the Operating Techniques section,
Processing Standards procedure.
Start-Up
The following steps are suggested for starting
the unit at the beginning of each day.
1. Perform all of the daily preventive main-
tenance procedures, except for waxing the
ironing section. For more information
within this manual, proceed to the
PREVENTIVE MAINTENANCE
chapter, Daily PM section.
2. Have flatwork fully washed and extracted,
sorted, and ready to process.
3. Make sure the DELIVERY lever is set to
the center OFF position on Type R units
4. Make sure the GAS switch is turned to
OFF.
5. Turn the power ON at the main disconnect
switch. Start the unit by pressing the green
START button and make sure the green
lamp lights.
6. Turn the SPEED knob to the slowest speed.
Check that the ironing cylinder, feed rib-
bons, and return ribbons are moving, and
the exhaust blower is running.
7. Check that the unit stops completely when
the red safety finger guard is pushed and
when each individual red STOP button is
pushed.
8. Restart the unit by pushing the green
START button.
9. Turn the GAS switch to ON.
10. Adjust the TEMPERATURE control to
waxing temperature, approximately 300°F
(150°C). The combustion blower should
then turn on and begin blowing air into the
burner system.
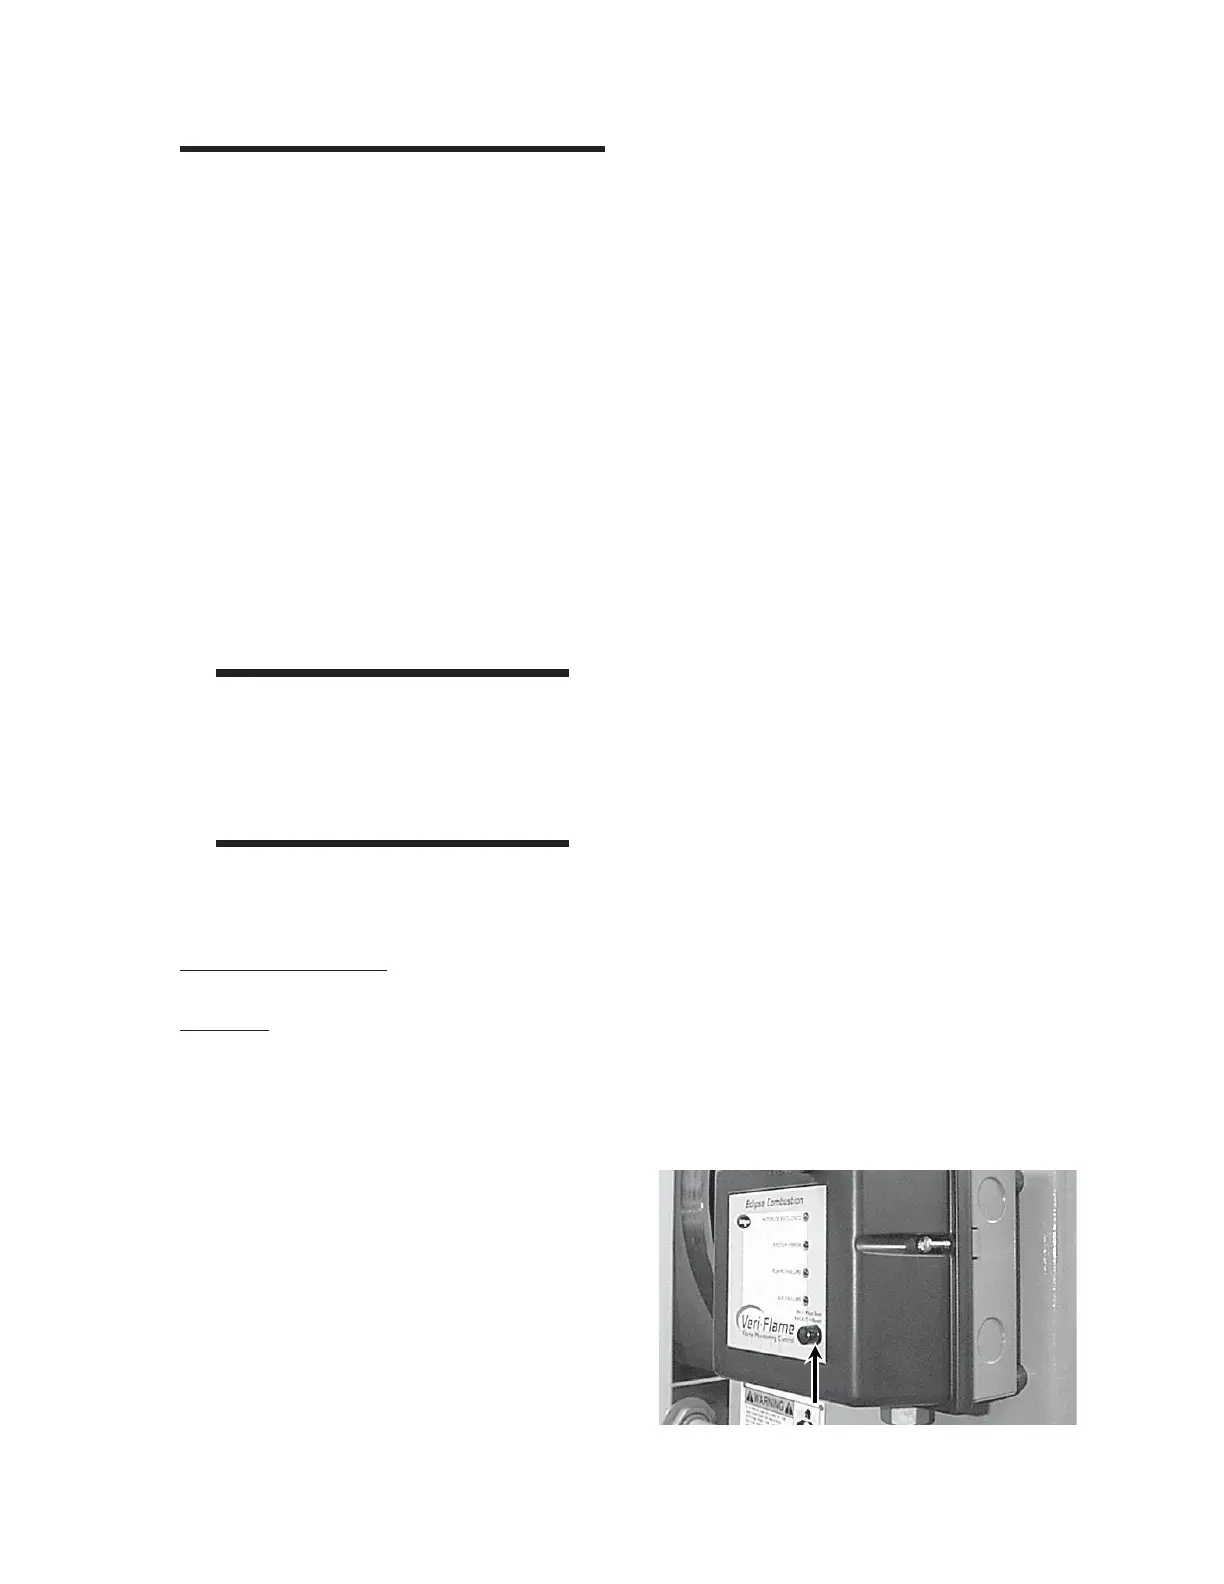
11. After 15 seconds, listen for sounds indicat-
ing the pilot ignition sequence has started
and the pilot burner is igniting. If ignition is
not accomplished within 5 seconds after the
sequence starts, push the flame safeguard
PILOT TEST/RESET button (Figure 3-8)
twice to release into the OUT position.
12. Wait approximately 5-10 minutes for the
ironing cylinder to reach proper waxing tem-
perature.
Figure 3-8: Flame safeguard PILOT TEST/RESET
button.
 Loading...