GL16 Preventive Maintenance
4-3
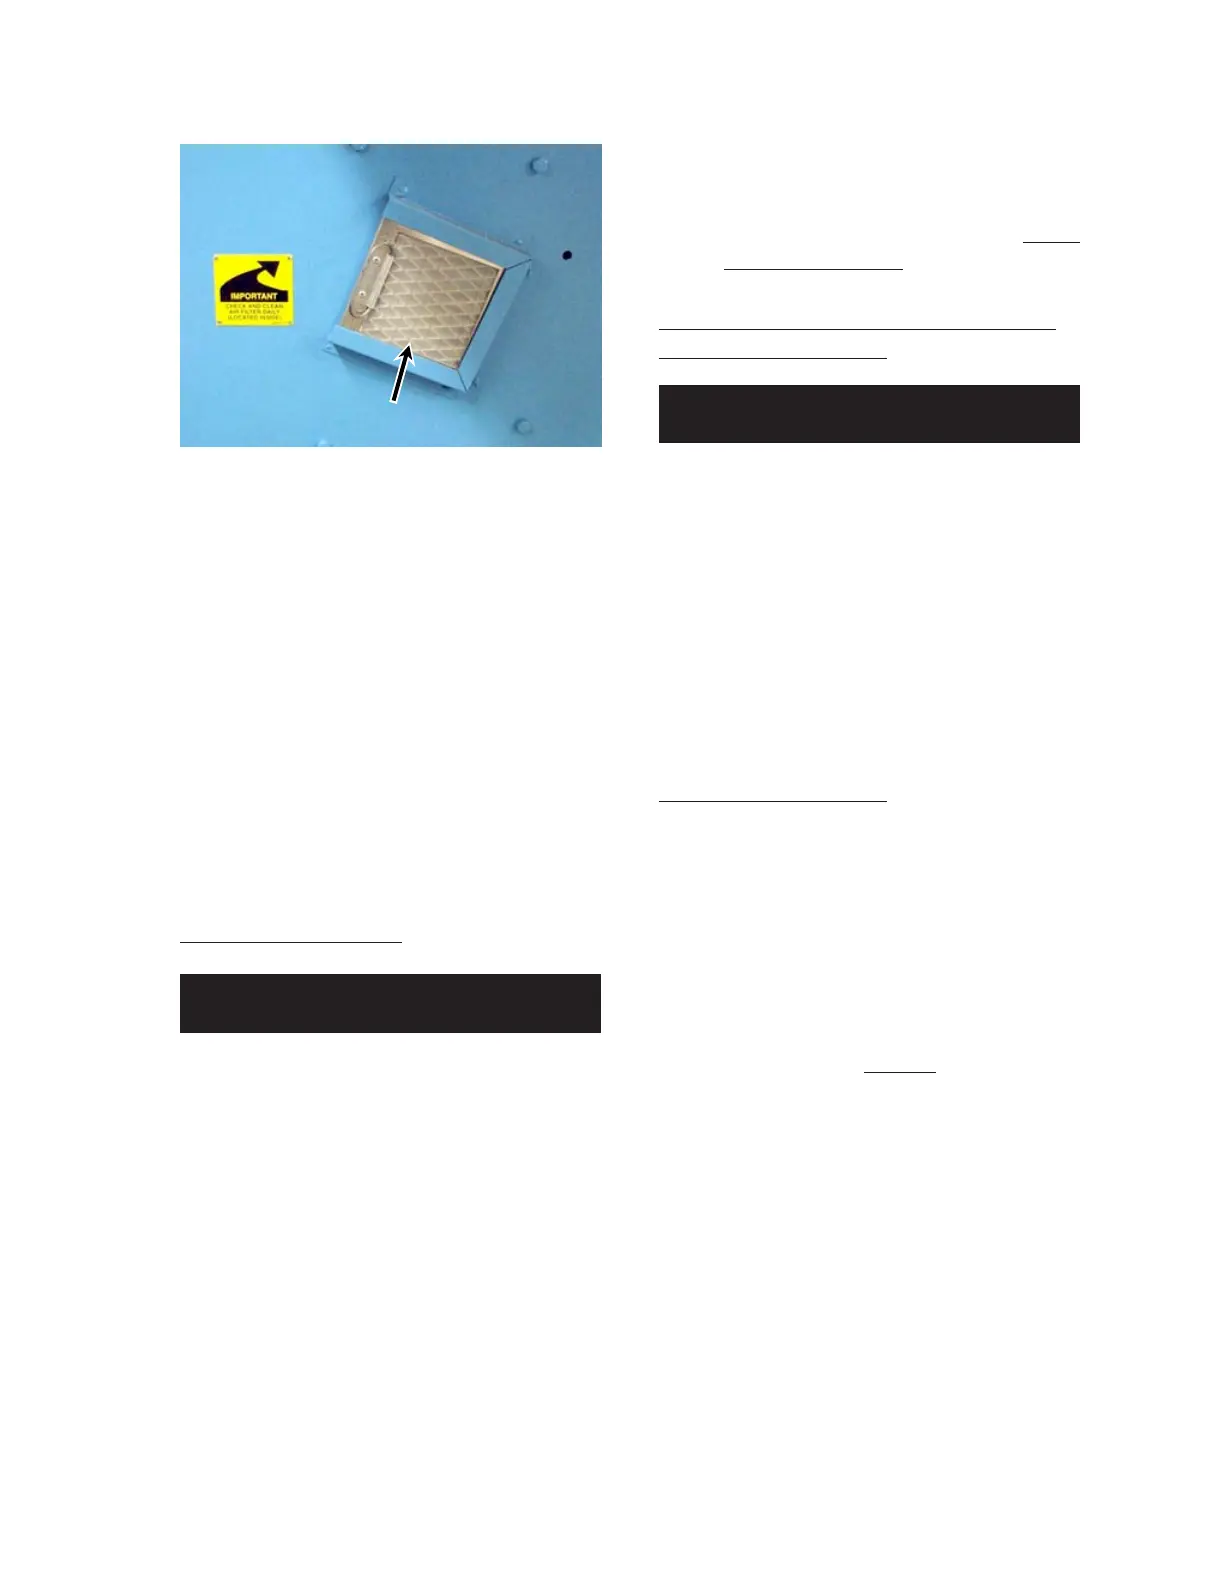
3. Remove the combustion blower air filter
(Figure 4-1).
4. Blow out the filter with compressed air,
against the direction of the air flow ar-
row, or soak the filters in a mild detergent
and water solution.
5. Install the combustion air filter. Make sure
the filter is installed with the handle to-
wards the outside of the filter housing.
6. Close and secure the left end frame door.
Check Guide Tapes
Guide tapes are used to prevent flatwork from
sticking to the compression roll which can result
in jams.
1. Turn the power OFF at the main discon-
nect switch.
2. Inspect for broken or missing guide tapes
and for wear or fraying of the edges.
3. Make sure the ends of the guide tapes
are properly stapled together.
4. Replace any guide tapes that are dam-
aged, broken, or missing. For more infor-
mation within this manual, proceed to the
REPAIR chapter, Feed Section,
Guide
Tape Replacement procedure.
Check Red STOP Buttons and Red
Safety Finger Guard
The unit should never be operated without all
safety guards in place. Check that all four red
STOP buttons, and the red safety finger guard,
bring the entire unit operation to a halt.
Repair any faulty safety devices before
operating the unit.
For more information on safety features refer
back to the OPERATING GUIDELINES
chapter, Safety Features section.
Wax Ironing Section
Daily waxing of the ironing section is necessary
to produce a finer flatwork finish, to prolong return
ribbon life, and to prevent the flatwork from
sticking to the ironing cylinder.
For more information on detailed waxing
instructions, go back to the OPERATING
GUIDELINES chapter, Daily Operating
Procedures section,
Waxing procedure.
Figure 4-1: The air filter for the combustion
blower motor is located on the left
end frame.
Perform only when the unit is OFF
(with power disconnected) and COOL.
Perform only when the unit is
RUNNING and COOL.
 Loading...