Preventive Maintenance GL16
4-4
1. Turn the power ON at the main discon-
nect switch.
2. Press the green START button.
3. Check all ribbons for proper placement,
tracking, tension (no visual sagging), and
general condition (smoothness, scorching,
fraying, and tears).
4. For more information on adjusting, repair-
ing and replacing various ribbons within
this manual, proceed to the REPAIR
chapter.
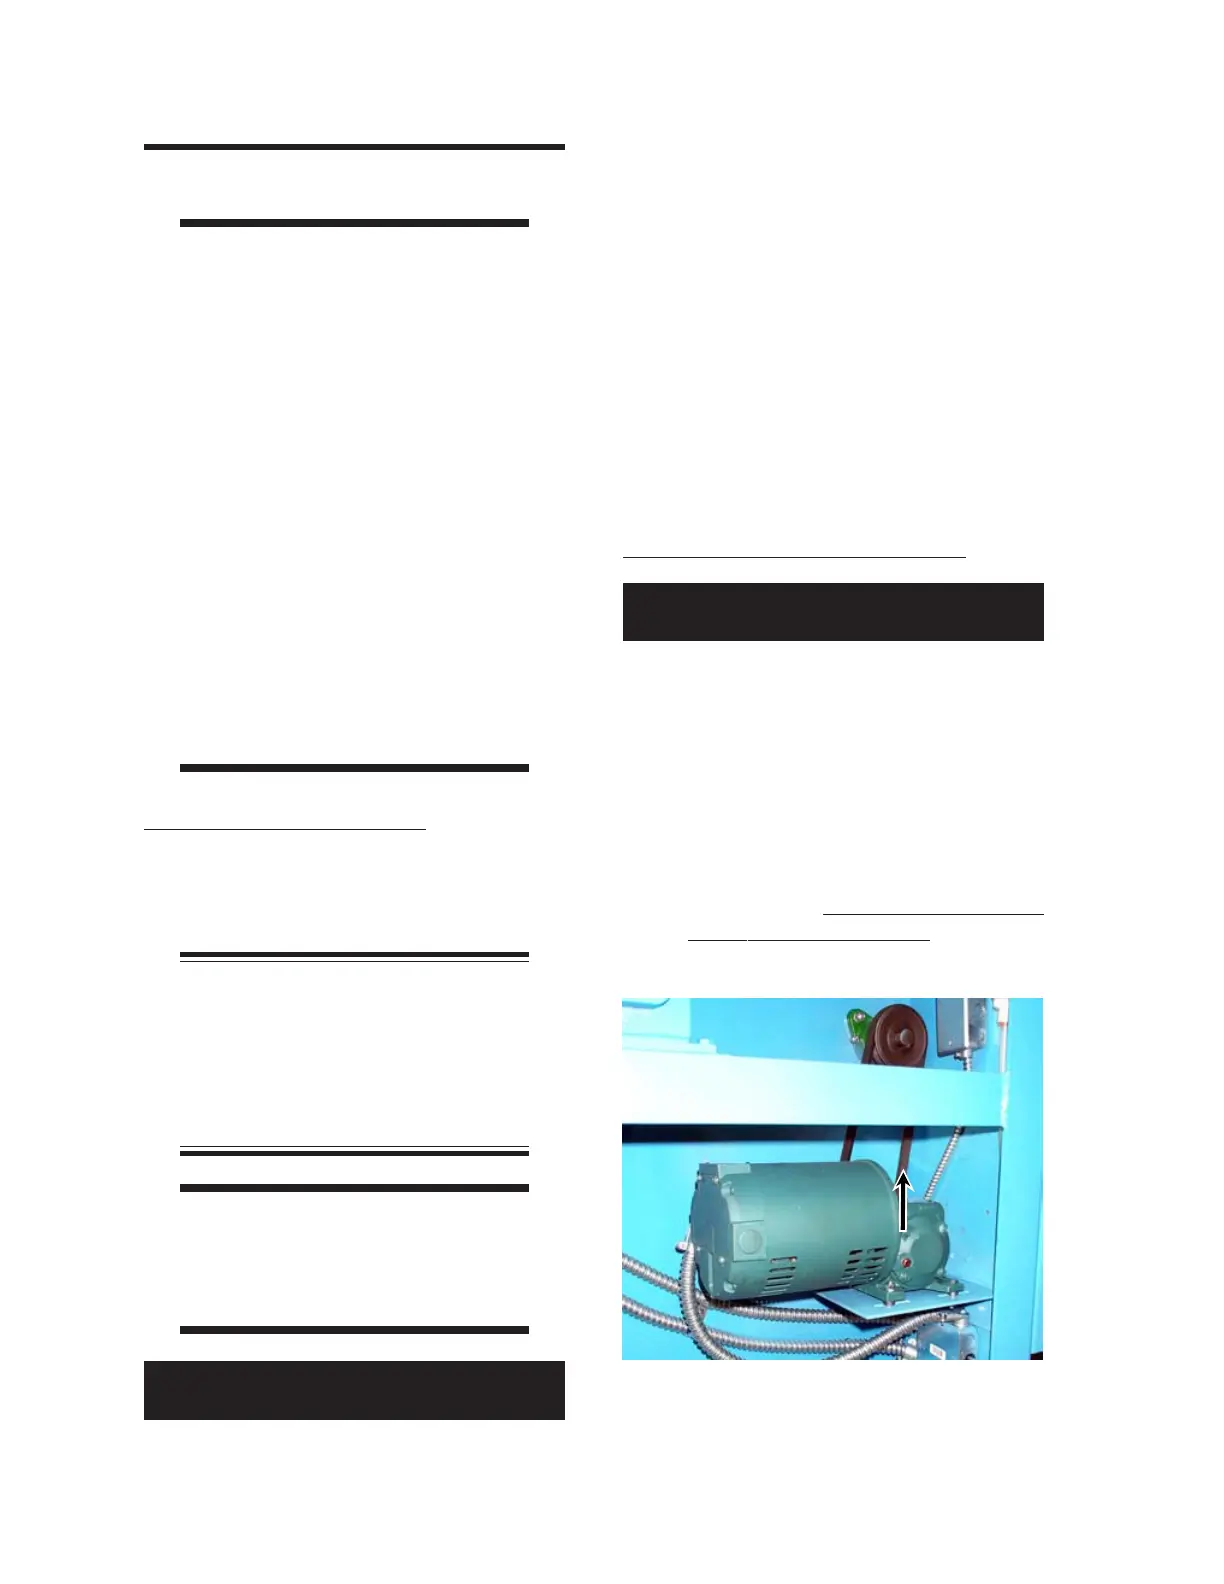
Check Drive Belt (Type R Unit)
1. Open the right end frame.
2. Examine the condition of the delivery drive
belt. Check the belt for general wear, fray-
ing and tension (Figure 4-2).
3. For information within this manual on ad-
justing the belt tension, proceed to the
REPAIR chapter, Delivery Section—
Type R Unit,
Delivery Section Drive
Belt Tension Adjustment procedure.
4.2 Weekly PM
WARNING
Do not repair or correct any
of these conditions without
reading and understanding
the REPAIR chapter
of this manual.
Only QUALIFIED
PERSONNEL should
troubleshoot and
repair this unit.
Make sure that the machine
is completely cooled down
and that power is
disconnected at the
disconnect switch before
servicing the unit.
Check Ribbon Condition
Preshrunk canvas is used for the feed ribbons
and delivery ribbons. High temperature synthetic
material is used for the return ribbons.
NOTE: Ribbons that break
should be replaced immediately.
Return ribbons move and hold the
flatwork in proper contact with the
heated cylinder, ensuring quality
flatwork finish.
WARNING
Never touch any part of the
unit while it is moving.
Serious injury could result.
Perform only when the unit is
RUNNING and COOL.
Perform only when the unit is OFF
(with power disconnected).
Figure 4-2: The delivery drive belt is located in
the right end frame (type R units).
 Loading...