Preventive Maintenance GL16
4-10
7. Use a vacuum to remove lint and foreign
material from around and between the
blower wheel blades.
NOTE: Fibers left on the blower
wheel allow lint and foreign material
to accumulate more frequently.
8. Make sure the blower wheel is free to
turn without excessive binding.
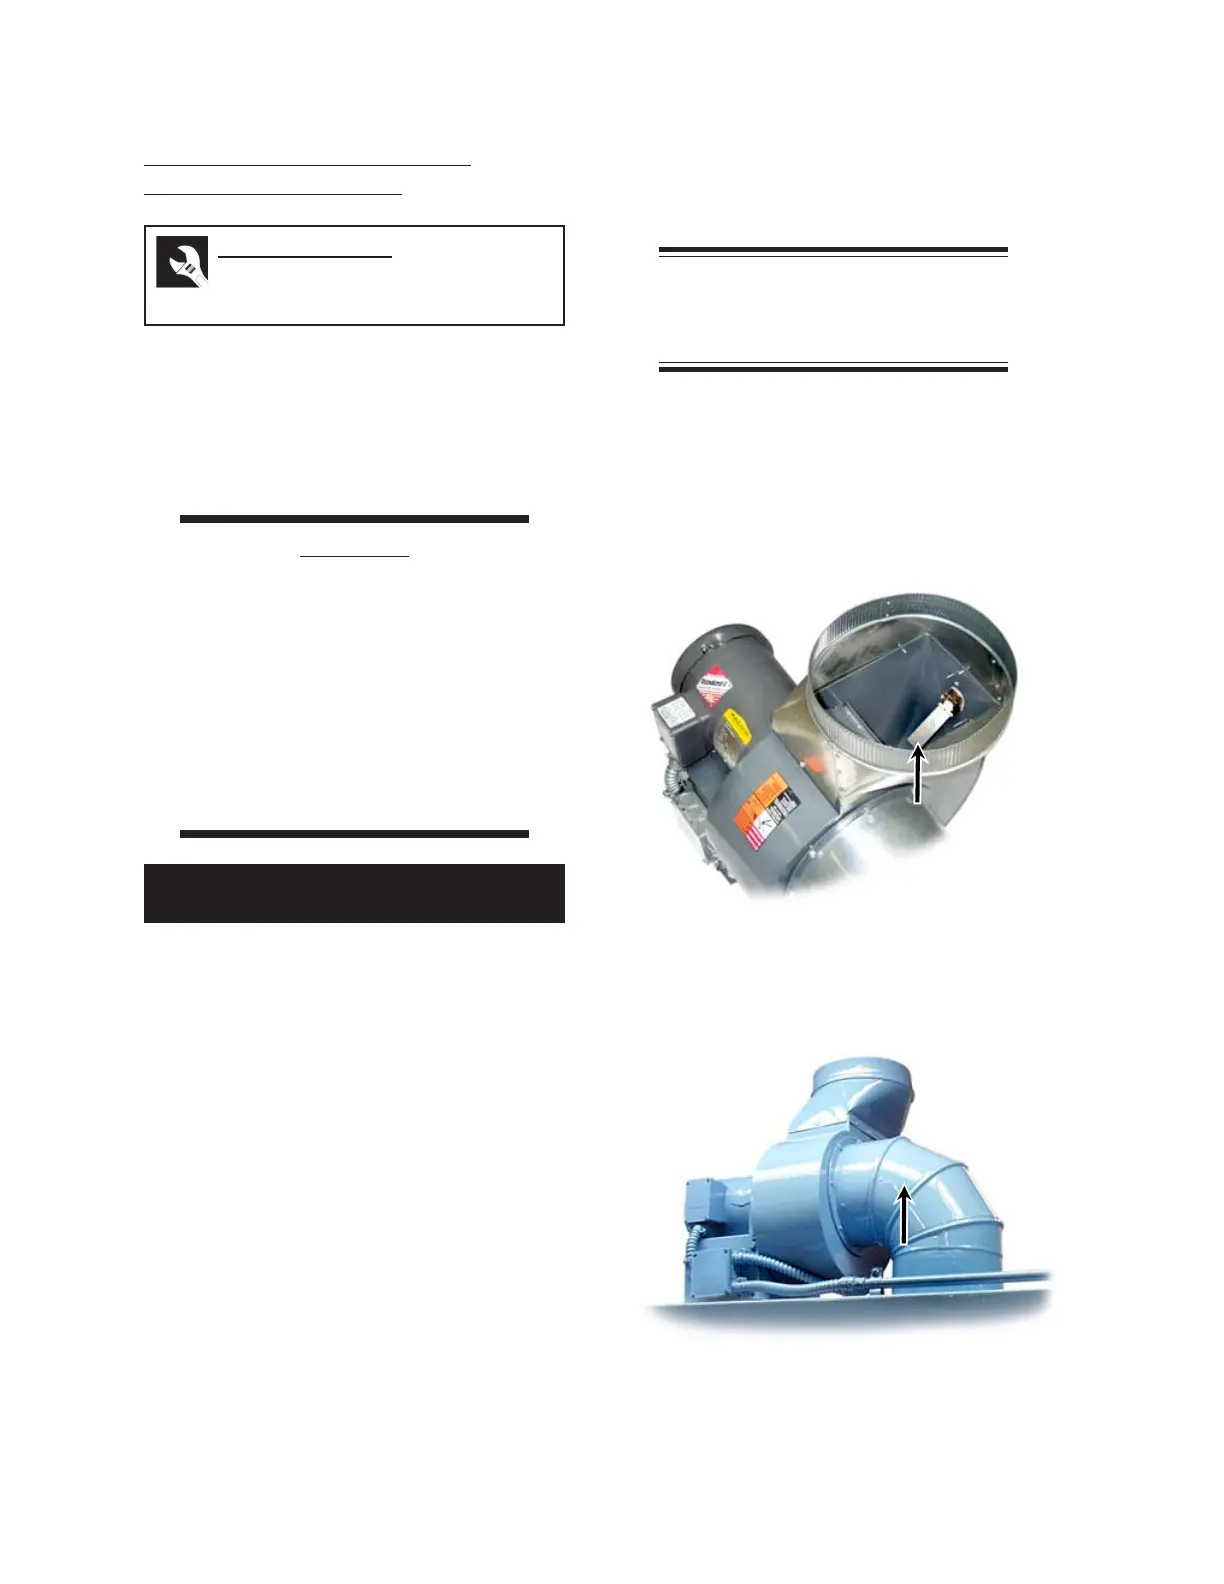
9. Position the inlet elbow on the blower in-
let.
10. Install the sail switch and the cover.
Check/Clean Sail Switch and
Exhaust Blower Wheel
The sail switch (Figure 4-11) must be cleaned
in order for it to stay in the UP position when the
exhaust blower is on. The exhaust blower wheel
needs to be inspected and cleaned after the sail
switch is removed.
CAUTION
Foreign material (lint,
threads, wax particles, hair,
etc.) in the blower fan
wheel, between the blades,
can cause overheating,
especially of the
end frame controls, and
possible premature
component failure.
1. Turn the power OFF at the main discon-
nect switch.
2. Remove the sail switch cover.
3. Remove the two screws holding the sail
switch in position and gently pull it out from
the blower. Be careful not to disconnect
any wires.
4. Remove lint and other dirt with a soft cloth.
5. Inspect the inside of the blower housing
with the help of a light to observe any lint
buildup between the blower wheel blades.
6. Remove the inlet elbow (Figure 4-12)
from the blower inlet.
Perform only when the unit is OFF
(with power disconnected) and COOL.
Required Tools
slotted screwdriver, soft cleaning
cloth, vacuum cleaner
Figure 4-12: The inlet elbow must be removed to
access the exhaust blower wheel.
Figure 4-11: The sail switch must be cleaned to
ensure proper operation.
 Loading...