Mechanical installation
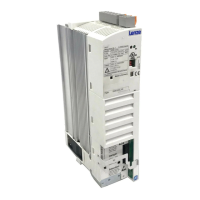
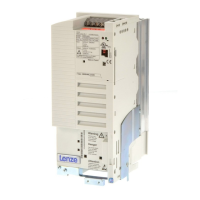
Standard devices in the power range 75 ... 90 kW
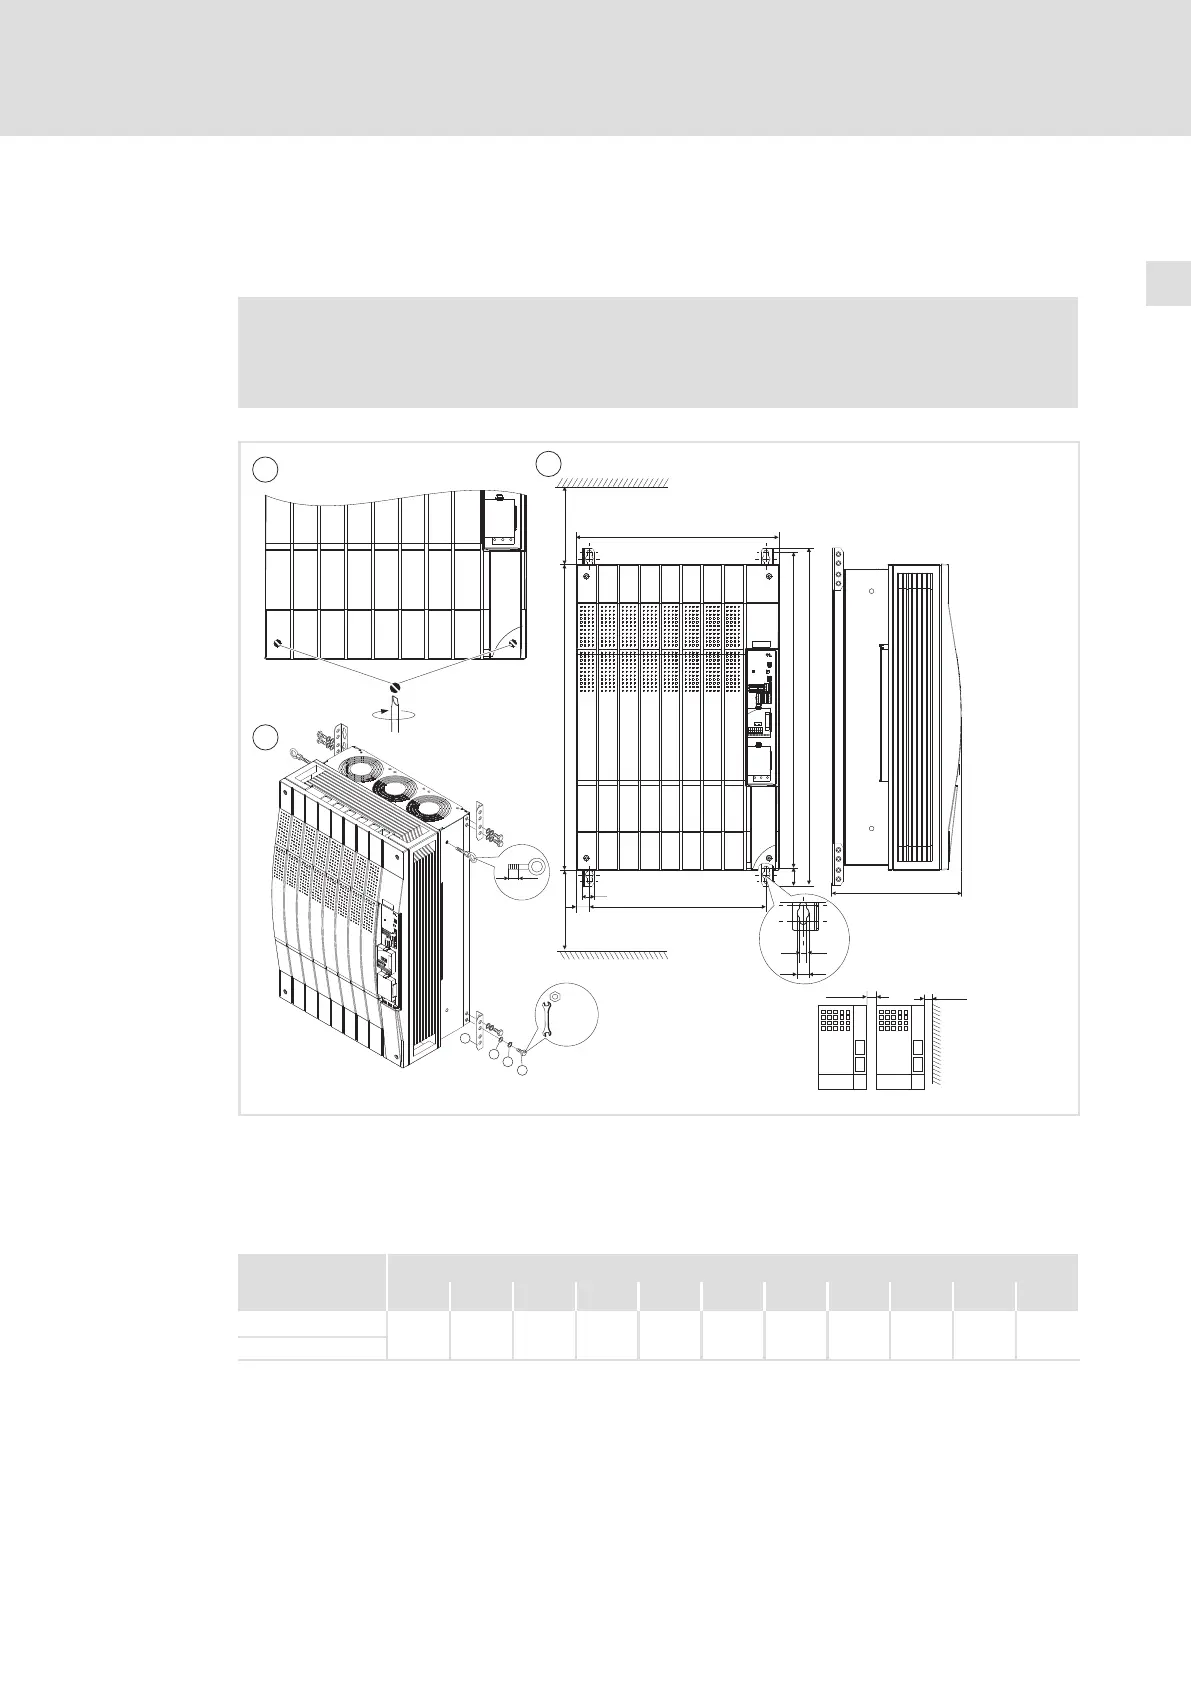
Mounting with fixing brackets (standard)
4
135
EDK82EV903 DE/EN/FR 5.1
Controller variant "2xx" (without fully assembled footprint filter)
For this mounting variant you require controller type E82EVxxxK4B2xx.
Note!
Before assembling the controller, please read the documentation for the
components connected on the supply side (mains choke, filter).
2
3
1
³ 100 mm
a
c
e
k
b1
d2
d1
d
³ 100mm
l
L
e
m
g
M 8
max. 15 mm
M 8
f
g
a
18 Nm
159.3 lb-in
0
³ 50 mm
³ 50 mm
c1
8200vec273
Loosen both screws to be able to remove the housing cover. The assembly kit is located under
the housing cover.
Installation of mounting angles
Dimensions
Arrange the controllers side by side with spacing to be able to disassemble the eyebolts.
Dimensions [mm]
8200 vector a b1 c c1 d d1 d2 e
1)
g k m
E82EV753K4B2xx
450
680 393 28.5 750 38 702 285 11 28 18
E82EV903K4B2xx
1)
If the function module is attached: observe mounting clearance and cable bending radius. The terminals of function
modules in PT design protrude above the housing by 8 mm.
 Loading...