Page 30
Step 1: Press the Menu button and use until the display reads
then press Select.
Step 1: Use until the display reads
then press Select.
Step 2: Enter a name for your event
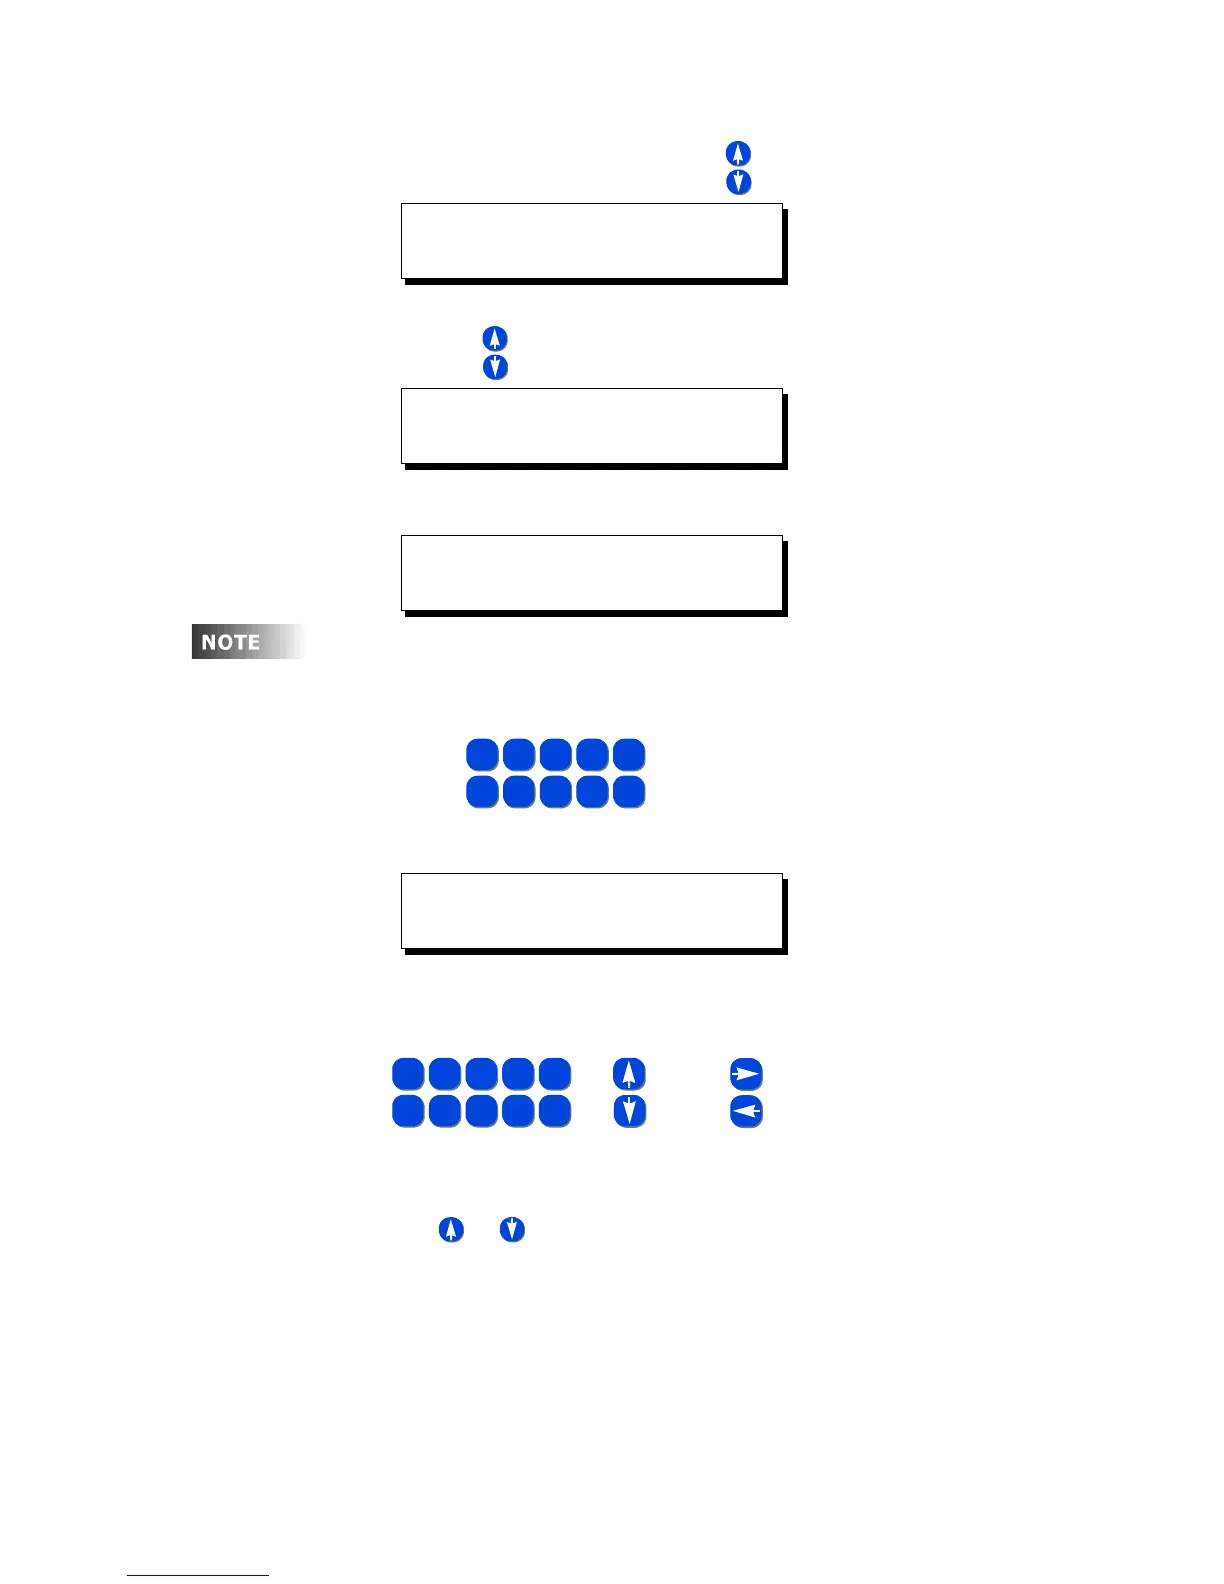
• Use for alpha-numeric data entry, just like the keys
on your cell phone.
Step 3: Enter the time the event is to occur
As always, use
Using combinations of the time entry and am/pm fields, there are a
variety of ways to schedule the event:
• Using or in the am/pm field, will allow you to select
• AM indicating in the morning
• PM indicating in the afternoon
• -SR indicating the specified hours:minutes before sunrise
• +SR indicating the specified hours:minutes after sunrise
• -SS indicating the specified hours:minutes before sunset
MAIN MENU SELECT
QUICK SCHEDULE
QUICK SCHEDULE
NEW EVENT
ENTER EVENT NAME
LIGHTS ON .
Although not required, all events should be given a name which
uniquely identifies both the event itself and gives some sort of
indication of what the event does. This makes modification of
panel programming easy.
5
JKL
1
-
2
ABC
3
DEF
4
GHI
0
SPACE
6
MNO
7
PQRS
8
TUV
9
WXYZ
ENTER EVENT TIME
07:30AM .
5
JKL
1
-
2
ABC
3
DEF
4
GHI
0
SPACE
6
MNO
7
PQRS
8
TUV
9
WXYZ
OR
{
FOR FIELD VALUE CHANGES
FOR FIELD
NAVIGATION
AND
5
JKL
1
-
2
ABC
3
DEF
4
GHI
0
SPACE
6
MNO
7
PQRS
8
TUV
9
WXYZ
OR
{
FOR FIELD VALUE CHANGES
FOR FIELD
NAVIGATION
AND