6-41
Make sure bearing holder is not damaged.
Apply Loctite® 603, with a brush, to the
rear bearing seat of the housing. Don’t
use too much because it can get into, and
damage, the bearing. Once this process is
started it must be completed within 1 minute
of applying the Loctite®.
Insert push bushing #518886 into front of
the bearing housing, up to the shoulder.
Load the tool #518878 with the sleeve
#518905 and insert it through the push
bushing in the front of the bearing housing.
Insert the rear bearing on push bushing
#518884, then install the push bearing, and
cog nut.
61.
62.
63.
64.
65.
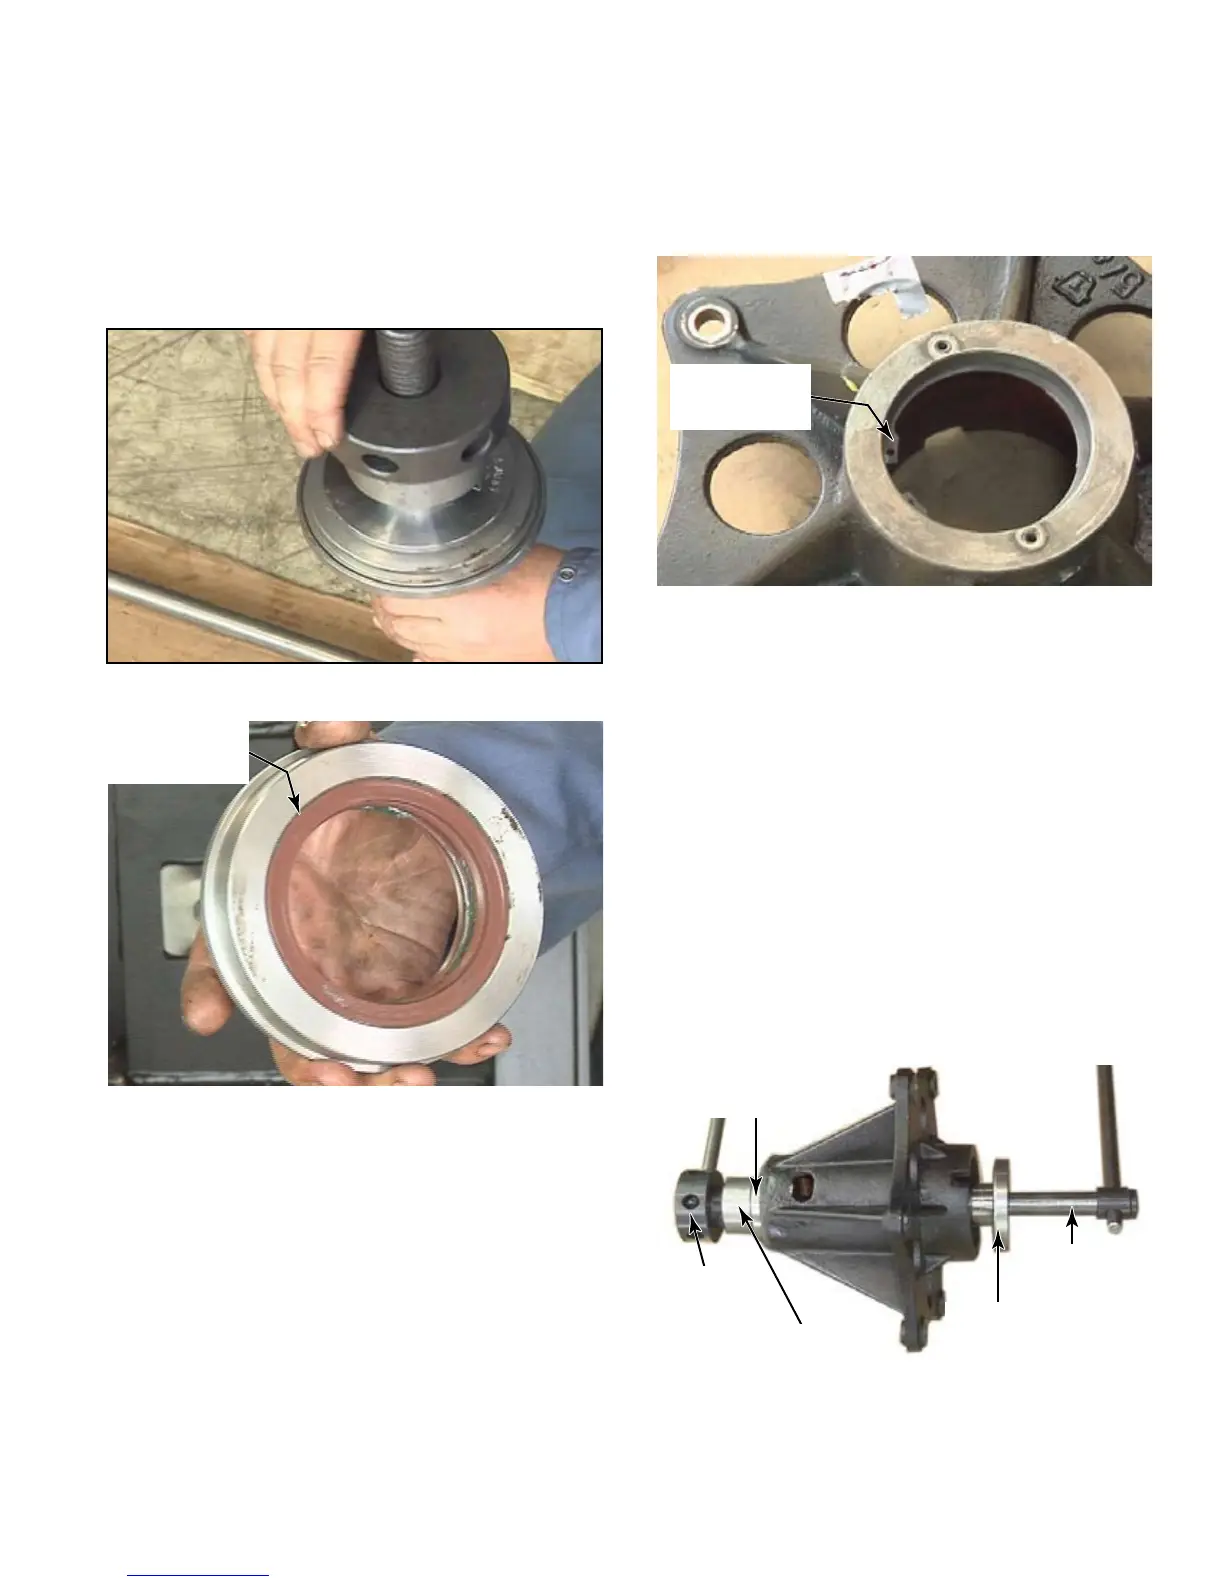
Tighten the cog nut by hand, pushing the
seals together. Some grease can squeeze
out, just wipe clean after removing the seal
holder from the tool assembly.
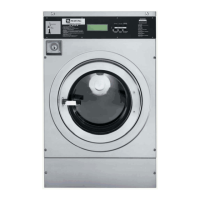
Seals should be flush with the seal holder.
Avoid getting any dust or dirt in the seals
and seal holder.
To replace the rear bearing, clean outside
of the new bearing with a clean, dry cloth.
Clean the inside of the bearing housing
with a clean cloth or Scotch-Brite™ to get
rid of any old Loctite®.
56.
57.
58.
59.
60.
Seal Flush
To Holder
Bearing
Holder
Push Bushing
#518886
Sleeve
#518905
Cog Nut
Push Bearing
Push Bushing
#518884



 To Next Page