7 - 6 Operator’s Manual
7 Smart 3D
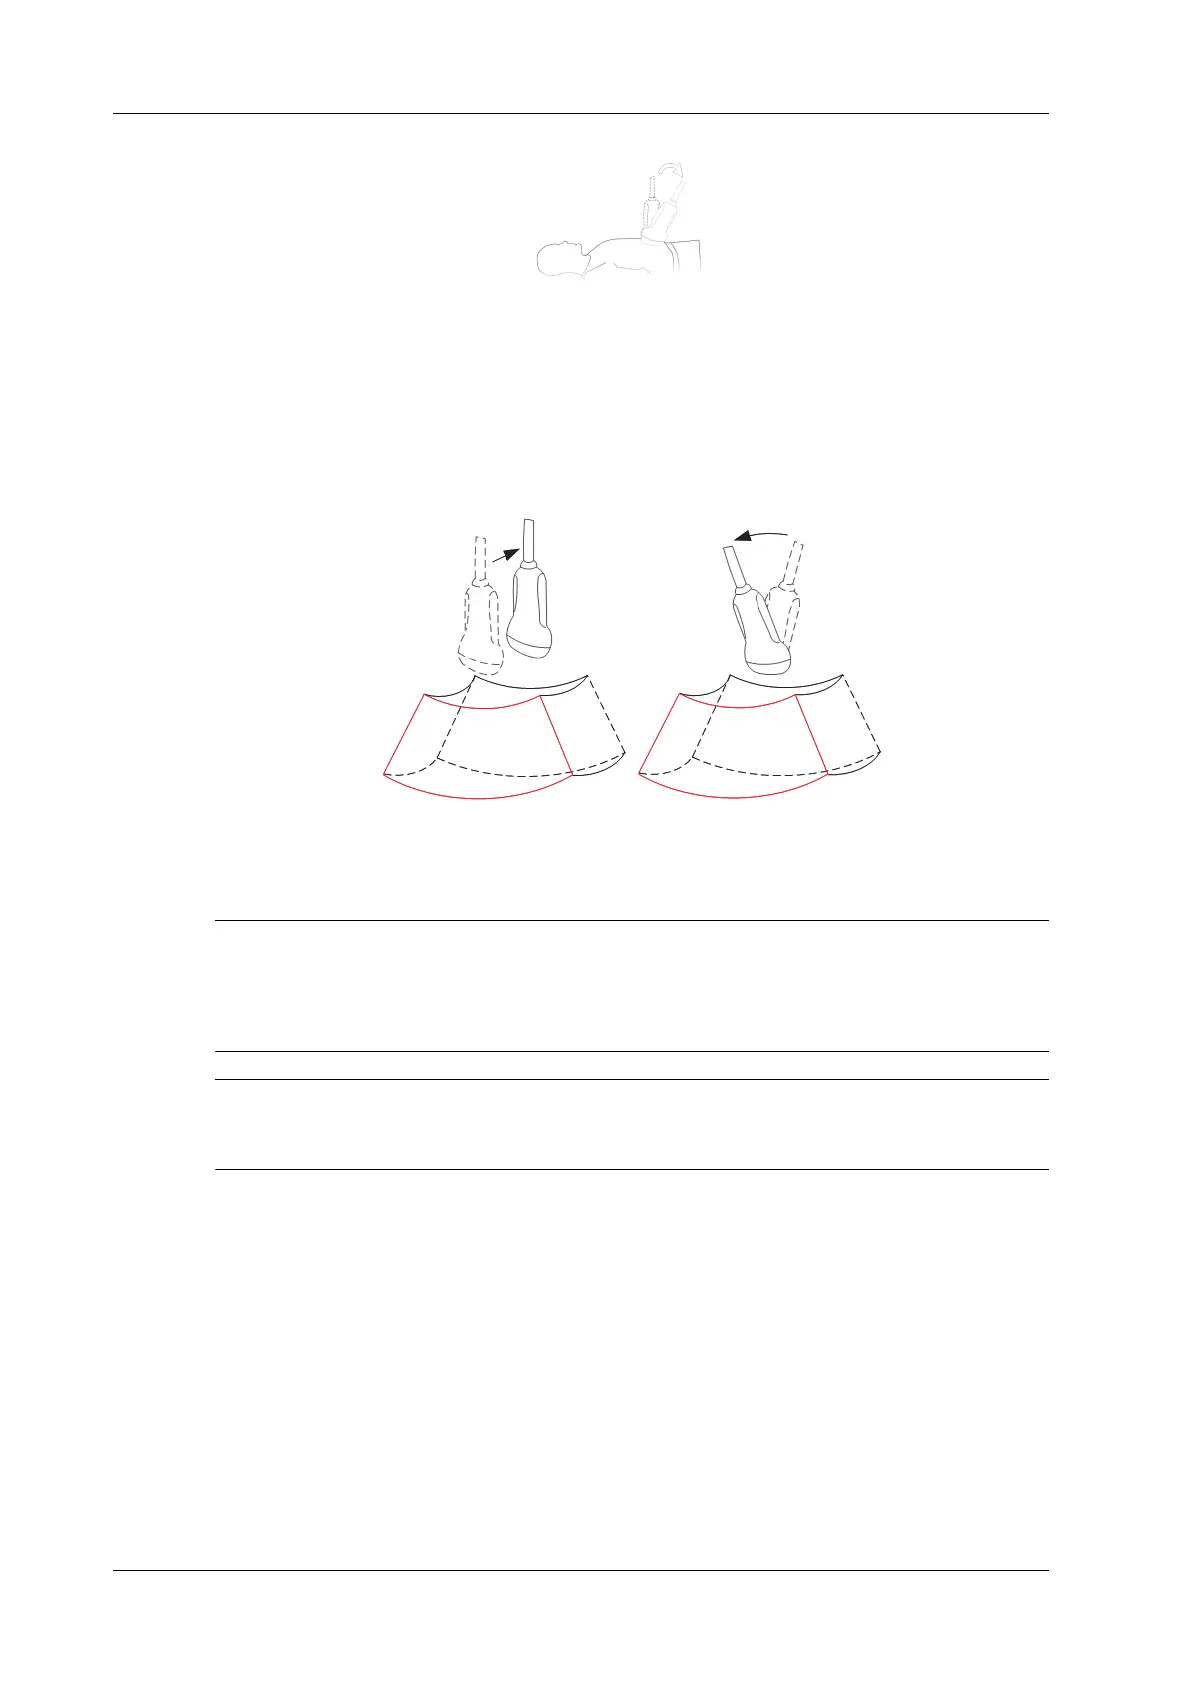
Scanning plane and probe movement
Move the probe across the body surface.
The arrow in the figure below indicates the movement of the probe.
You can move the probe in the opposite direction to the arrow.
7.3 Smart 3D Image Acquisition
In Smart 3D image scanning, if the probe orientation mark is oriented to the operator’s finger,
perform the scan from right to left in linear scan, or rotate the probe from left to right in rocked
scanning. Otherwise, the VR direction will be wrong.
The probes L7-3s, L14-6s, 7LT4s, L14-5sp, L20-5s, 7L4s, L9-3s, L11-3VNs, L12-3RCs, L14-
5Ws, L12-3VNs support Smart 3D imaging in the FDA region only.
Perform the following procedure:
1. Select the proper probe and exam mode; make sure there is sufficient gel on the probe for
scanning.
2. Obtain a 2D image, and optimize the image if necessary.
3. Tap [Smart 3D] to enter Smart 3D imaging mode.
– Adjust ROI size and position and the position of VOI.
– Select the render mode.
– Set the scan method and the movement of the probe.
4. Tap [Update] to start the 3D image acquisition.
The system enters into 3D image review status when the acquisition is completed; or, you can
finish the acquisition ahead by tapping [Freeze] or [Update].