12 - 50 Operator’s Manual
12 Probes and Biopsy
12.2.3 Verifying the Biopsy Guide Line
• Prior to each biopsy procedure, be sure to verify the guide line.
• If the needle is not consistent with the guide line, DO NOT perform the
biopsy procedure.
You can perform guide line verification on a single live B/C image, and all biopsy-irrelevant
operations are forbidden.
Adjusting the needle mark is necessary before each biopsy procedure.
Perform the following procedure:
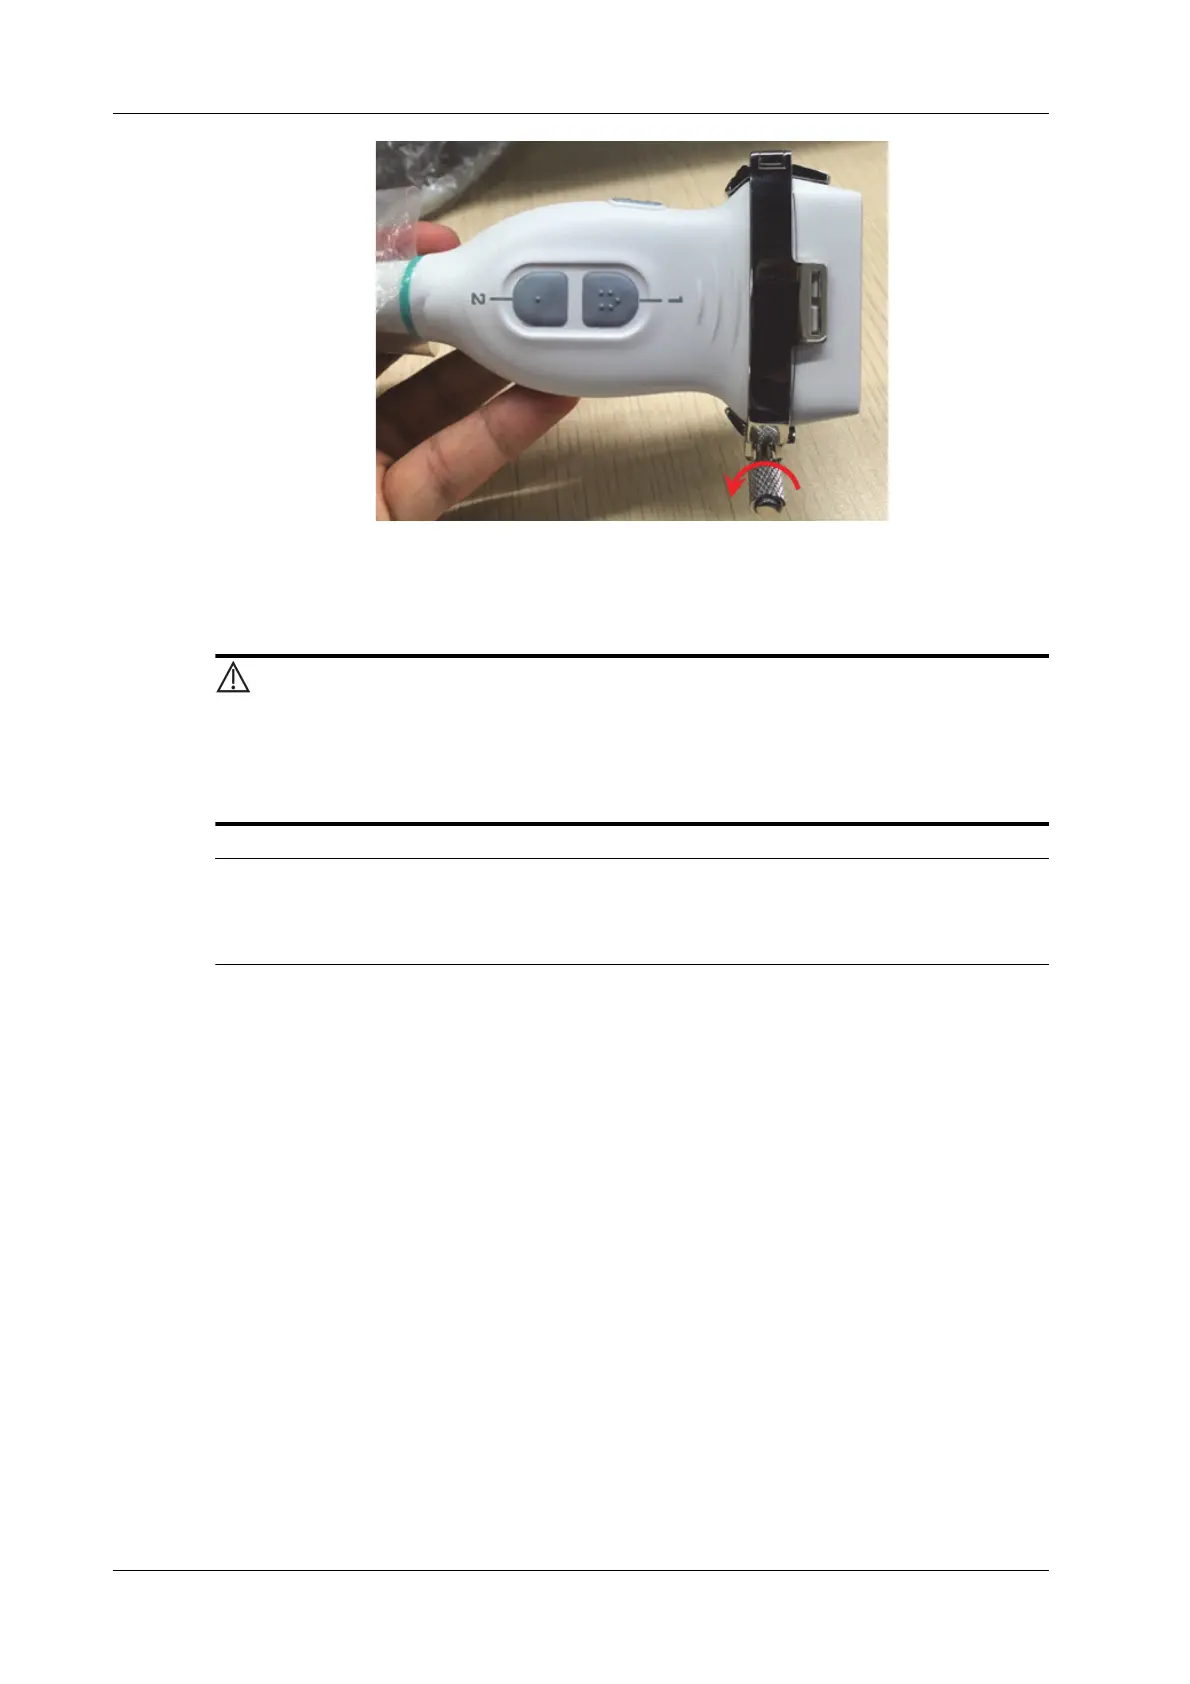
1. Confirm that the needle-guided bracket has been installed securely in the correct position.
2. Prepare a container filled with sterile water.
3. Place the head of the probe in the sterile water and place a biopsy needle in the needle guide.
4. When the biopsy needle appears on the image, confirm that the biopsy needle is displayed at
almost the same position as the selected needle mark.
5. Enter Biopsy.
– Select the biopsy bracket angle/guide line: If the needle-guided bracket supports more
than one biopsy angle, select the angle/guideline by using [Biopsy Kit].
– Select the guide line dot size by using [Dot Size].
NOTE:
• The biopsy guidezone adjusts along with image adjustments, such as image inversion/
rotations, zoom and depth changes.
6. Select [Alignment] in the Biopsy menu to open the Biopsy Verify menu.
– Adjust the guide line position
Tap and drag the top dot on the line to change the position of the guide line.