12 - 58 Operator’s Manual
12 Probes and Biopsy
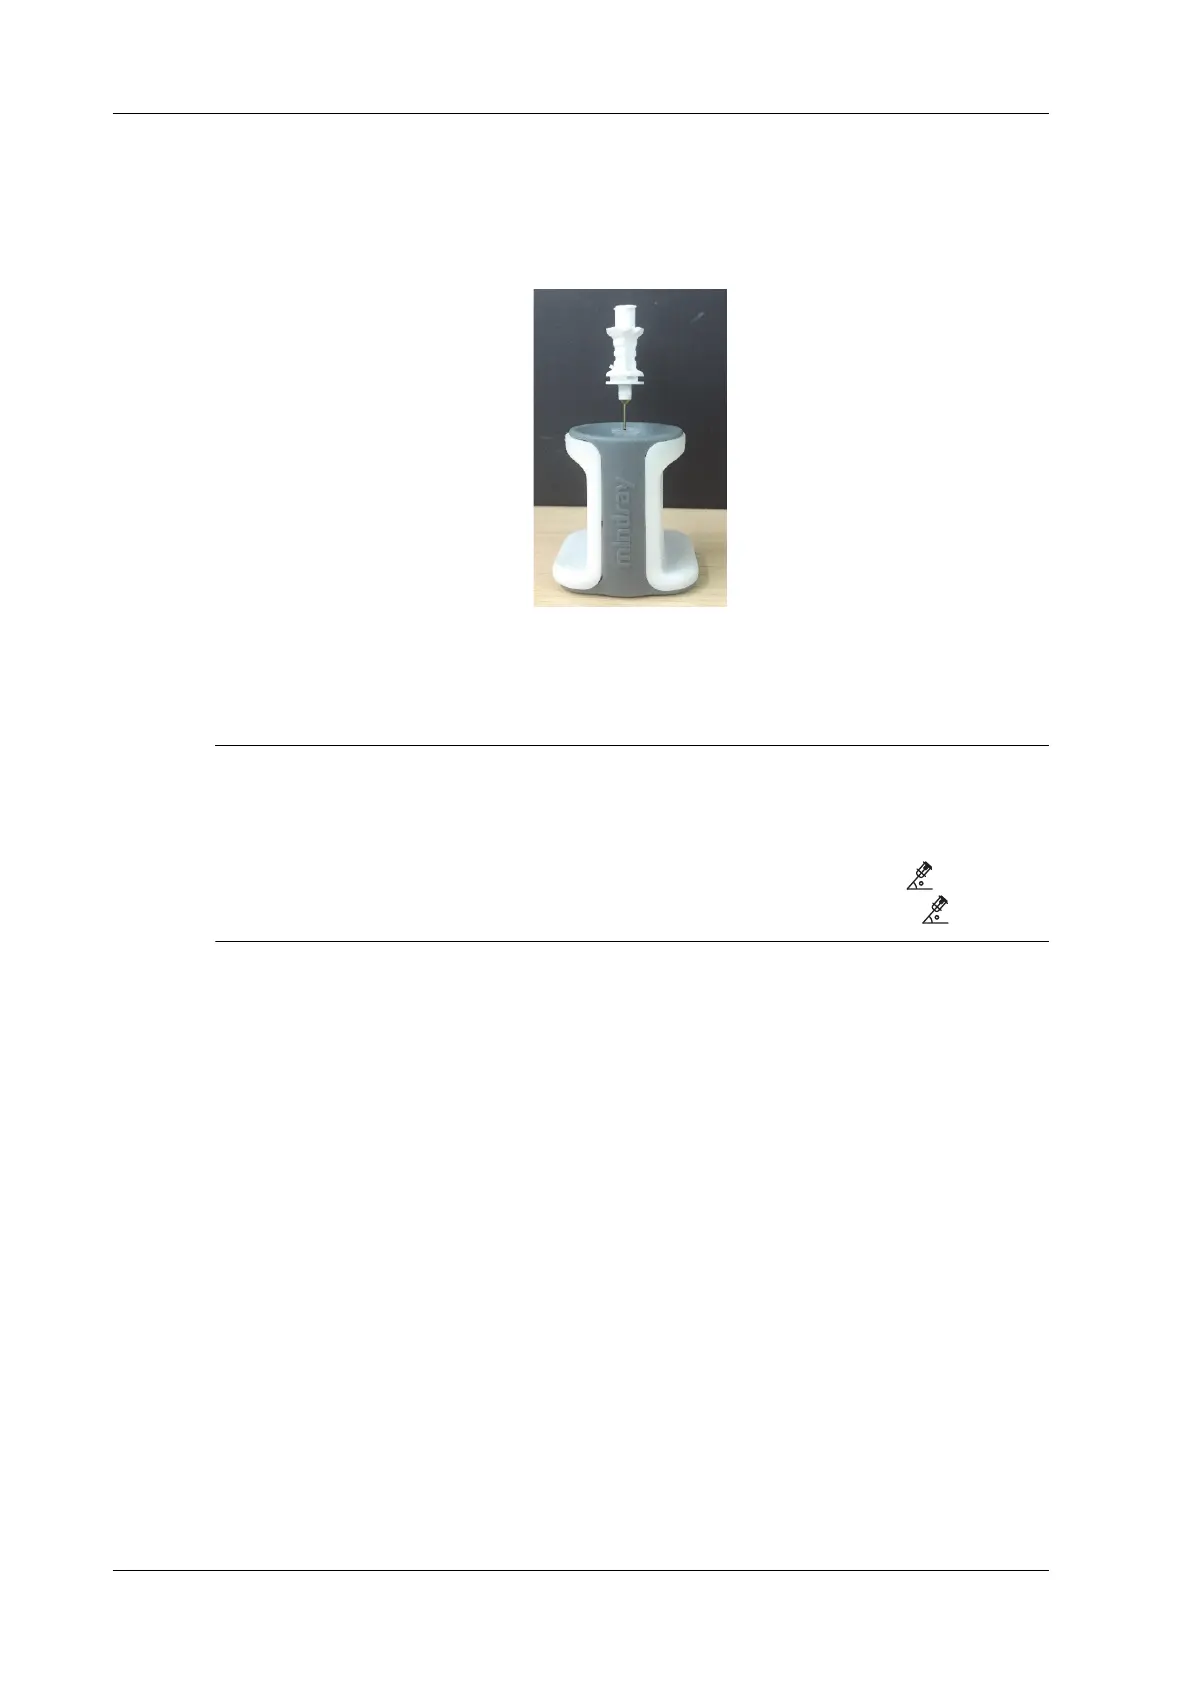
b. Introduce a needle into the cap, and ensure that the needle tip contacts the bottom of the
needle cap.
If the needle cap associated with the needle does not meet the requirements, you are
recommended to use BBraunSterican <35 mm needles cap or B&D Microlance <35 mm
needles cap.
c. Hold the needle for 1 or 2 seconds and then withdraw it quickly from the magnetizer.
12.4.4 Procedure
• The Pan Zoom function is not supported on eSpacial Navi mode.
• Do not freeze the ultrasound image during the procedure. Otherwise, biopsy guidance
information will disappear.
• When the insertion angle of a needle relative to the skin surface exceeds 60°, is displayed
on screen to notify users to adjust the angle. After the angle is smaller than 60°, disappears.
Perform the following procedure:
1. Hold the probe stably and put the needle close to the probe for connection. After the needle and
probe are successfully connected, the system automatically calculate the maximum depth at
which the needle can be detected in real time, and display the depth value in the touch screen.
When the actual depth is greater than the maximum value, the needle guidance information
disappears temporally.
2. Adjust the needle position and angle to define the position for inserting the needle.
Pay attention to the field strength during the needle guidance process.