Structure and Assembly/Disassembly 7-29
7.4.8 Hard Disk
Please pay attention to the following matters during
disassembling/assembling, otherwise the hard disk will be damaged:
Hold the side of the hard disk, and please do not touch the board of the
hard disk.
Fasten the screws with the handy screw driver, and do not with the electric
screw driver.
The torsion value of the screw lock is:
M3: 4 to 6 kgf.cm
M4: 6 to 8 kgf.cm
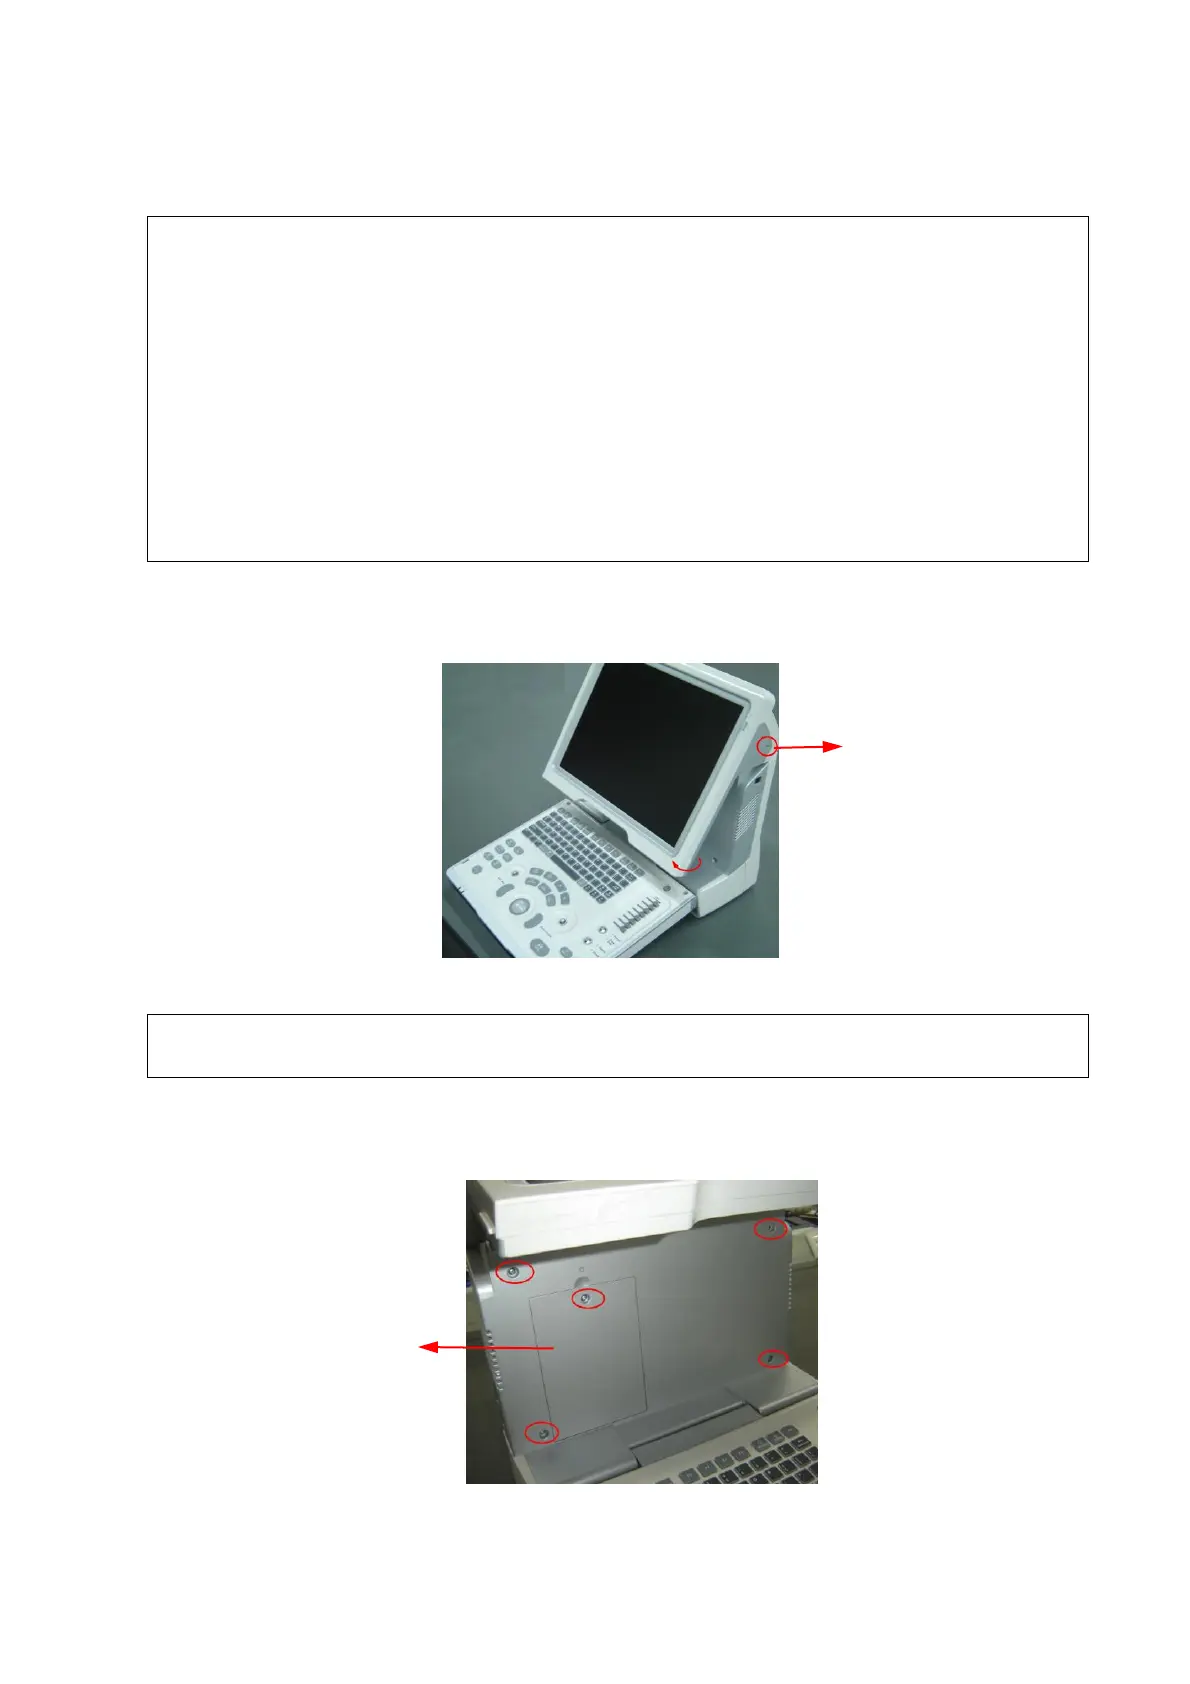
1. Fasten one M3x12 screw removed (7.2.4.2) into the damping axis adjusting hole of display
about 2-3 rings to confirm that the screw is fixed, then pull out the monitor simultaneously
rotate the display assembly to adjust the monitor to the horizon position.
Figure 7-49 Disassembly of HDD (1)
2. Remove panhead screws with washers (5 M3X8 ) which are installed on the rack of the main
unit front cover, then remove the HDD cover assembly (including HDD cover, HDD cover
metal part and conductive foam ) to rotate display assembly to the vertical position.
Figure 7-50 Disassembly of HDD (2)
When rotating the monitor to horizontal position, you are sure to push damping axes
screw inward and rotate the display simultaneously.

 Loading...