7-30 Structure and Assembly/Disassembly
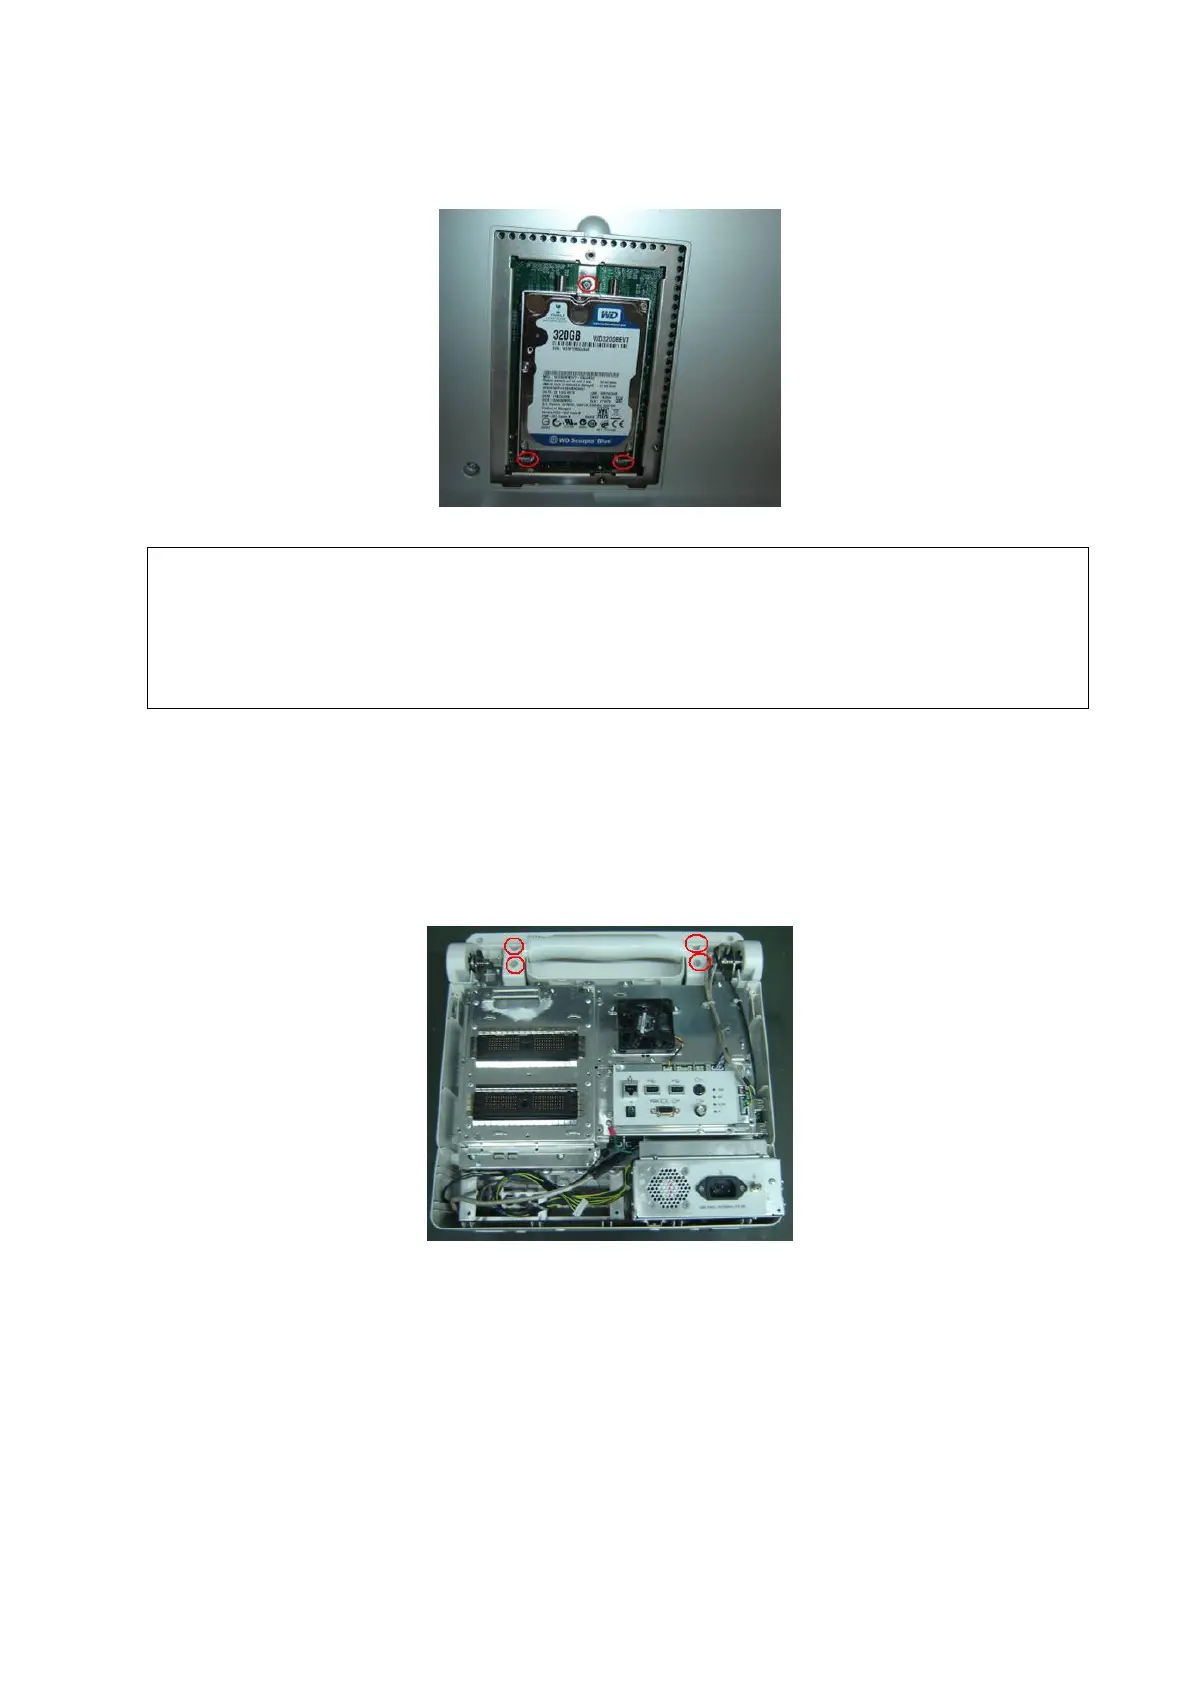
3. Remove 3 panhead screws with washers M3X6 used to secure the rack of HDD, and take out
the HDD assembly upwards.
Figure 7-51 Disassembly of HDD (3)
After replacing the HDD, you need to:
1. Restore the system;
2. Install the optional functions: Key file must be written according to MAC address of
the machine, Or else, the optional function of the product will be lost.
3. Load configuration file, set the regulation type, system language and time zone.
7.4.9 Speaker
1. Remove rear cover assembly of the main unit (referring to 7.4.1 the 1~4 step);
2. Remove 4 panhead screws with washers M3X6 used to fix the handle, then take out the
handle.
Figure 7-52 Disassembly of Speaker (1)
3. Remove 1 combination screw used to fix the connecting cable of display assembly, Cut off two
cable ties, and pull out the plug of connecting cable of display.
4. Remove 1 combination screw used to fix the connecting cable of keyboard assembly of
display assembly, Cut off the tie used to fix the connecting cable of keyboard assembly and
speaker cable, and then pull out two plugs.

 Loading...