Operation
4-3
P/N 7135268B
E 2008 Nordson Corporation
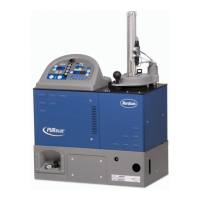
PURBlue EC
5. Set the operating parameters (Refer to Setting Up the Melter).
Observe for edge-controlled signals (example)
If standby is switched on via an input (rising edge), it can be switched off
with the seven-day clock or by the operator on the control panel.
If standby is then to be switched on again via the input, it must first be
switched off (falling edge) then on again via the interface.
6. Wait until the system is ready for operation.
The Ready LED lights up (green) when all of the heated components
are within 3 _C (5 _F) of their assigned setpoint temperature.
Ready Delay Time (Original State: 30 min)
The remaining ready delay time (in minutes) appears in the right display at
the end of every scan cycle. When less than one minute remains in the
ready delay time, the right display counts down in seconds.
CAUTION: Always allow at least a 30 minute ready delay to prevent the
pump from being damaged when it is switched on.
7. Tighten the gland on the pump.
Refer to Setting Speed in this section for information regarding
8. Setting the pump speed on the potentiometer.
9. Enabling / switching on the motor (pump).
Also refer to Controls Pump Speed and Purge Mode / Purge for information
on pumping out the test material.
CAUTION: Heating and cooling that occurs during daily operation can
cause screwed parts to loosen, resulting in leakage.
10. On the first day, while the material is still soft (approx. 70 °C/158 °F,
depending on the material), tighten the following:
S Safety valve
S Plugs
S Hose connections.
Then check at regular intervals and repeat as required. Refer to section
Maintenance.
 Loading...