Fig. 7‐2
Repair
7‐2
P/N 213828_11
2014 Nordson Corporation
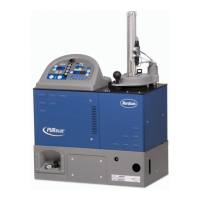
VersaBlue_PPA
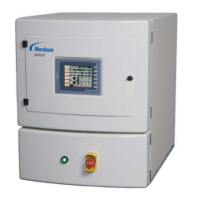
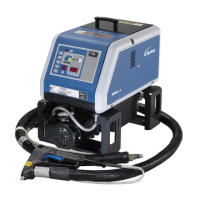
Control Panel
IPC Generations I and II are no longer available. When retrofitting to
Generation III for the first time, follow the instructions included in the
respective retrofitting kit.
CAUTION: When a melter has no communication assembly, operate only
with the cover to protect the slot.
1
2
3
4
5
6
Fig. 7‐1
1 Communication assembly
PROFIBUS‐DP (option)*
2 RJ45 EtherNet
3 Not in use
4 CAN plug 9-pin DSub male
5 RS232 plug 9-pin DSub male
System port
6 24 V
DC
power supply
Note: * If the system does not include the option PROFIBUS DP, there is a cover on this port.
Detaching Control Panel
1. The control panel is fastened to the console with two clamping screws.
The two angled brackets slide into the IPC cooling slots.
2. Release the clamps, then remove the clamping screws and brackets.
3. Detach the connections, if necessary. The control panel can now be
removed.
CAUTION: When the control panel is put into place, tighten the clamping
screws only by hand.

 Loading...