DMTA-20015-01EN [U8778402], Rev. J, January 2014
Overview of the Equipment
77
7.1.2 Function Keys
There are 14 function keys on the front panel of the OmniScan MX. These keys
include up to three types of information, with each type of information being color-
coded as follows:
• White: a primary function when connected to either ECT or UT modules
• Yellow: alphabetical characters and symbols
• Green: numeric characters and signs
It is possible to use the function keys to enter alphabetical and numeric characters,
symbols, and signs in an edit field.
To enter alphanumeric values in an edit field, the edit field must first be selected. This
will cause the function keys to switch to alphanumeric mode, and the keypad
indicator light to flash orange (see “Keypad Indicator Light” in section 7.1.9 on
page 80). You can then use the Start/Stop and Acquisition/Print keys to move the
cursor forward and backward inside the edit field.
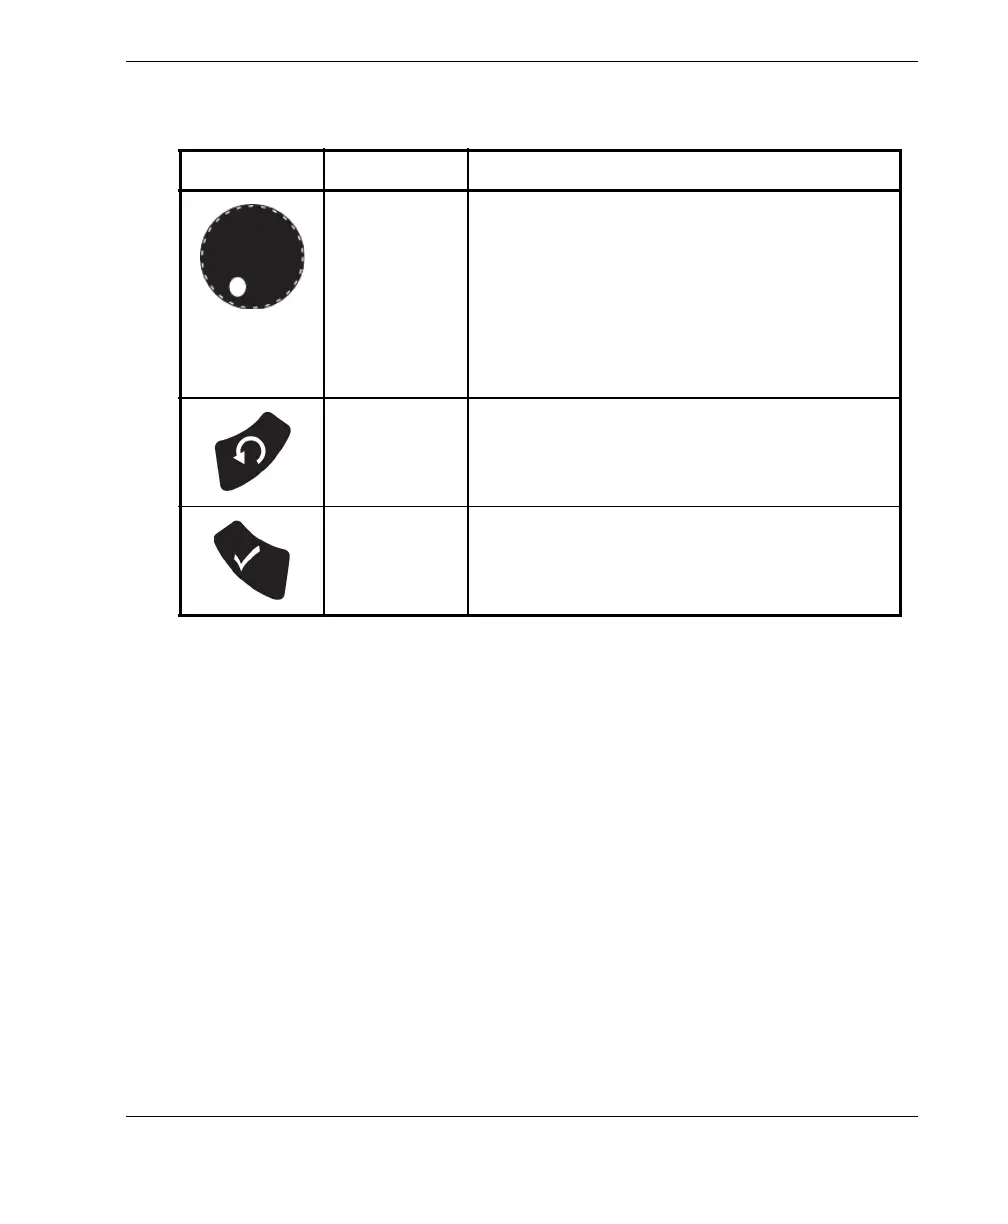
Table 16 Main control area
Element Name Description
Scroll knob Used to navigate through selections without
the need for a keyboard or mouse. Turning the
scroll knob in a clockwise direction shifts a
selection to the right (horizontal list), or
upward (vertical list). For more information
about using the scroll knob with the
OmniScan software, refer to the Olympus
OmniScan software user’s manuals.
Cancel key Used to cancel the current selection, or to go
back one level in the menu hierarchy.
Accept key Used to confirm a selection.