CYLINDER HEAD ASSEMBLY 12
To correct a valve seat
with a valve seat cutter12A-13
Special tools:
Cutter for 46° inlet valve seats, MS.281*
Cutter for 31° inlet valve seats, MS.642
Cutter for exhaust valve seats, MS.275*
Pilot for use with valve seat cutters, MS.150-9.5*
Handle set for use with valve seat cutters, MS.67B*
*Included in set of adjustable cutters for valve seats,
MS.73
1 Before any work is done on the valve seats, new
valve guides must be fitted, operation 12A-11.
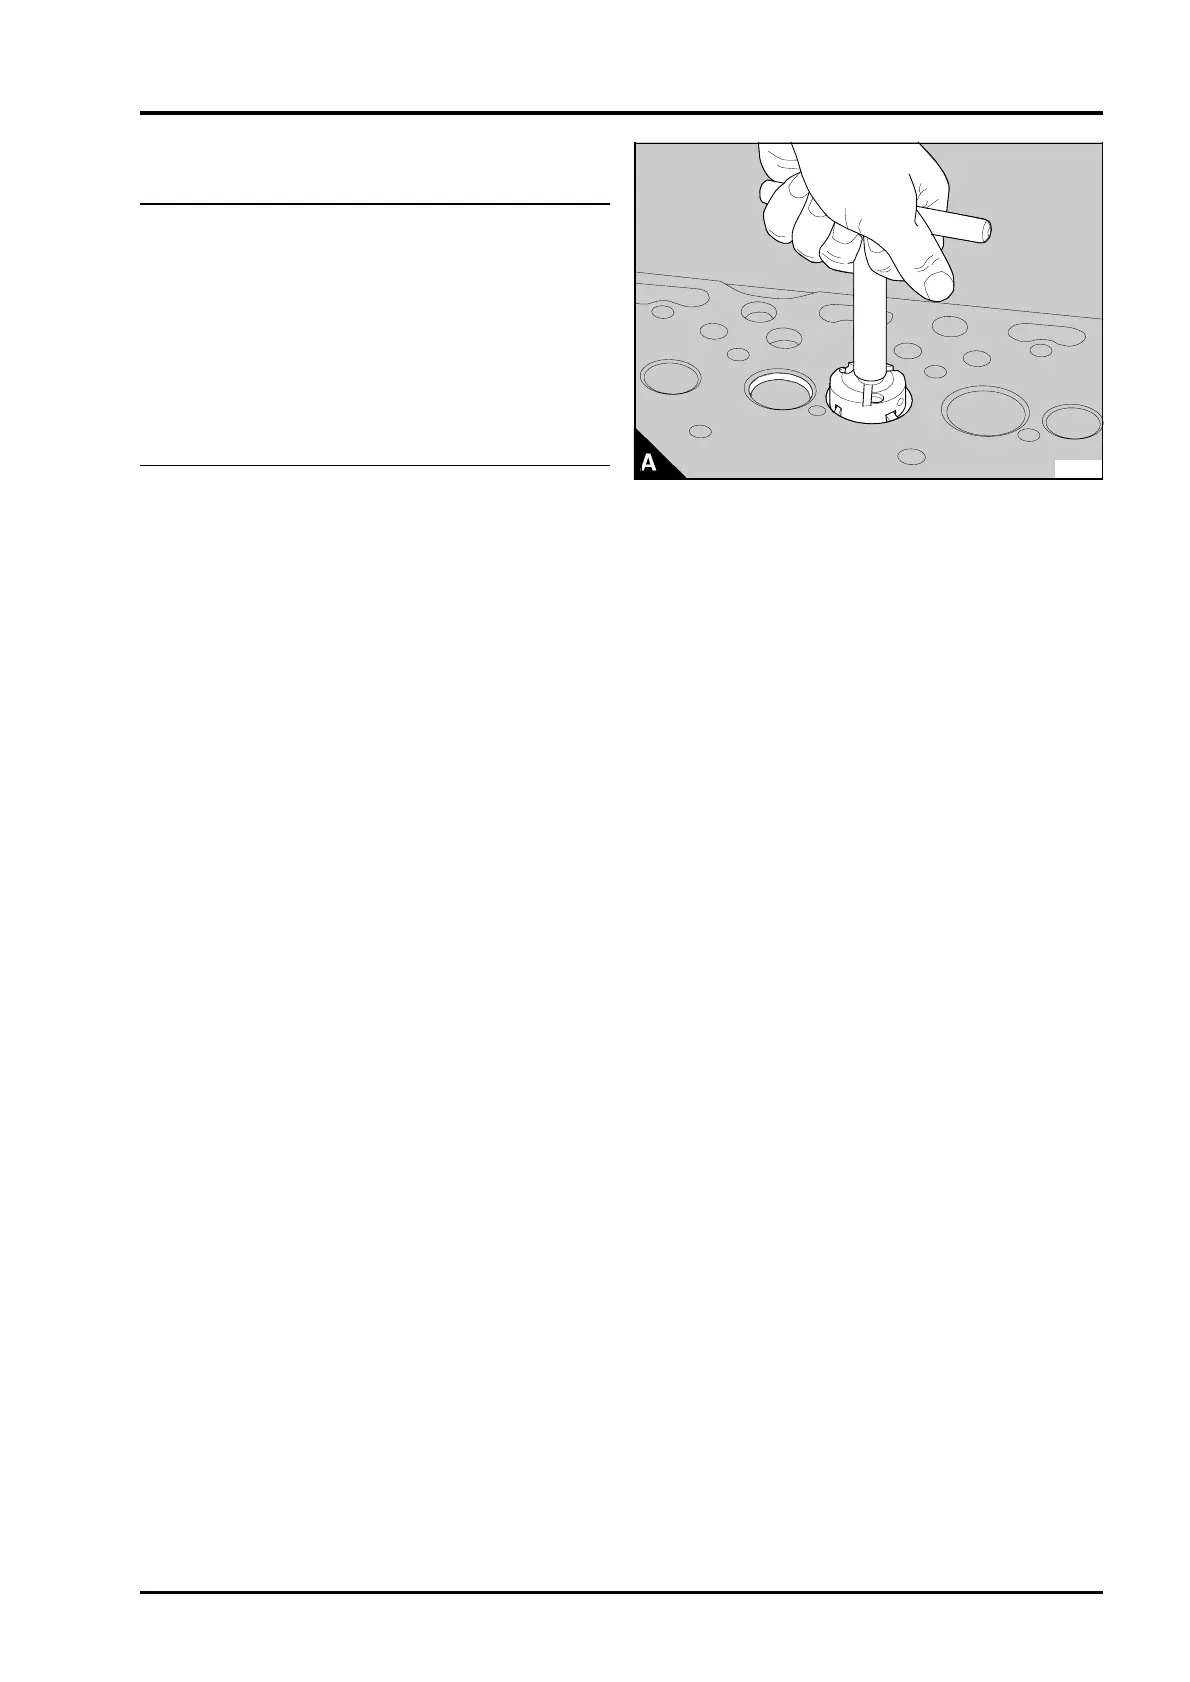
2 Fit the pilot in the valve guide and tighten the
pilot.
3 Select the relevant cutter. Set the blades of the
cutters to the diameter of the valve seat to be cut.
Fit the cutter on the pilot and fit the handle (A).
Ensure that the cutter is not allowed to fall on to the
seat as this can damage the blades.
4 Carefully turn the cutter in a clockwise direction.
Remove only the minimum material to ensure a
good seat. Keep the seat as narrow as possible.
5 When the seat is cut, remove the cutter and the
pilot. Remove any debris from the area of the valve
seat and the port.
6 Fit the valve and lightly lap the valve and the
seat.
7 Check that the valve depth is within limits, see
data and dimensions.
Note: If a valve seat has become too damaged or
too worn to correct, a valve seat insert can be
fitted, operation 12A-14. Turbocharged engines and
some naturally aspirated engines have valve seat
inserts fitted as standard and these inserts can be
renewed.
PA066
Perkins Phaser/1000 Series, April 1995 12A.21