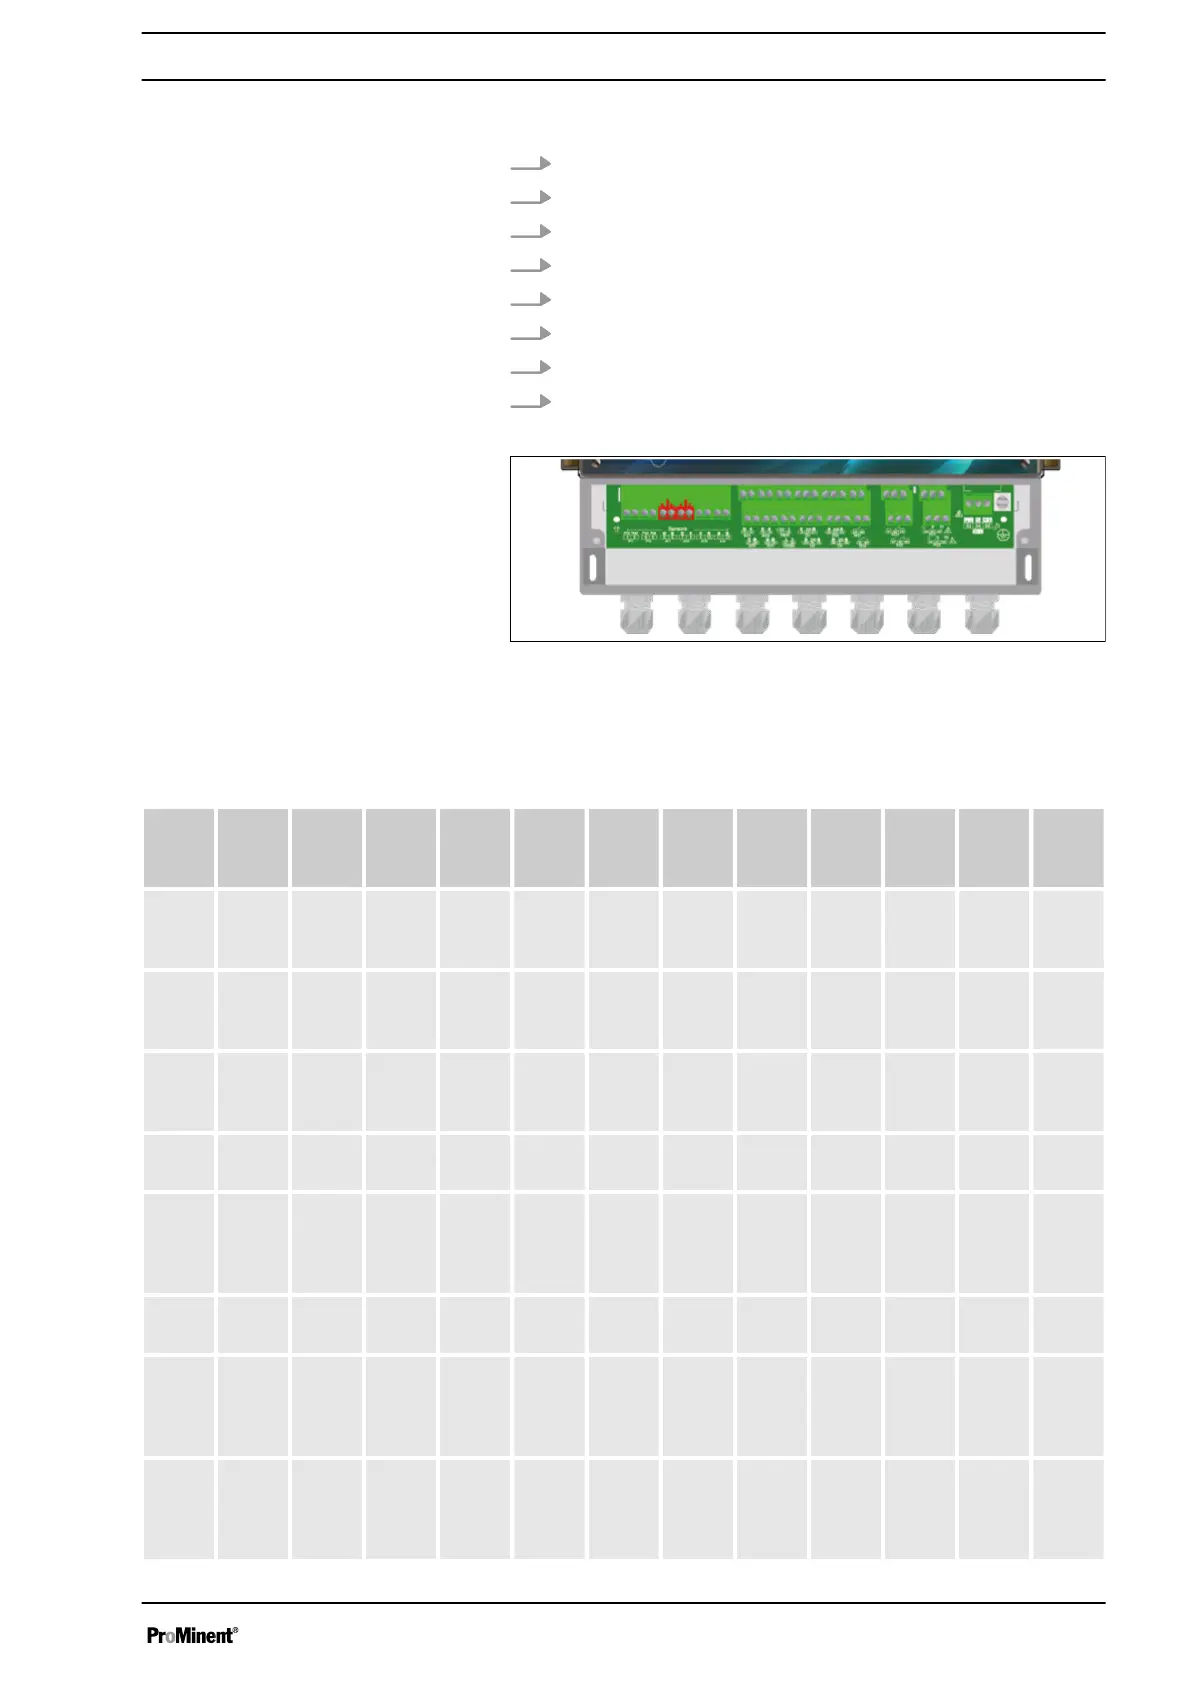
1. Use a coaxial cable.
2. Connect the cable lead to the connector Pot (1).
3. Connect the shielding to the connector Ref (2).
4. Tighten the cable gland to form a seal.
5. Use a coaxial cable.
6. Connect the cable lead to the connector Pot (3).
7. Connect the shielding to the connector Ref (4).
8. Tighten the cable gland to form a seal.
Fig. 10: b) Insulated analogue inputs 4 ... 20 mA AI1 & AI2
The device has 2 insulated analogue inputs 4 ... 20 mA, to which a
chlorine, bromine, ozone, hydrogen peroxide, peracetic acid, dis‐
solved oxygen or PHMB sensor can be connected.
0.01...
0.5
mg/l
0.1...1
mg/l
0.02...
2 mg/l
0.1...5
mg/l
0.2...1
0 mg/l
0.4...1
5 mg/l
0.2...2
0 mg/l
0.5...5
0 mg/l
1...10
0 mg/l
2...20
0 mg/l
20...2
000
mg/l
Cus‐
tomer
*
Free
chlori
ne
-• -• -• -• -• -• -• -• -•
Active
chlori
ne
-• -• -•
Total
chlori
ne
-• -• -• -• -•
Chlorit
e
-• -• -•
Chlori
ne
dioxid
e
-• -• -• -•
Per‐
oxide
-• -• -• -•
Bro‐
mine
BCD
MH
-• -• -• -•
Bro‐
mine
DBD
MH
-• -• -• -•
Connecting the sensors
Connecting the sensor to PI1:
Connecting the sensor to PI2:
Insulated analogue inputs 4 ... 20 mA
AI1 & AI2
Installation and assembly
21





 To Next Page