Managing Disk Arrays
195
Deleting a Disk Array
To delete a disk array:
1. Press the or button until the display says Array Configure.
2. Press the button and the display says Auto Configure.
3. Press the or button until the display says Advanced Configure.
4. Press the or button until the display says Disk Array Delete.
5. Press the button again to display a list of disk arrays.
6. Press the or button choose a disk array for deletion.
7. Press the button and the display says Delete Disk Array X?
8. Press the button again and the display says Are you sure? NO.
9. Press the button to change the answer to YES, then press the
button.
10. Press the button again to confirm.
The chosen disk array is deleted.
Viewing Disk Array Information
To view disk array information:
1. Press the or button until the display says Disk Array Management.
2. Press the button and the display a list of disk arrays by ID number.
3. Press the or button to scroll through the list of disk arrays.
4. Press the button choose a disk array.
5. Press the or button to scroll through the list of items:
• ID Number
• Configured Capacity
• Free Capacity
• Number of Physical Drives*
• Number of Logical Drives*
• Status
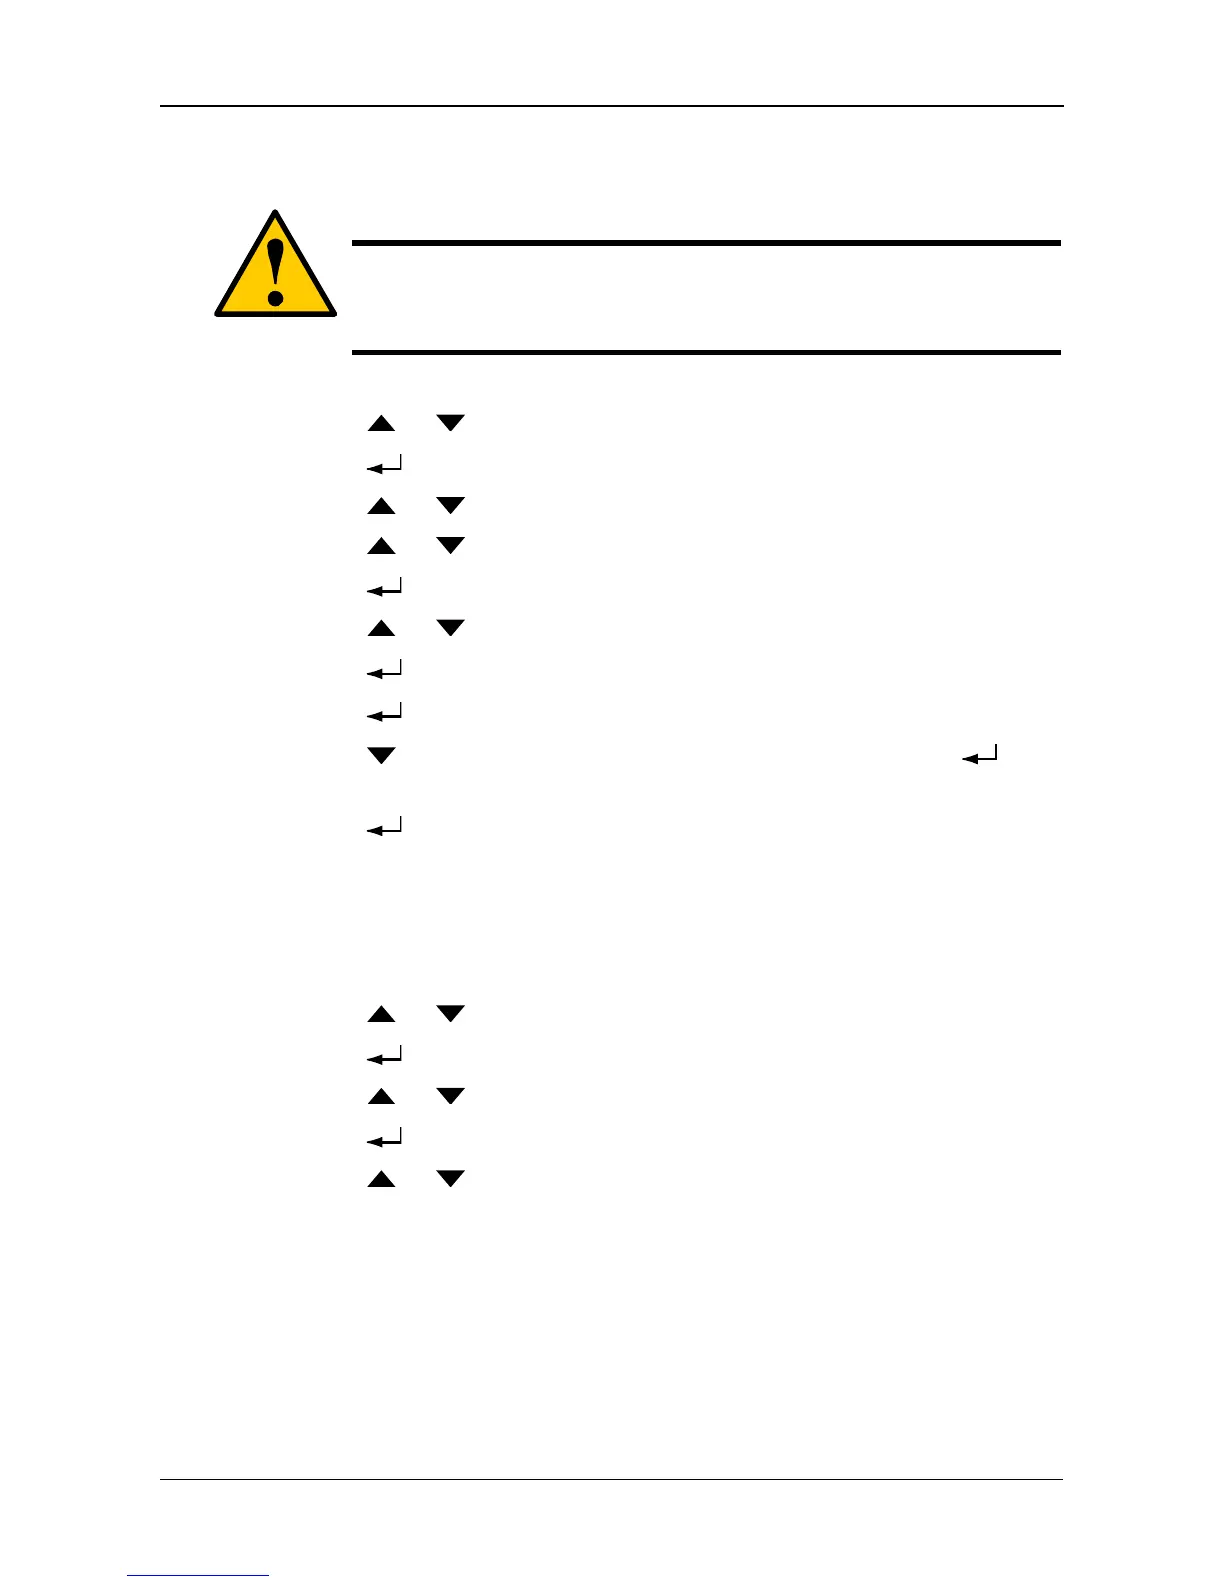
Caution
When you delete a disk array, you delete all the logical drives and
the data they contain. Back up all important data before deleting a
disk array.
 Loading...