VessRAID 1740s, 1840s Product Manual
16
Installing Your Disk Drives
1. Remove a disk drive carrier.
2. Carefully lay the disk drive into the drive carrier at the front, so that the screw
holes on the sides line up.
3. Insert the screws through the holes in the drive carrier and into the sides of
the disk drive.
• Install only the counter-sink screws supplied with the VessRAID.
• Install four screws per drive.
• Snug each screw. Be careful not to over-tighten.
4. Reinstall the drive carrier into the VessRAID chassis.
Repeat steps 1 through 3 until all of your disk drives are installed.
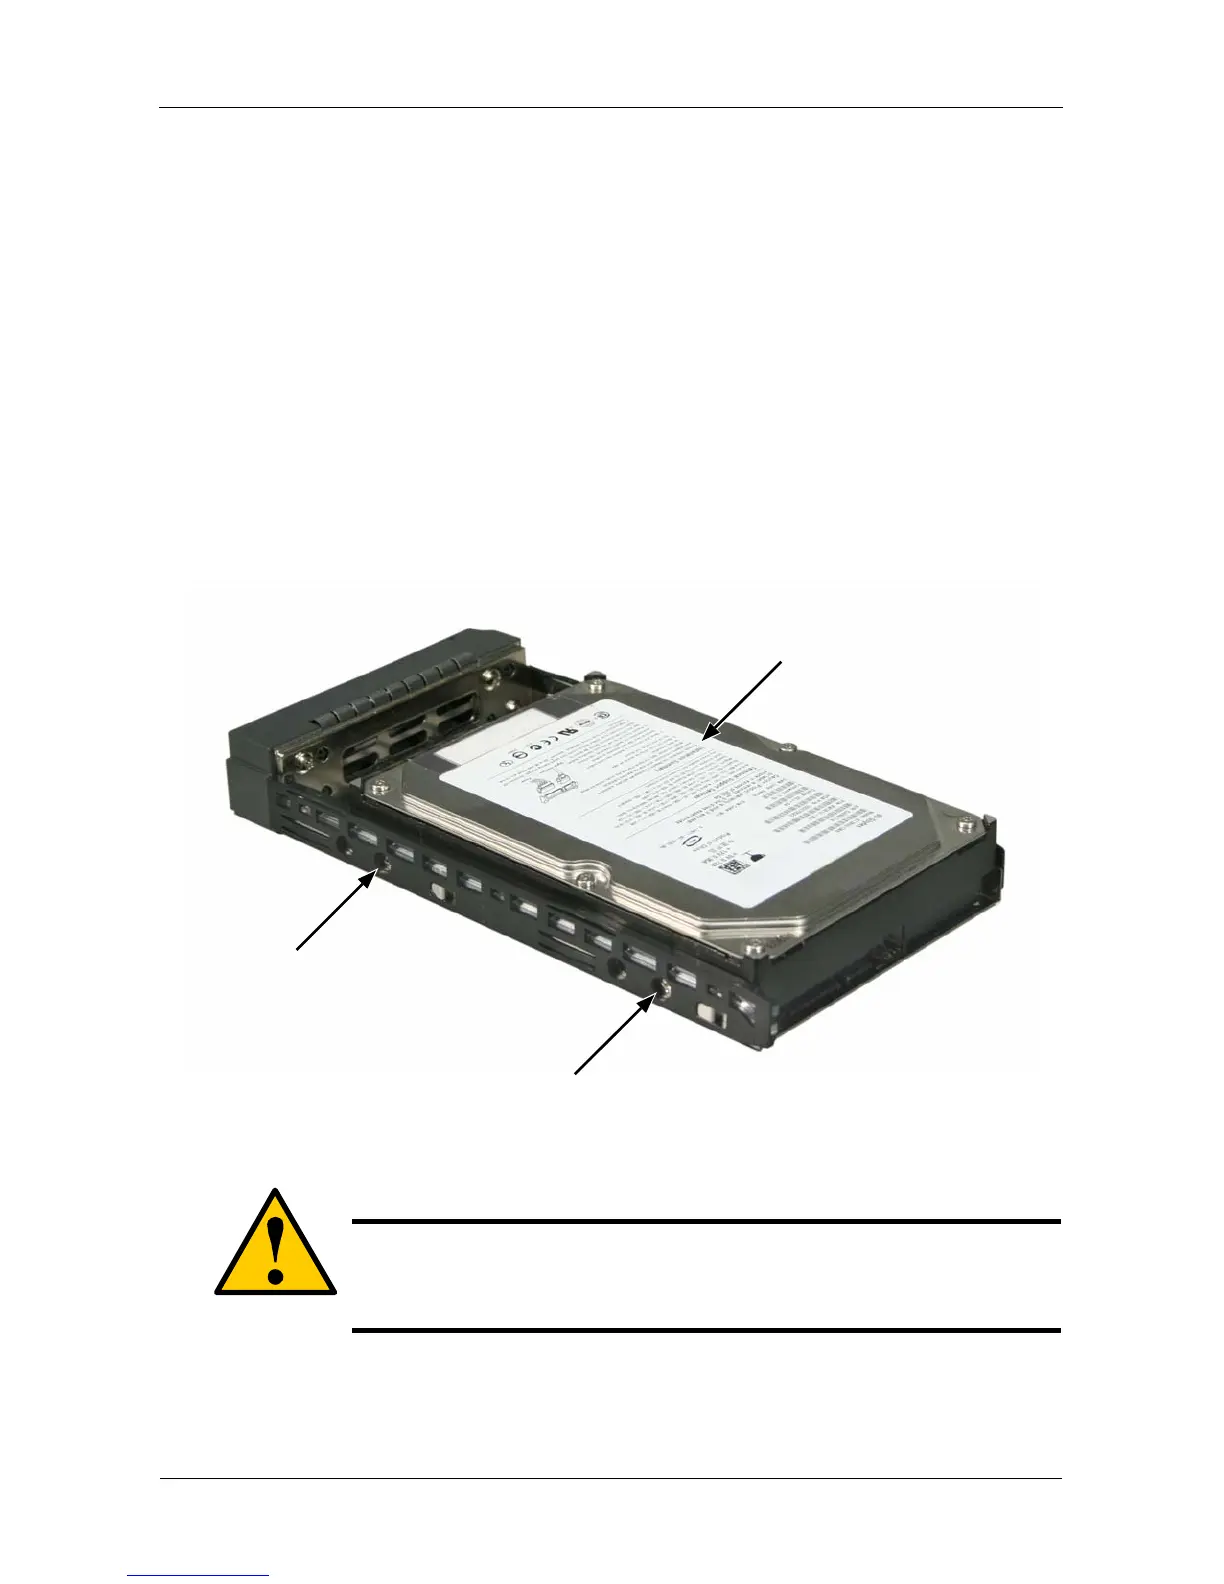
Figure 10.Disk drive mounted in a drive carrier
This completes disk drive installation.
Caution
VessRAID supports disk drive hot-swapping. To avoid hand
contact with an electrical hazard, do not remove more than one
drive carrier a time.
Disk drive
mounting screw
mounting screw
 Loading...