Electrical Components
330
• When the power is turned ON, SC195-00 appears. Continue with the following steps.
9. Select the destination setting (SP5-131-001 - JPN: 0, NA: 1, EU/AA/TWN/CHN: 2).
• After changing the EEPROM, some SPs do not have the correct values.
• Because of this, steps 10 to 12 must be done.
10. Set the machine serial number SP5-811-001, Area selection SP5-807-001, CPM set SP5-882-001.
• For information on how to configure the above SPs, contact the supervisor in your branch office.
11. Cycle the power off/on.
12. Use SP5-801-002 “Memory Clear Engine”.
13. Turn off the machine, and then turn it back on.
14. From the SD card where you saved the NV-RAM data in step 5, download the NV-RAM data with
SP5-825-001.
15. Turn off the machine, and then remove the SD card from SD slot 2.
16. Turn on the main power switch.
17. Check the factory setting sheet and the SMC data printout from step 2, and set the user tool and SP settings
so they are the same as before.
18. Execute ACC (Copy and Printer).
Controller Box
• If the optional counter interface unit is installed, remove the optional counter interface unit before
removing the controller box.
1. Remove the rear cover. (Rear Cover)
2. Remove the left cover. (Left Cover)
3. Remove the right rear cover. (Right Rear Cover)
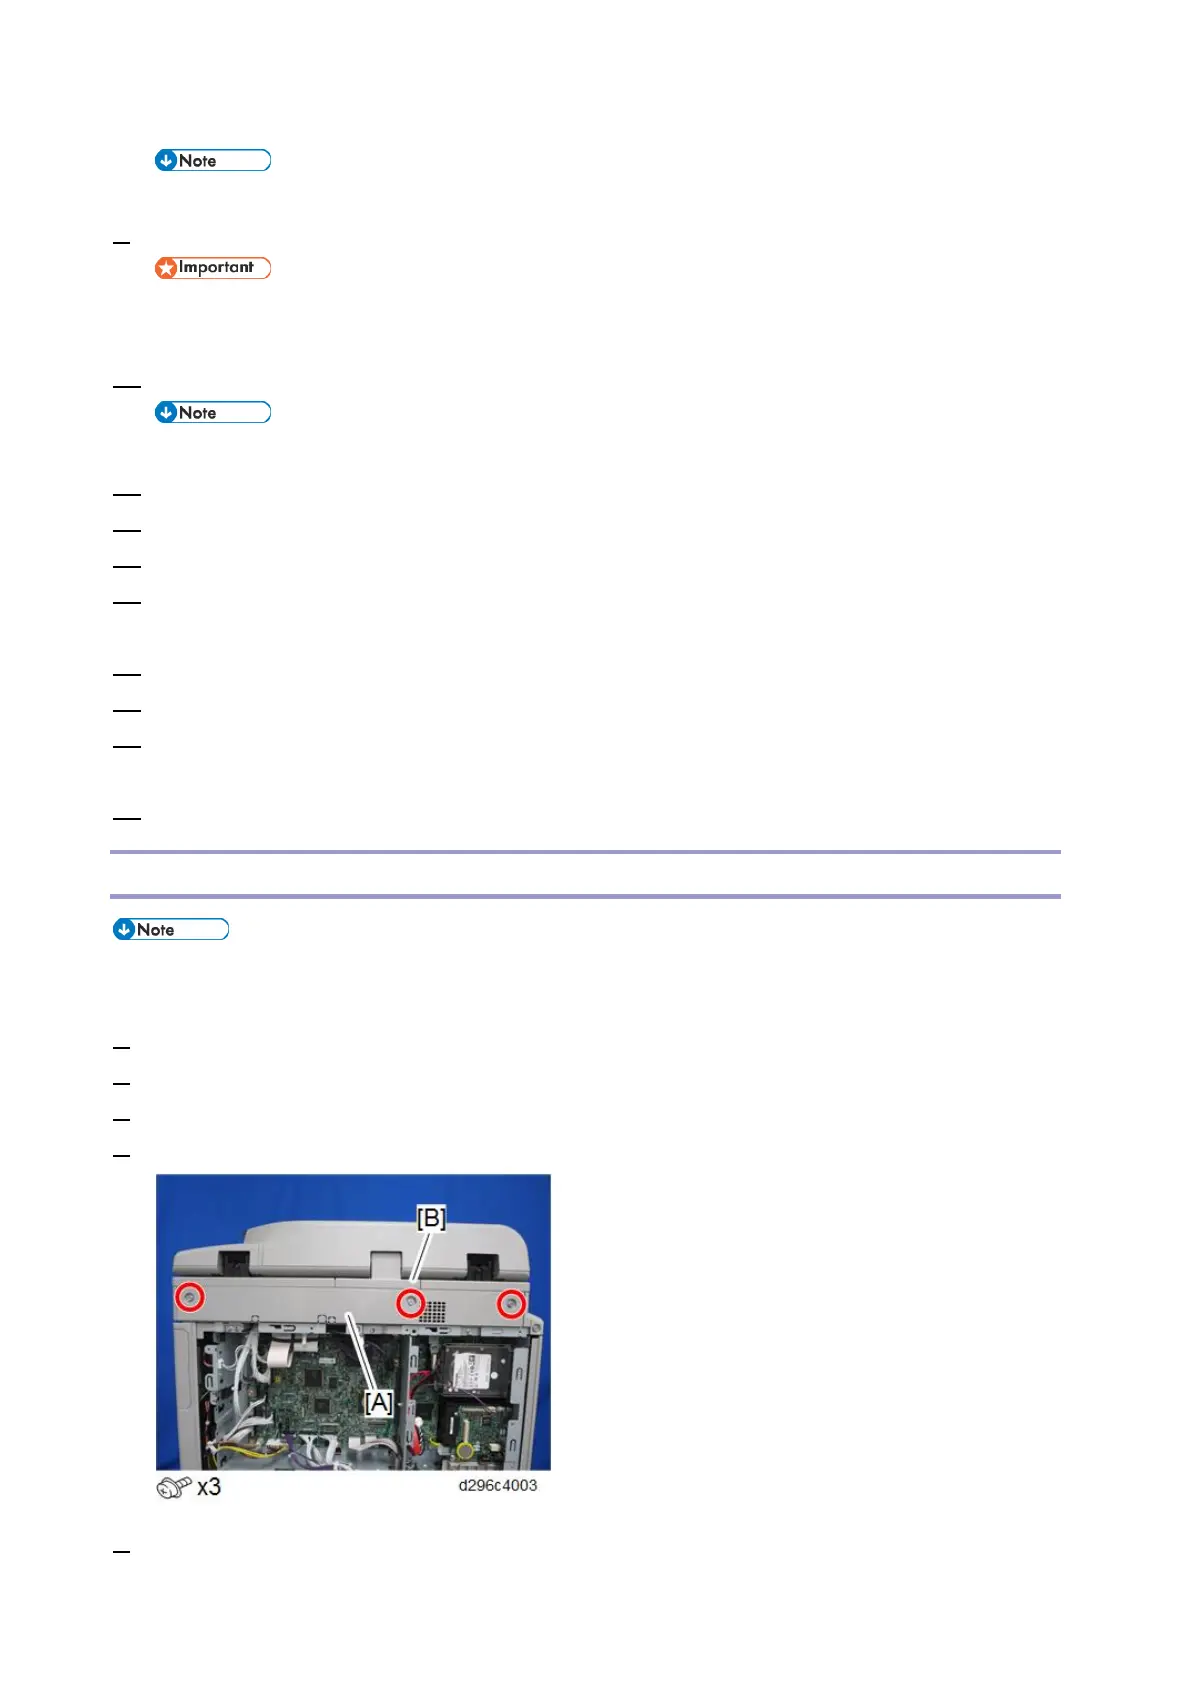
4. Remove the scanner rear cover [A] and scanner rear small cover [B].
5. Release two screws and two tabs for attaching the relay board [A] and FFC, to release the FFC.