3-6
3 Scanner
ComColor Series User’s Guide 09
■ Save Data to a USB Flash Drive
You can save scanned data to a USB flash drive
connected to the USB port of the machine.
1
Insert the USB flash drive into the
USB port of the machine.
For information on the USB port, see "Part Names
and Functions" (p. 7).
2
Press [Directory] on the scanner
mode screen.
The [Directory] screen is displayed.
If the [Mail to] screen is displayed, press
[Directory].
3
Press [USB flash drive].
4
Press [OK].
The previous screen is displayed.
● Do not remove the USB flash drive until saving
is finished.
● [USB flash drive] in the [Directory] screen is
grayed out when no USB flash drive has been
inserted into the USB port.
■ Save Data to a Computer on the
Network
You can save scanned data to a computer on the
network.
1
Press [Directory] on the scanner
mode screen.
The [Directory] screen is displayed.
When the [Mail to] screen has been displayed,
press [Directory].
A list of directories is displayed in [Networked
computer].
2
Select the directory for the saved
data.
Press [S] and [T] to scroll the list.
3
Press [OK].
The previous screen is displayed.
To save data to a computer not listed in
[Networked computer], ask your administrator.
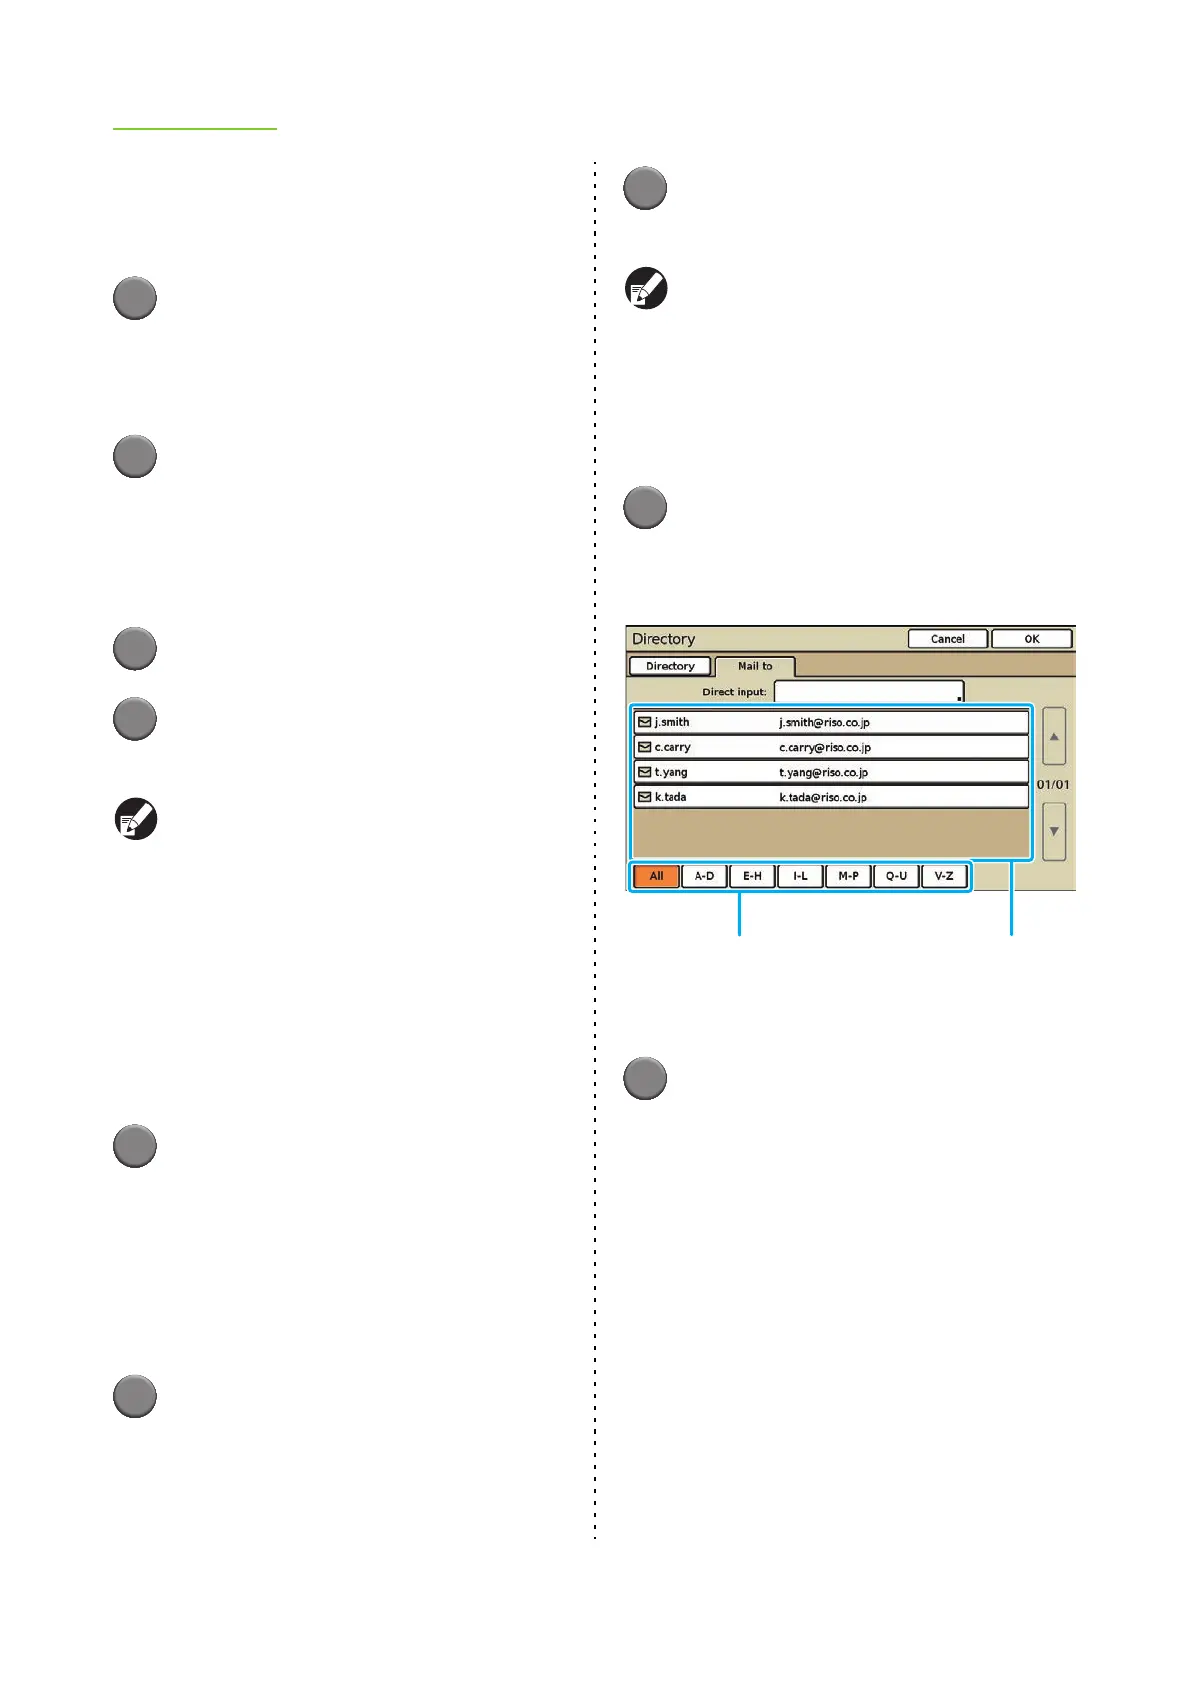
■ Attach Data to an e-mail Message
You can attach scanned data to e-mail messages and
send them.
1
Press [Directory] on the scanner
mode screen.
The [Directory] screen is displayed.
When the [Directory] screen has been displayed,
press [Mail to].
2
Select the mail destination.
<To select an address from the mail destination list>
1. Use the index buttons to narrow down the
addresses that are displayed.
2. Press [S] and [T] to scroll the list, and
select a destination from the mail
destination list.
<To enter a destination directly>
1. Press the [Direct input] button to display
the text input screen.
2. Enter the recipient's address.
• Enter the recipient's address within 256
characters, and press [OK].
• To erase the character to the left side of the
cursor for entering a new character, press
[Clear].
Mail destination listIndex buttons