30
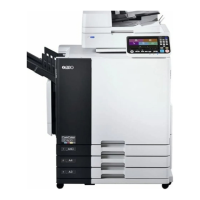
Select Print Quantity
Renew Page
10. 0
mm
10. 0
mm
Aux. Menu Print Position Paper
M
A 3
Standard
Line
Duo Auto
100%
Manual
Auto
Making Master
Image Size Contrast Paper
A 3
Standard
M
Enter the number of copies to be
printed.
Specify the number of copies to be printed using
the Print Quantity keys; the number is displayed
in the Print Quantity Display.
NOTE
If you enter a number incorrectly, press
the C key to reset the Print Quantity
Display to zero, then enter the correct
number.
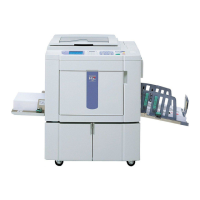
Press the Start key again.
The specified number of copies is printed.
NOTE
If printing stops and the "Add Paper"
message appears in the Main Display,
paper has run out in the Paper Feed
Tray. Load paper into the tray.
☞ p.67 .. To change the print speed, press the
Print Speed Adjustment keys.
Press the Reset Key.
After printing has finished, press the Reset Key
to restore the initial settings.
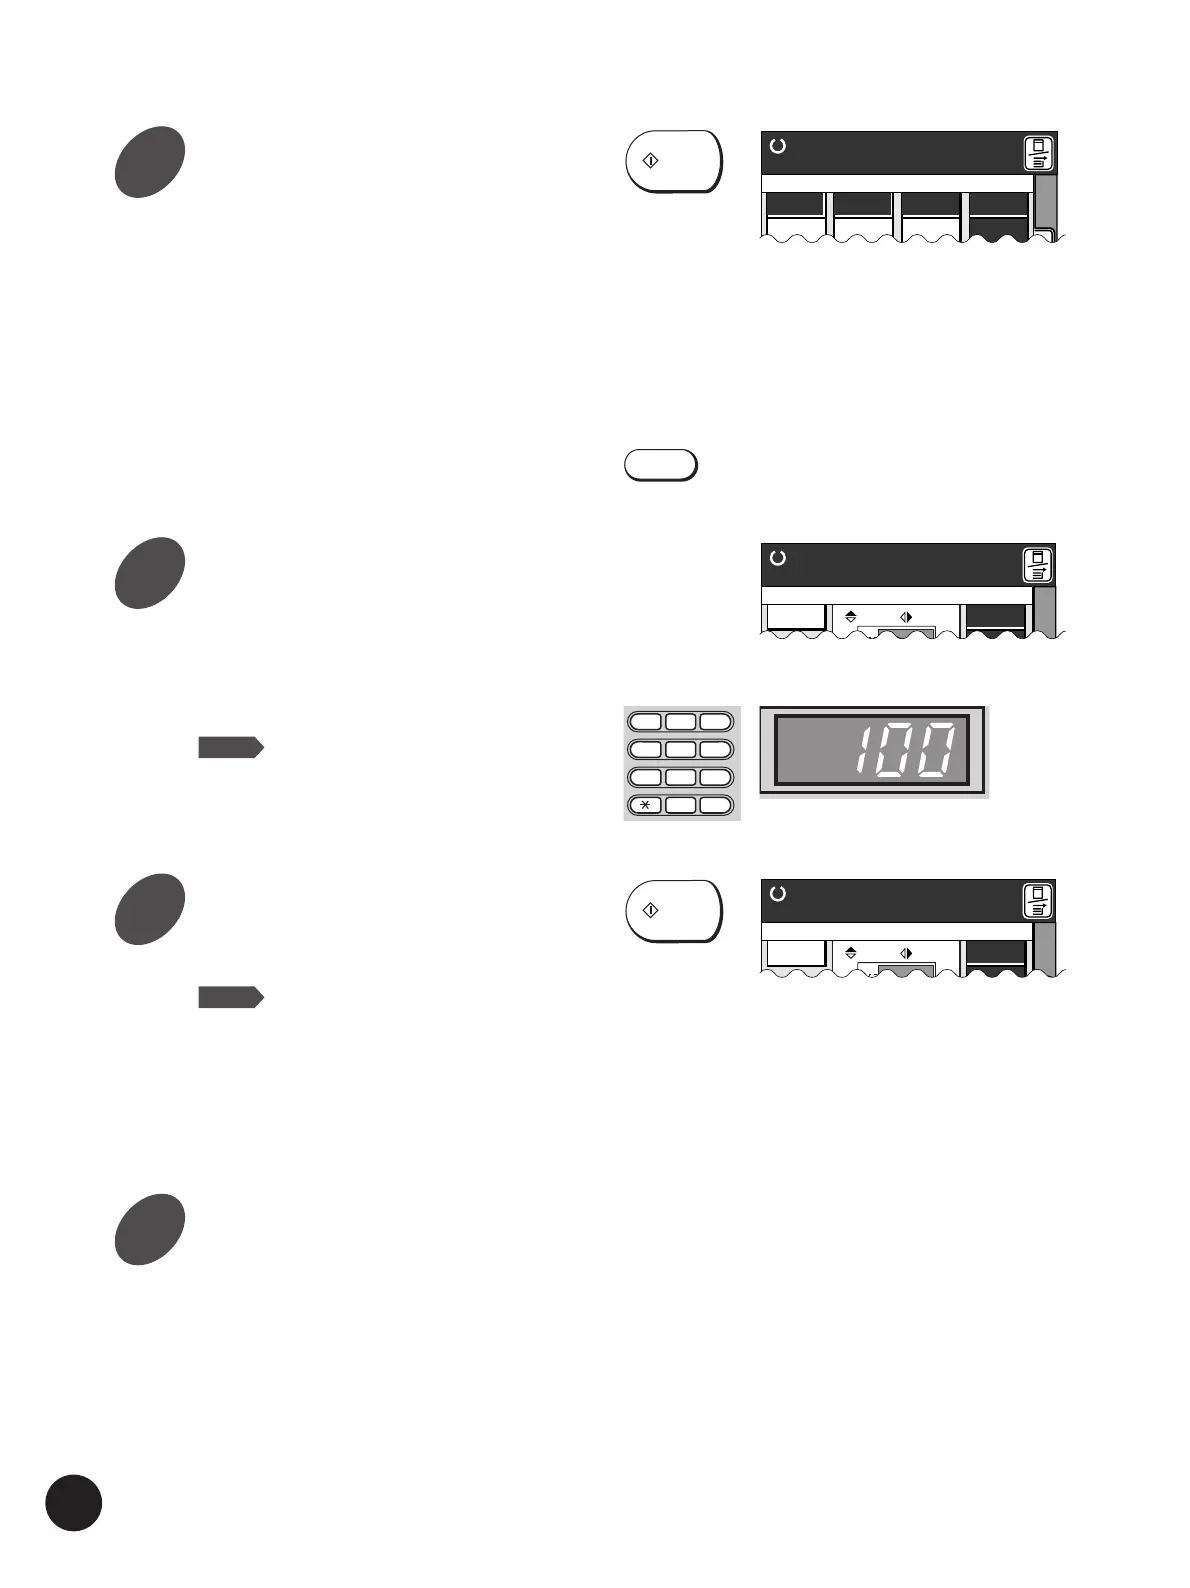
Press the Start key.
After an original is scanned, a master is created.
A sample is automatically printed to allow you to
check the print quality, position and density.
☞ p.69 .. To change the position of the printed
image, press the Print Position
Adjustment keys on the control panel.
☞ p.68 .. To change the print density of the
printed copies, change the print
density setting.
If settings are changed, press the Test Print key
to check the results with sample prints.
Basic Procedure
START
START
TEST PRINT
Printing
Renew Page
10. 0
mm
10. 0
mm
Aux. Menu Print Position Paper
M
A 3
1
2
3
4
5
6
7
8
9
0
C
Volume
Line 100% Auto
Ready to Make Master
A 3
Standard
Volume
Line 100% Auto
Ready to Make Master
A 3
Standard
4
5
6
7